These are projects I did at home either out of a certain need or to learn something new
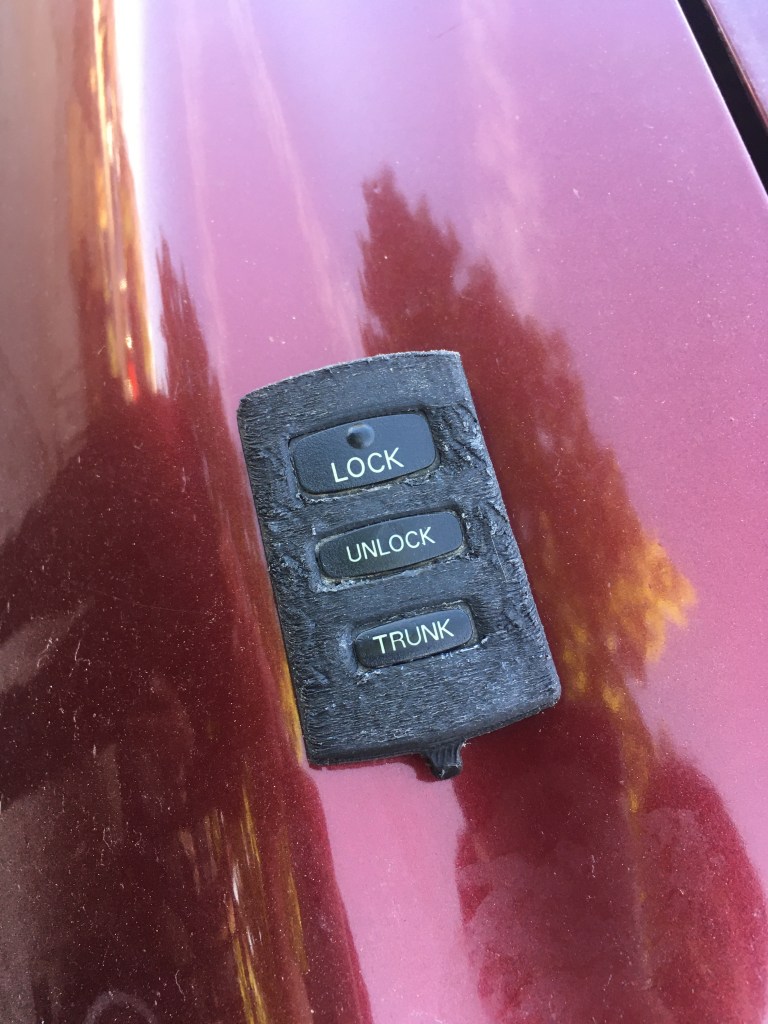
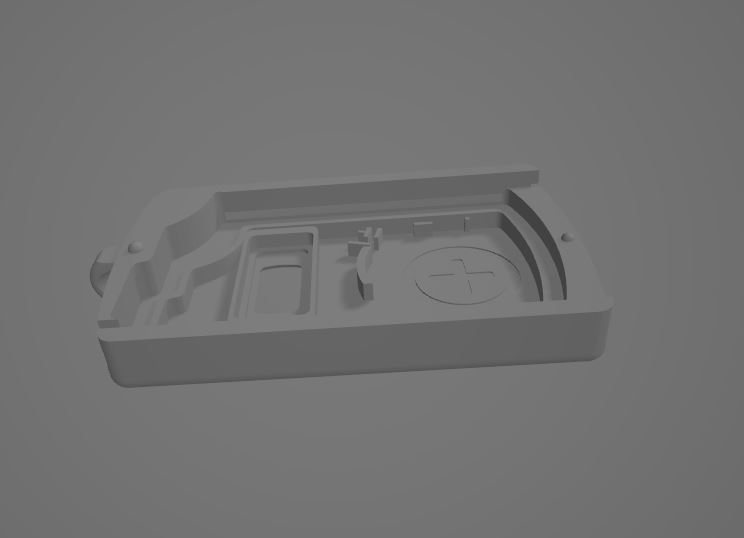

Car Remote for 2004 Dodge Stratus SXT – CAD (Autodesk Inventor)
This was the first CAD project I did on my own. The pin where the remote would attach to the keychain broke on the original remote so I decided it would be a good learning opportunity to make a replacement. It was designed using Autodesk Inventor. I measured the circuit board inside and designed the housing to fit it. It took a few iterations to get the clearance just right for the two housing pieces to fit, but it worked. The channels where the two pieces joined allowed them to stay together without using any screws. The challenge the overhangs presented was that there was no favorable orientation to print in without one of the sides suffering in surface quality. However, the design fulfilled its purpose and lasted for many years before needing to be reprinted due to wear.
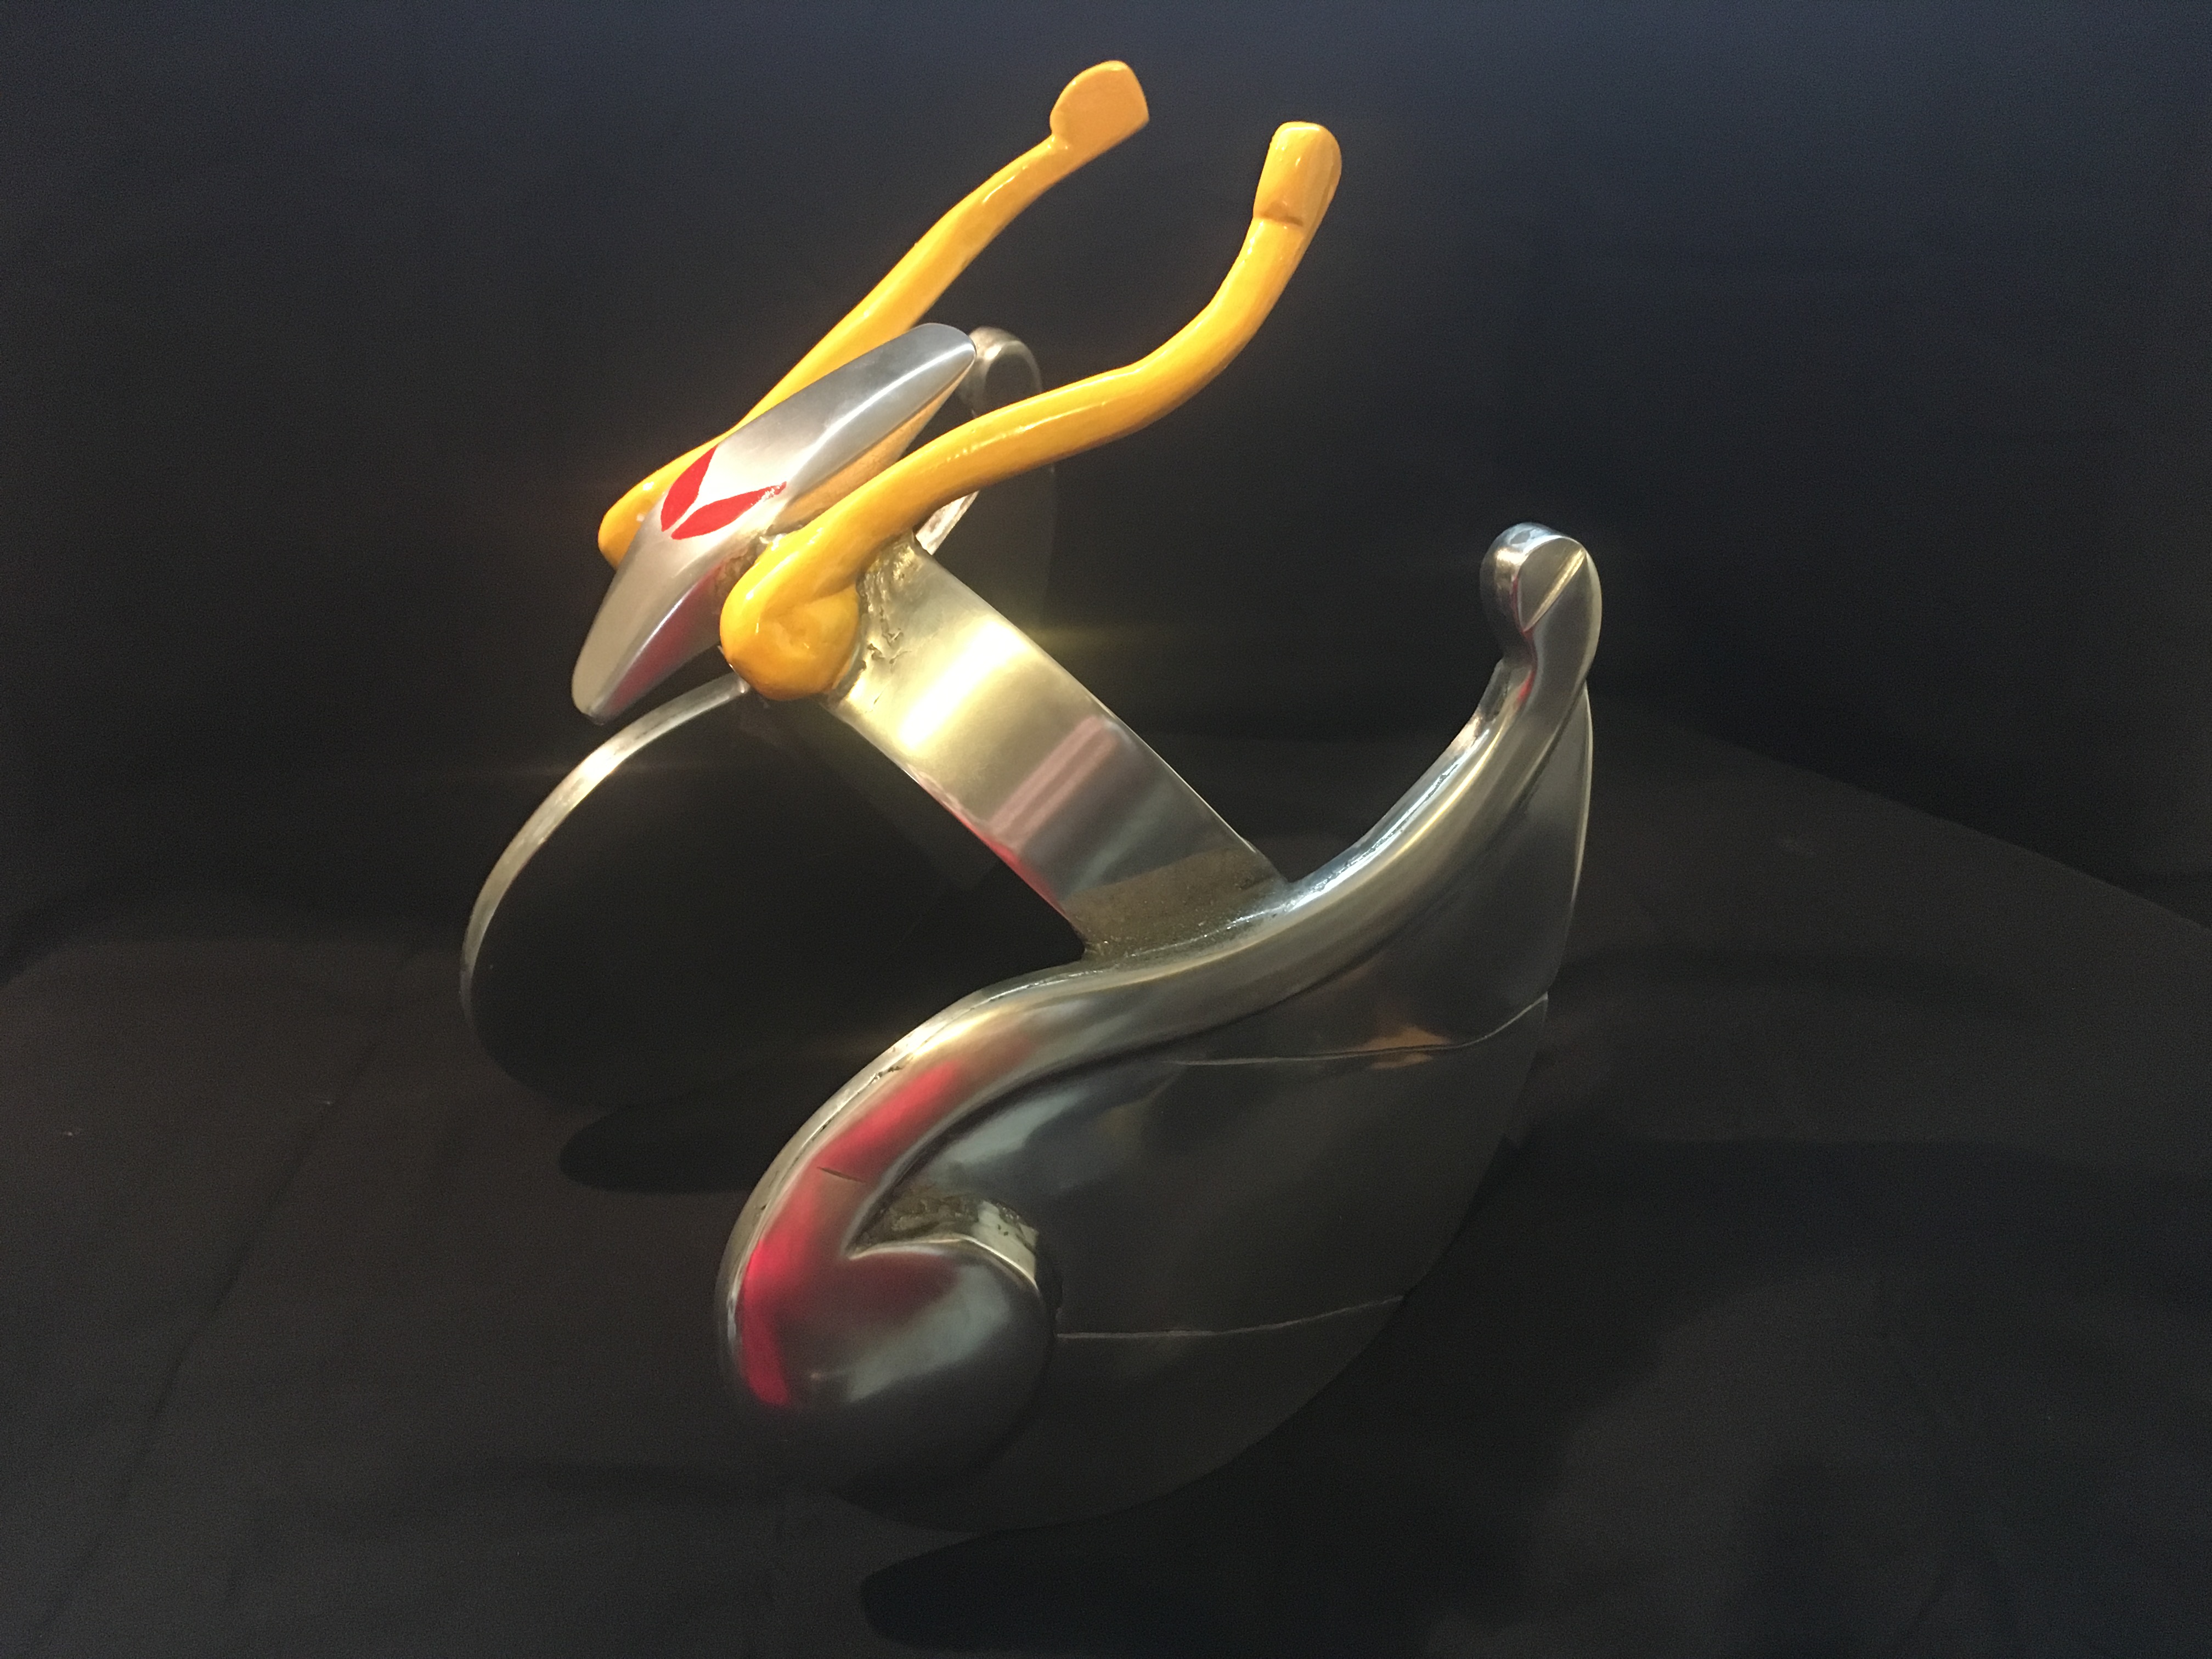
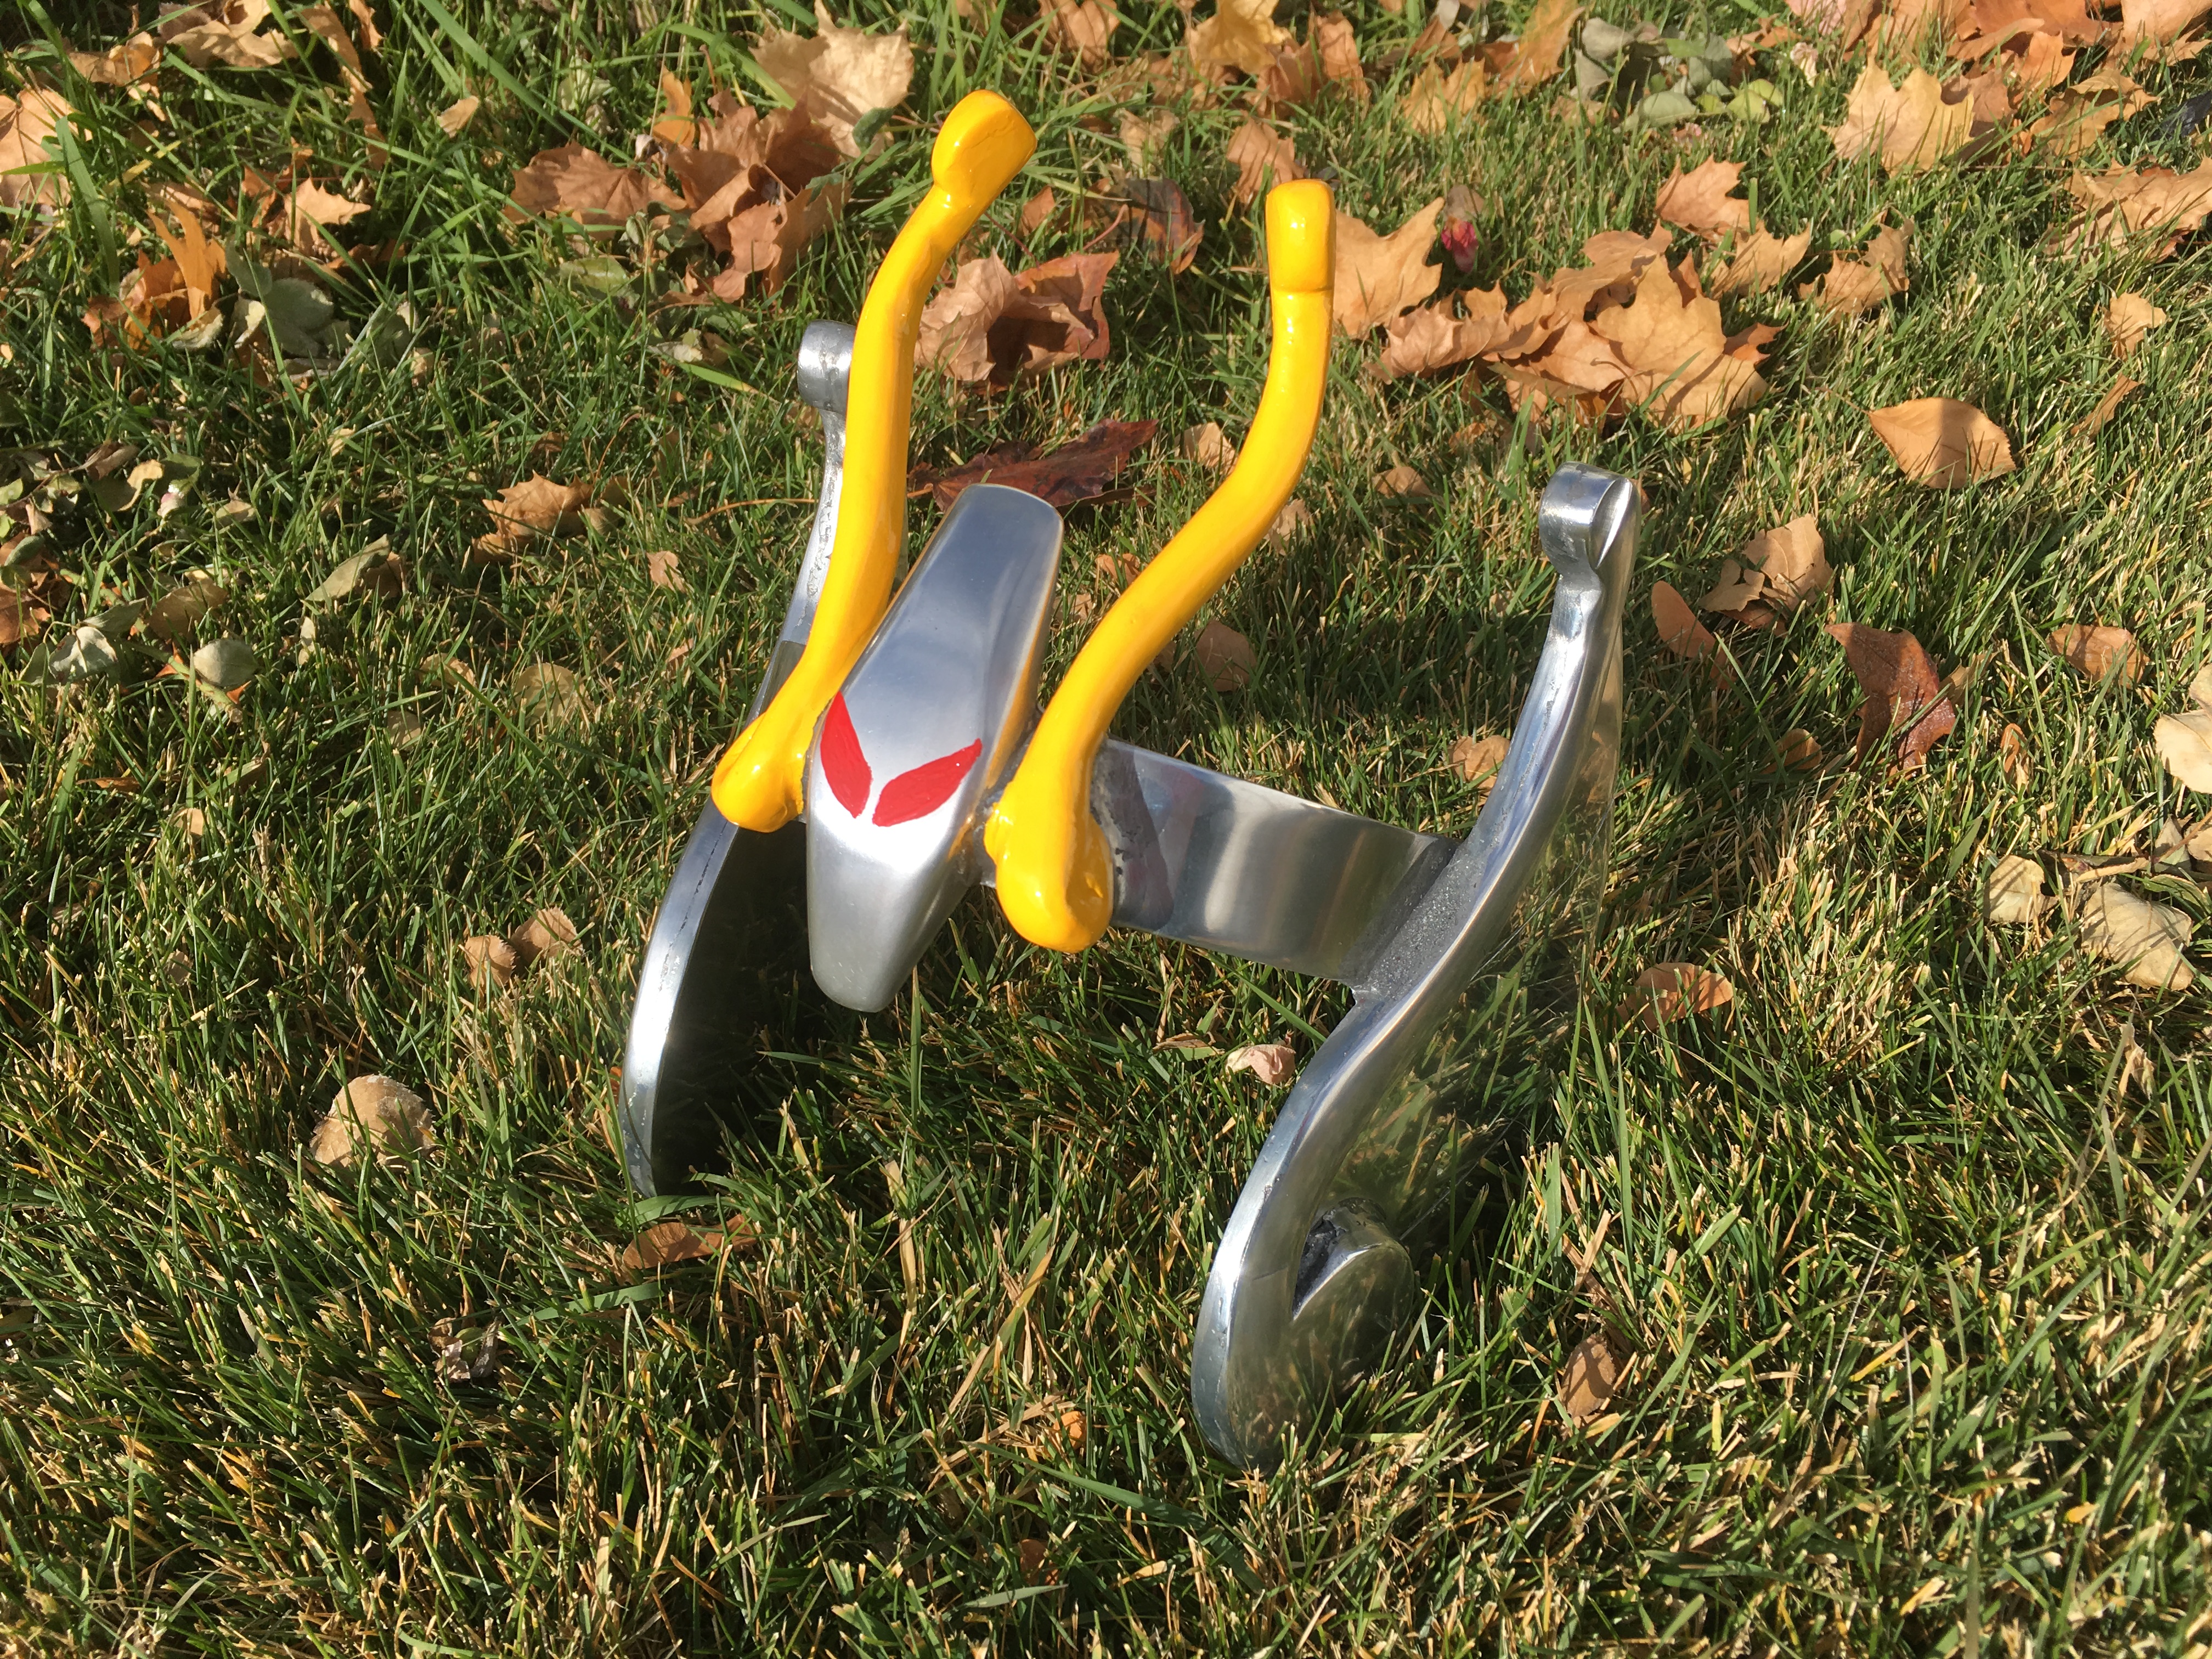


Seiya Helmet – Casting
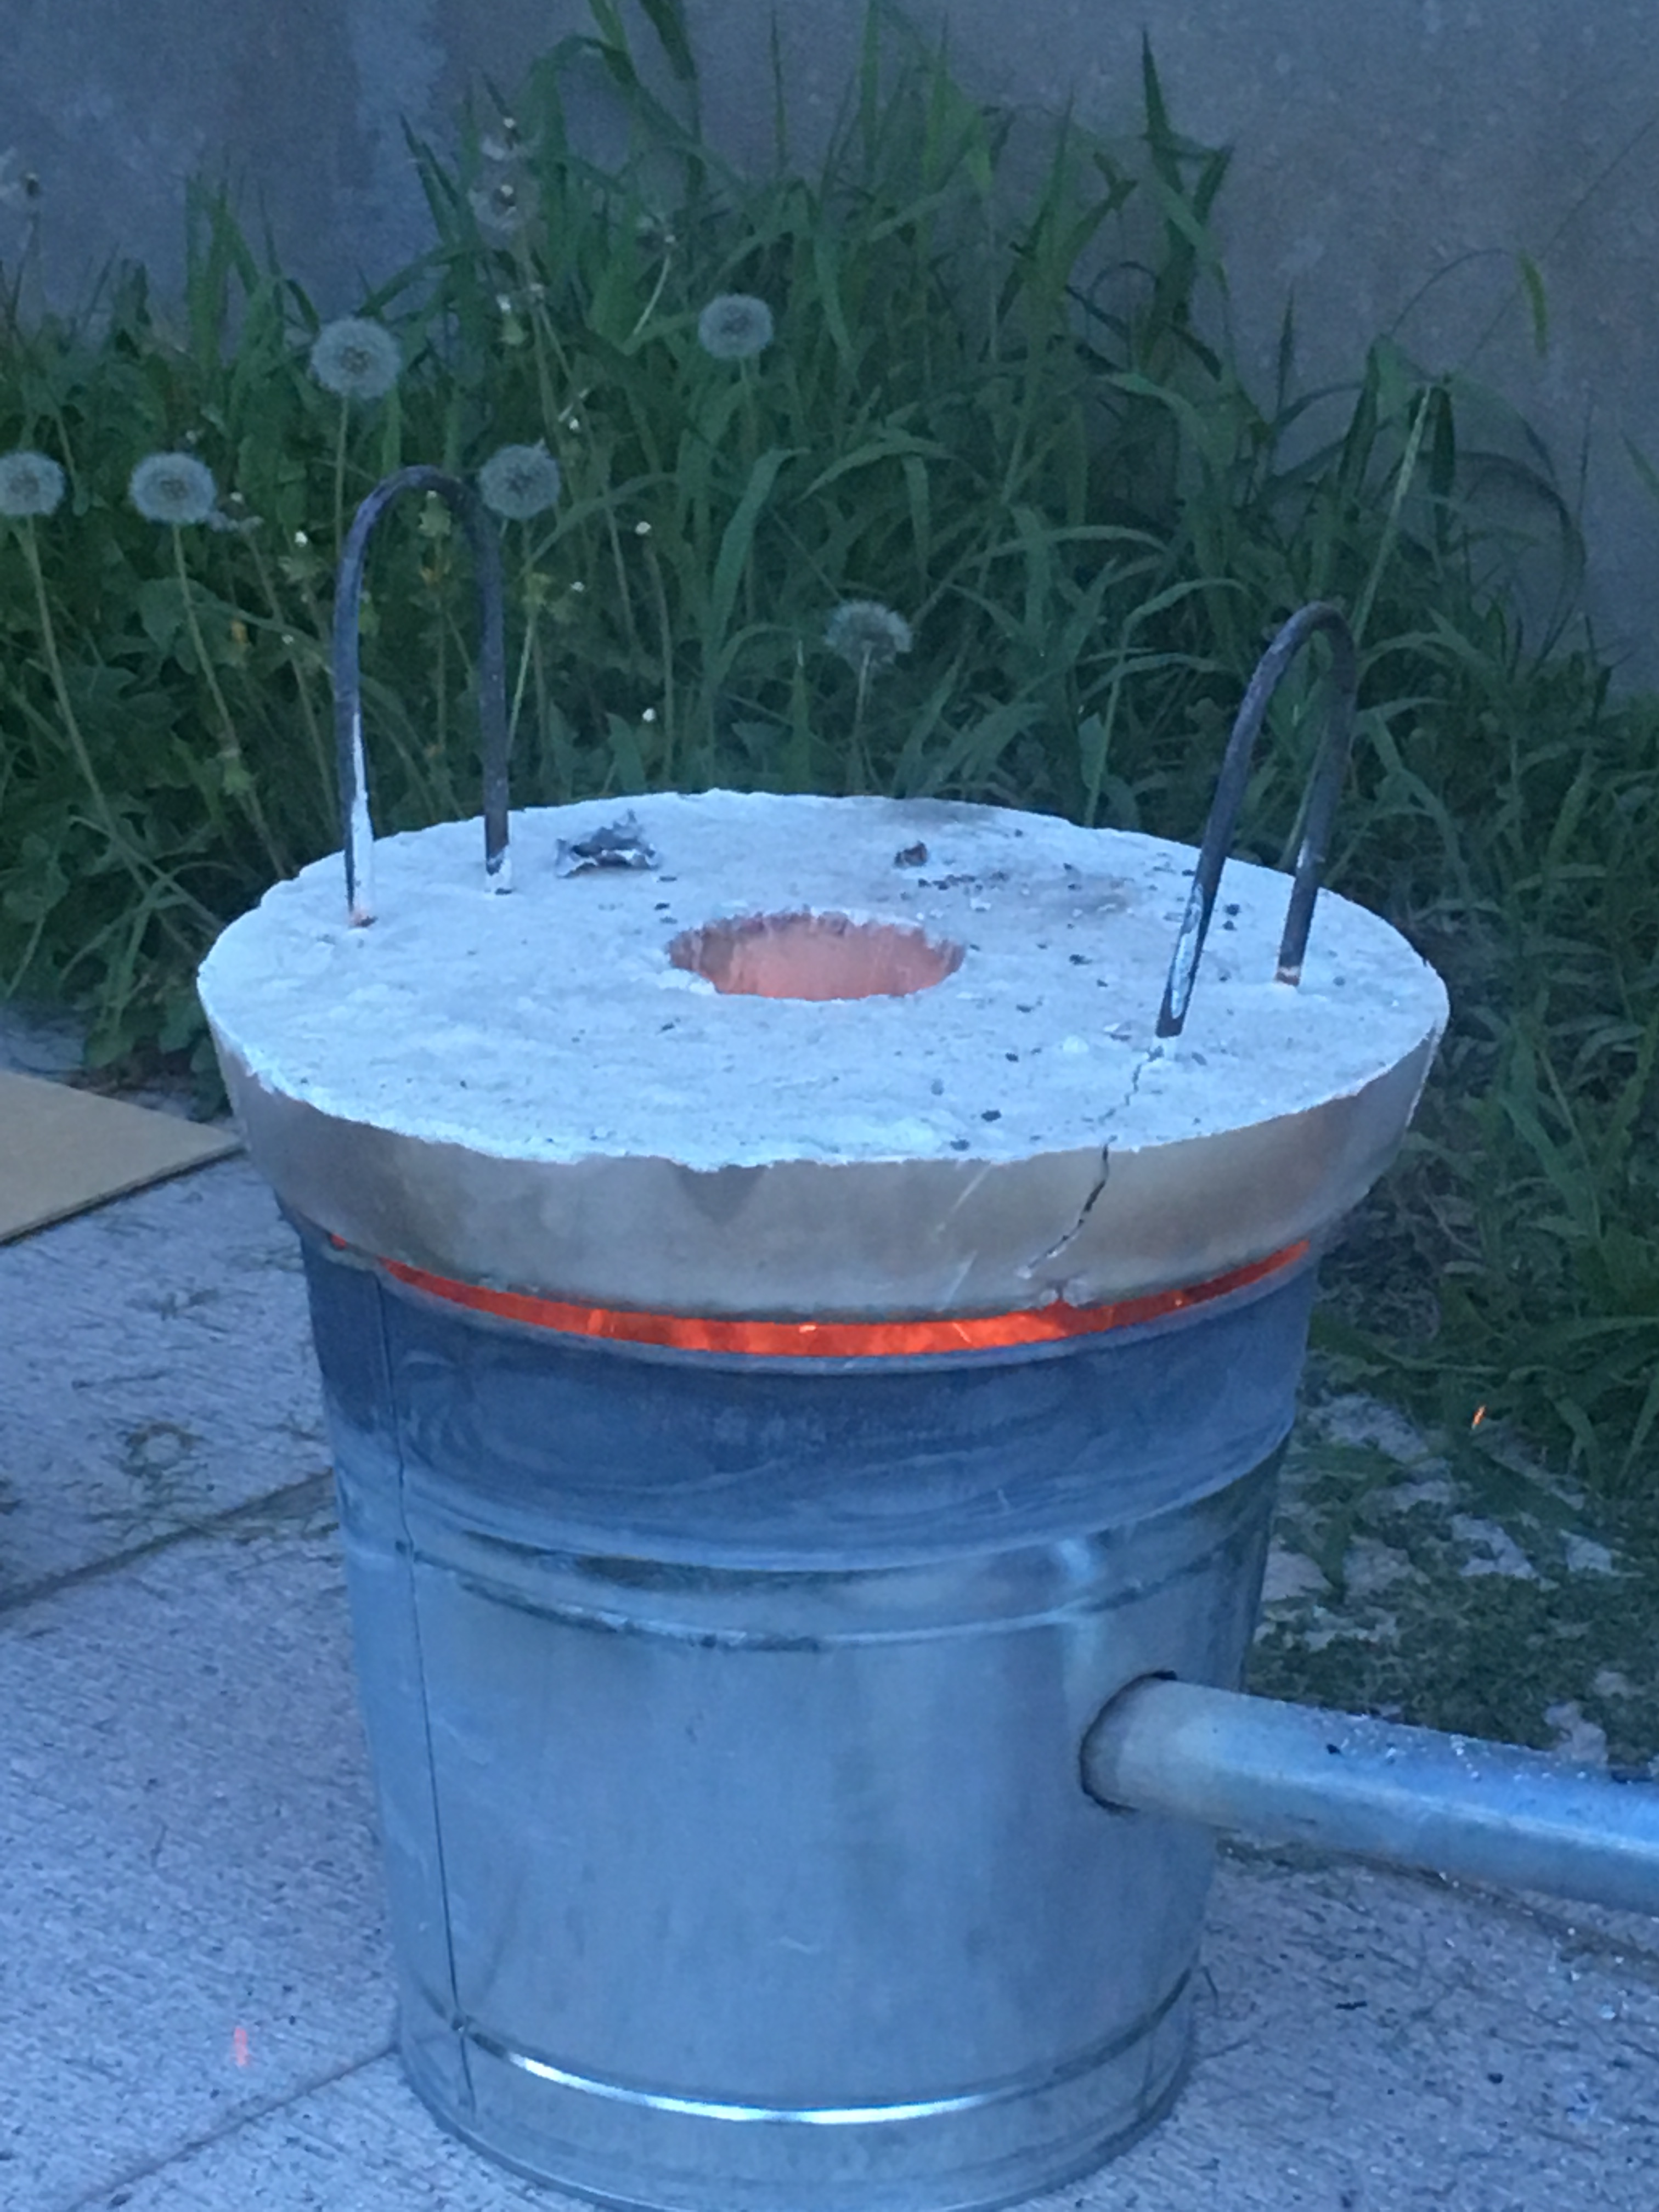
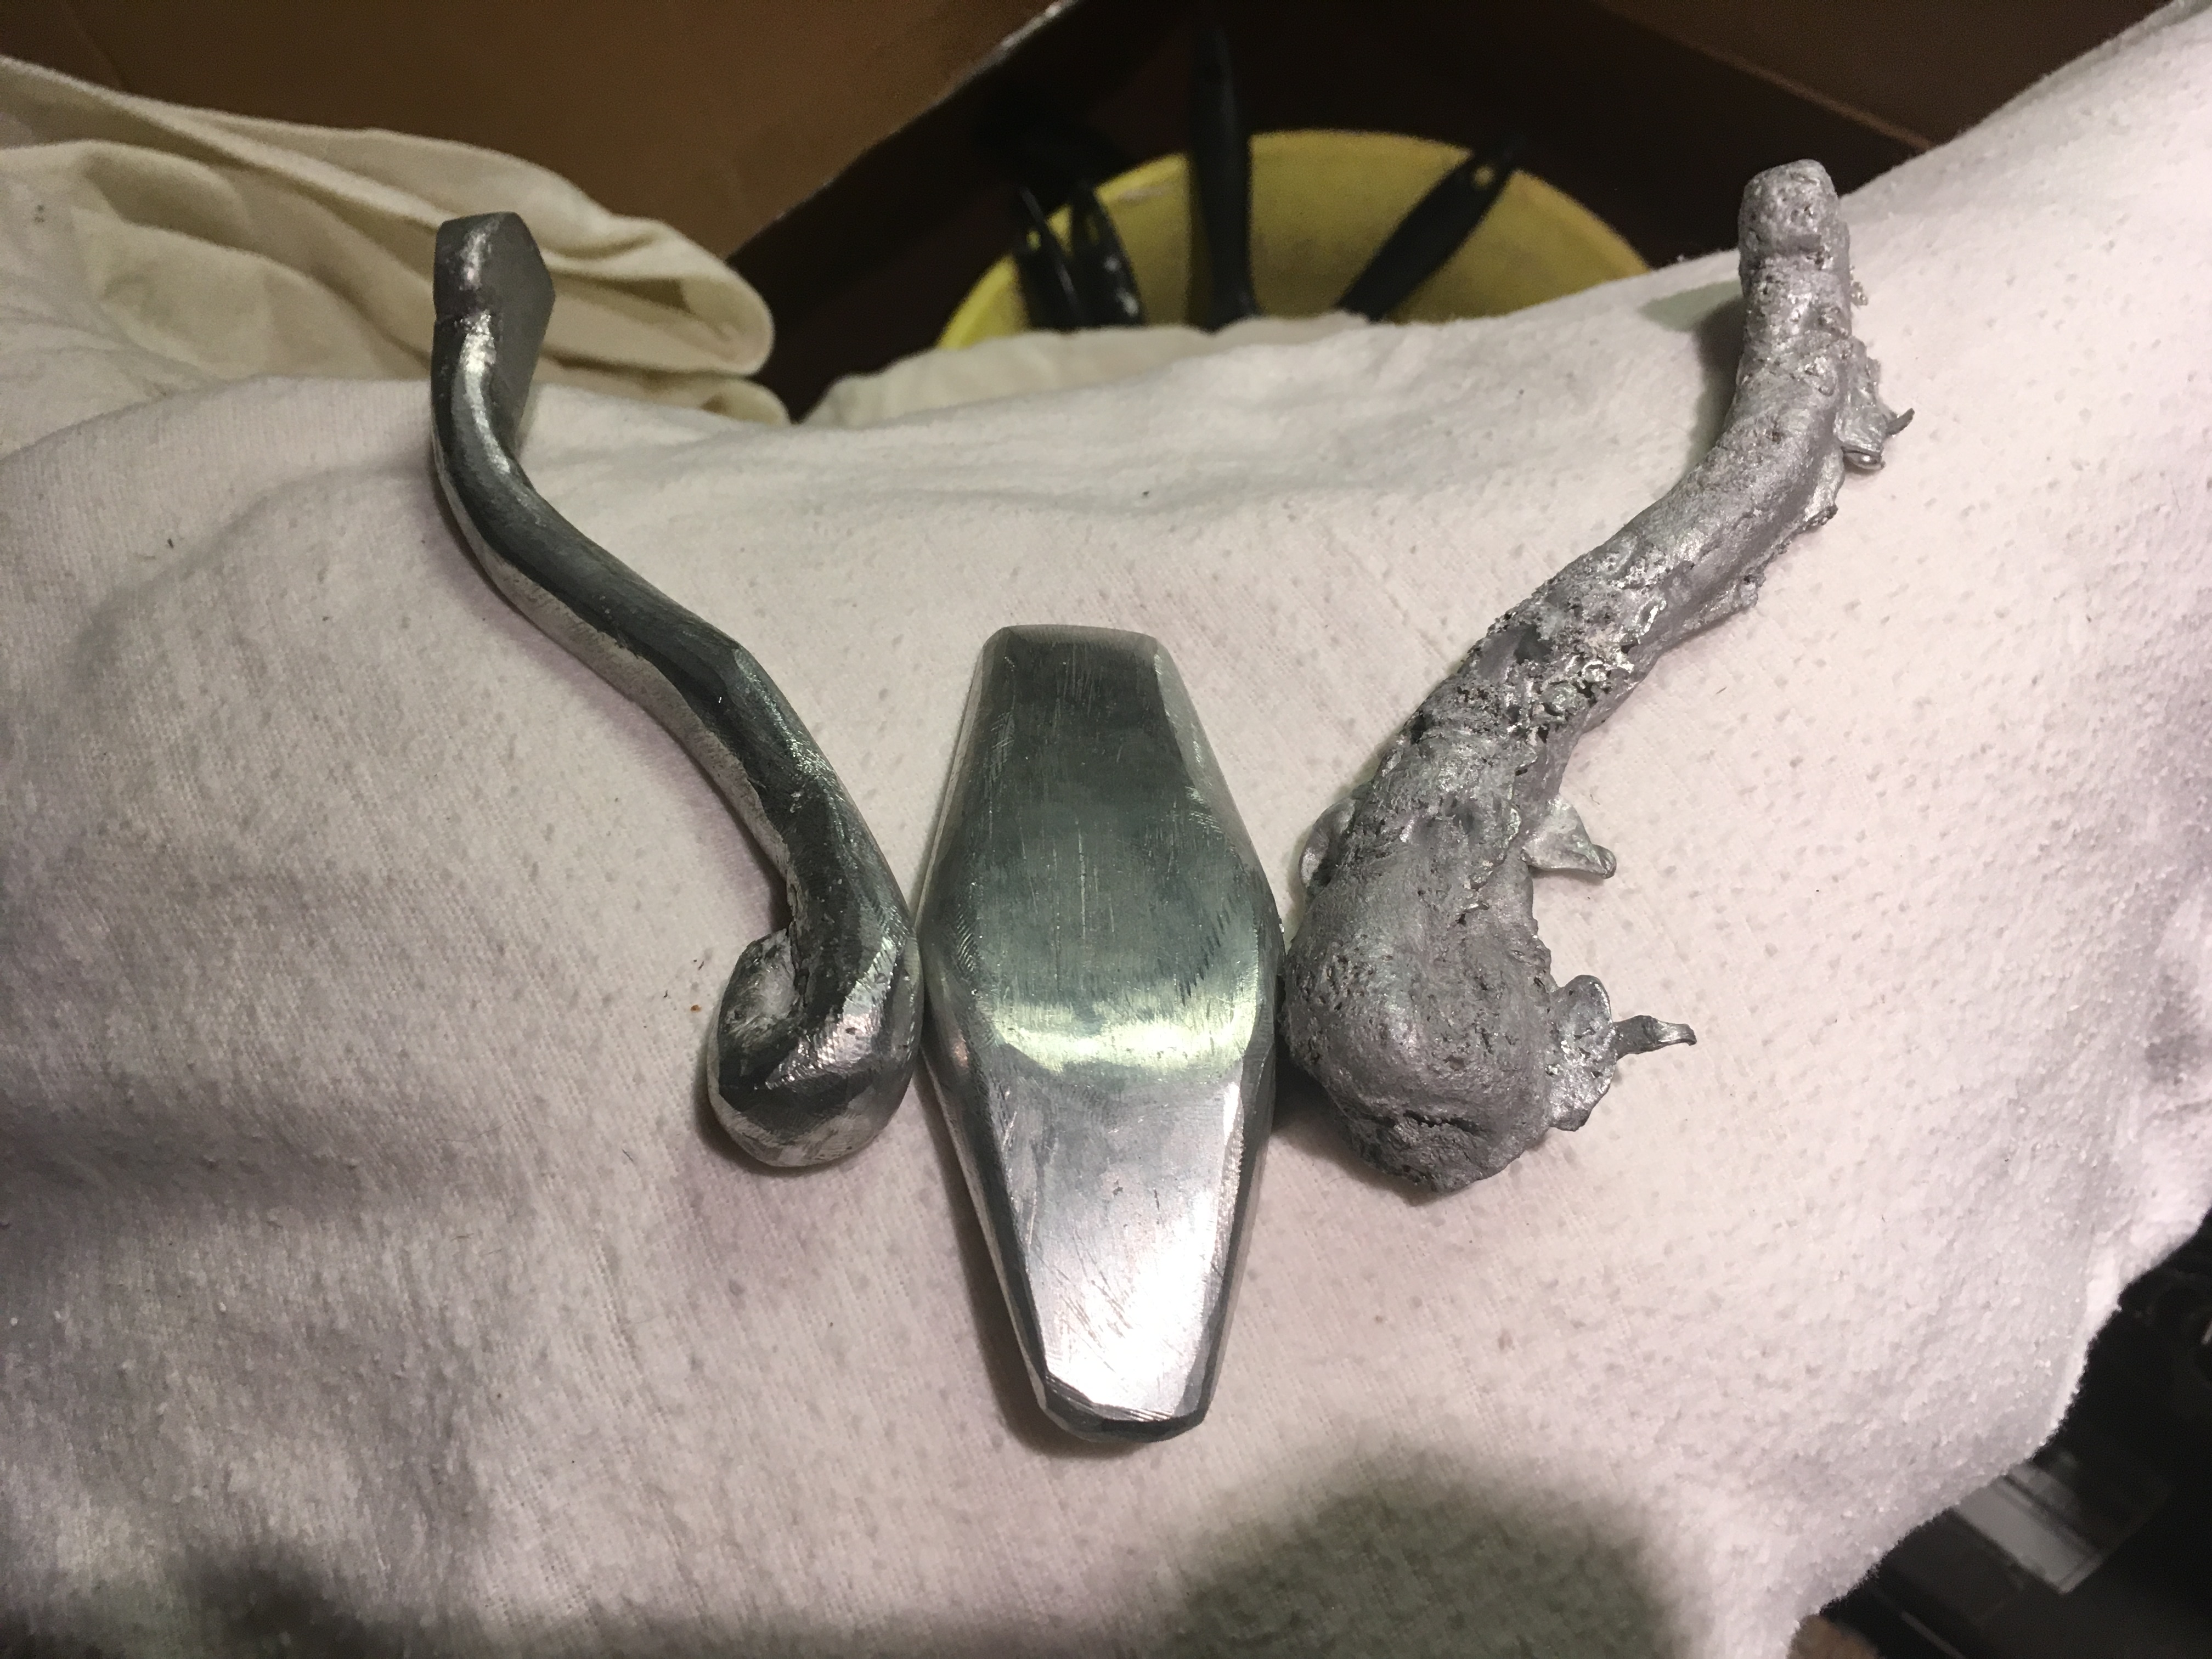
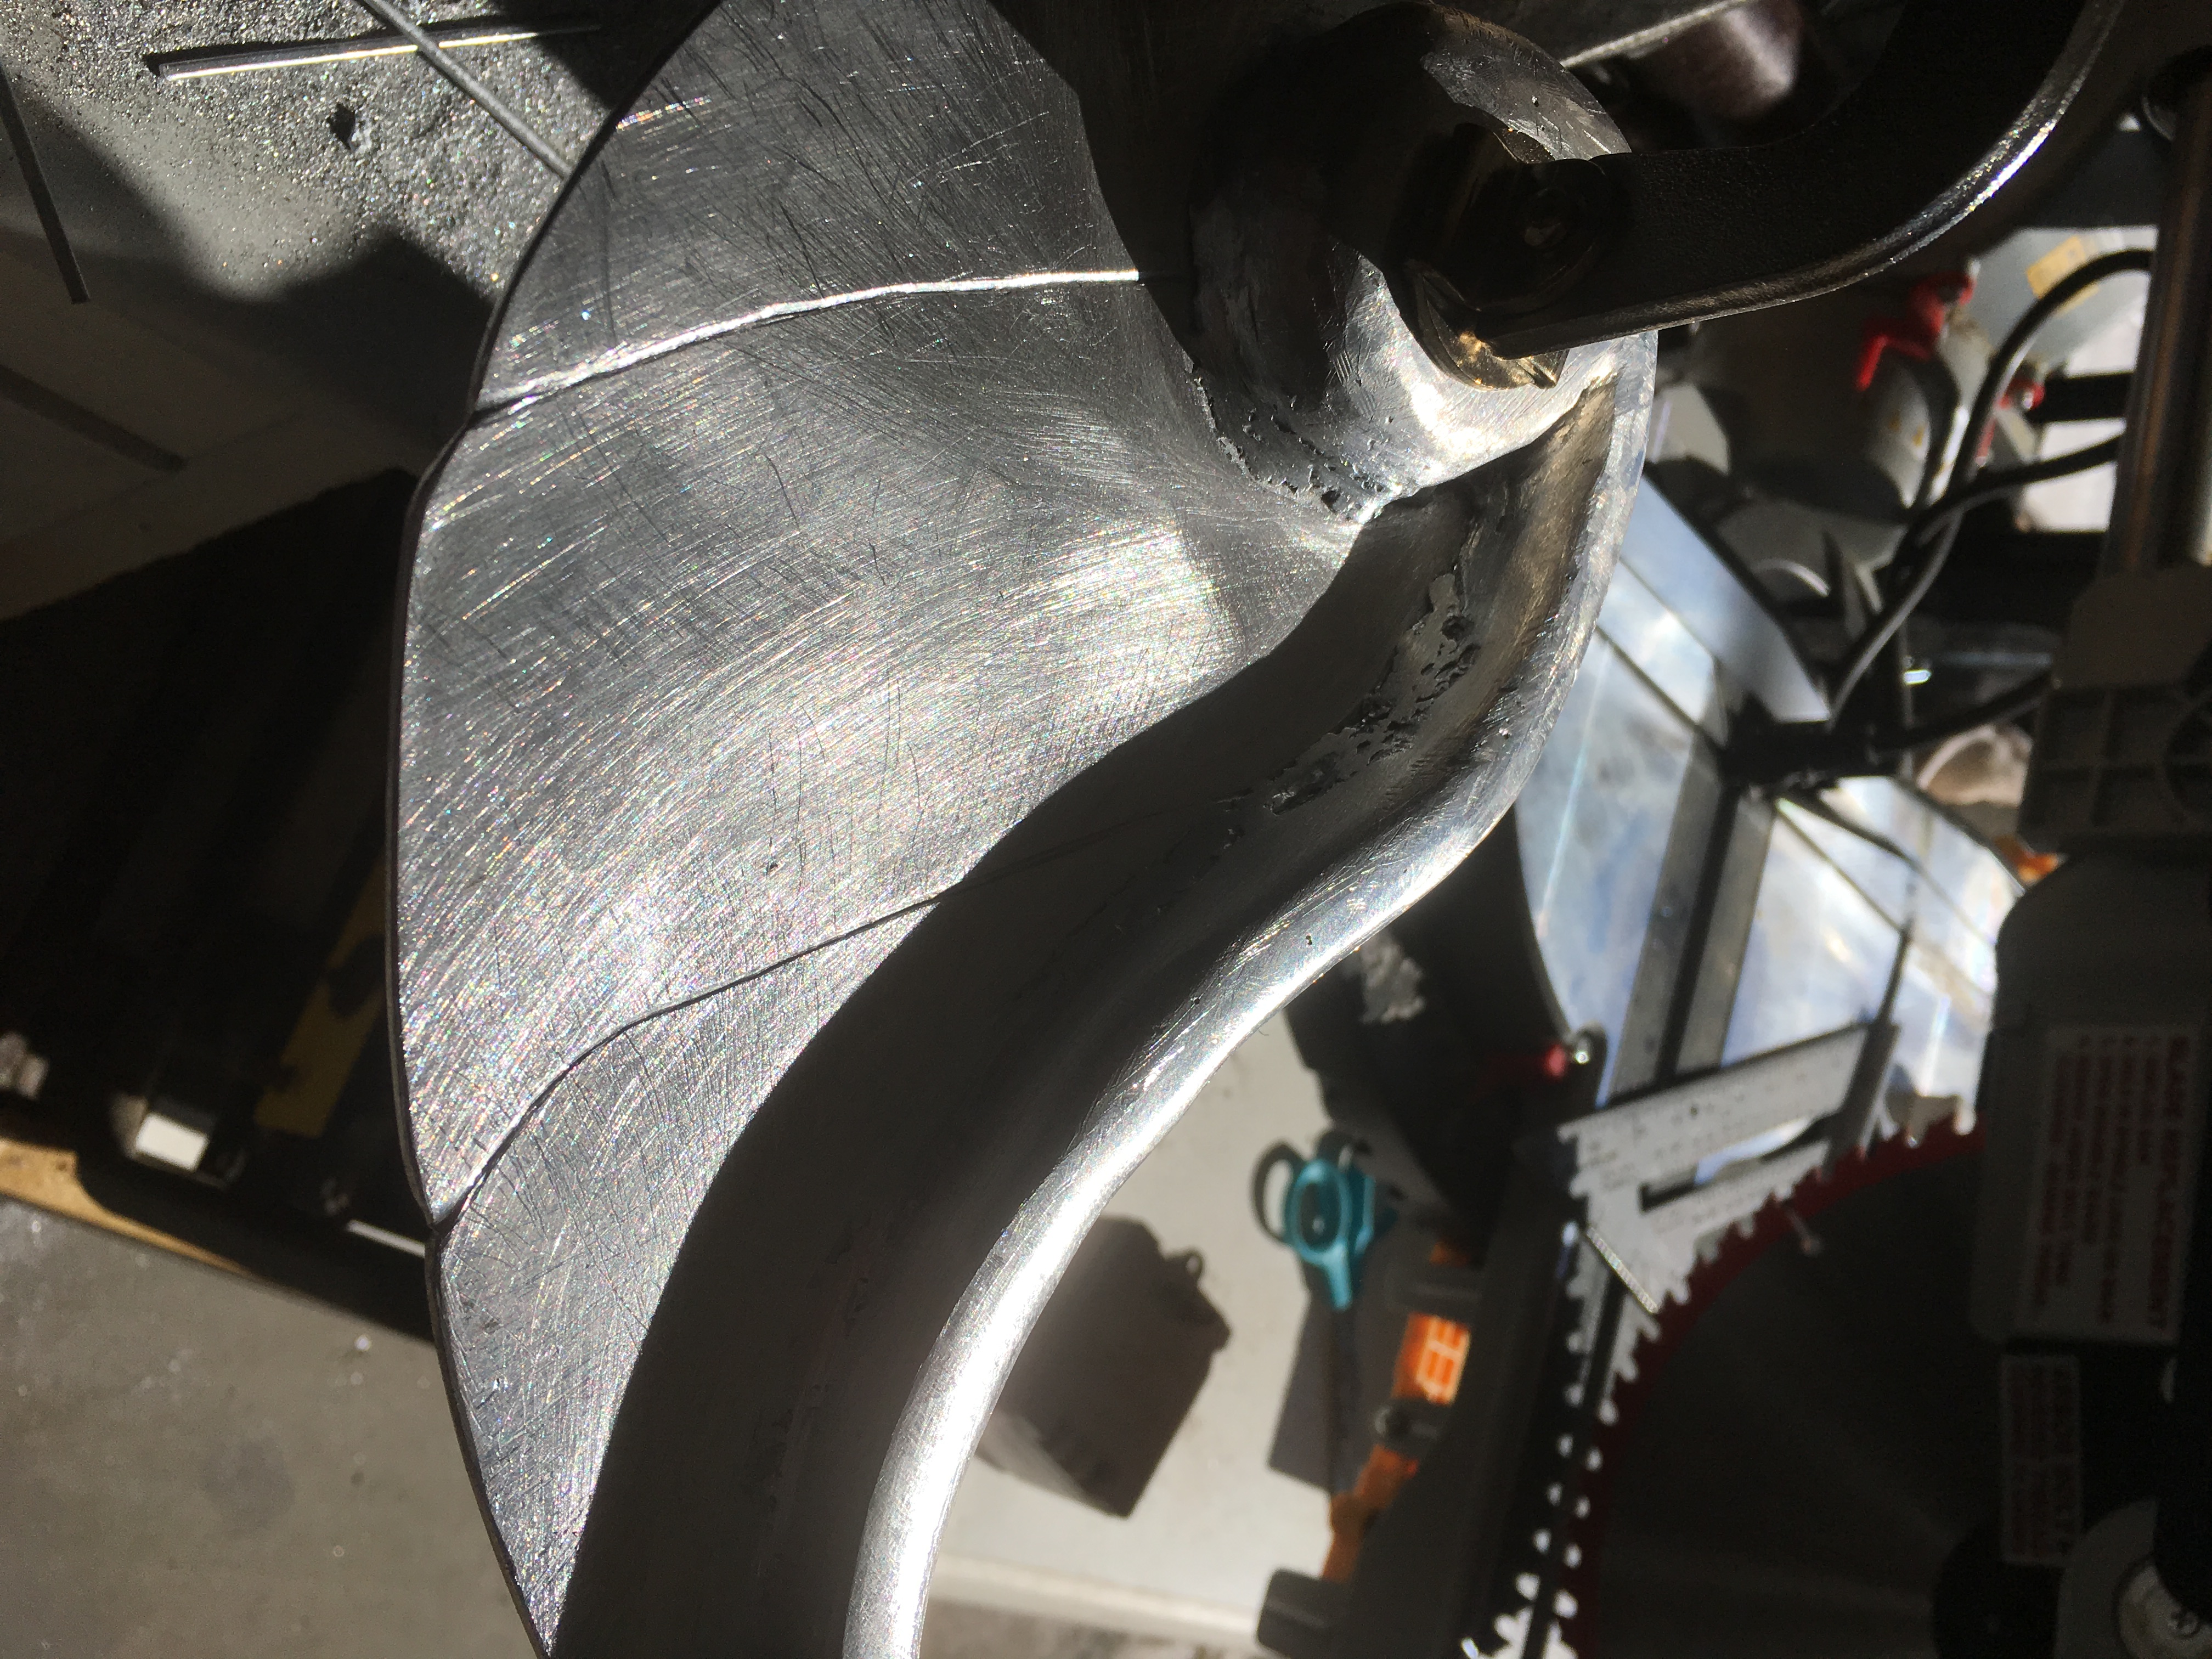
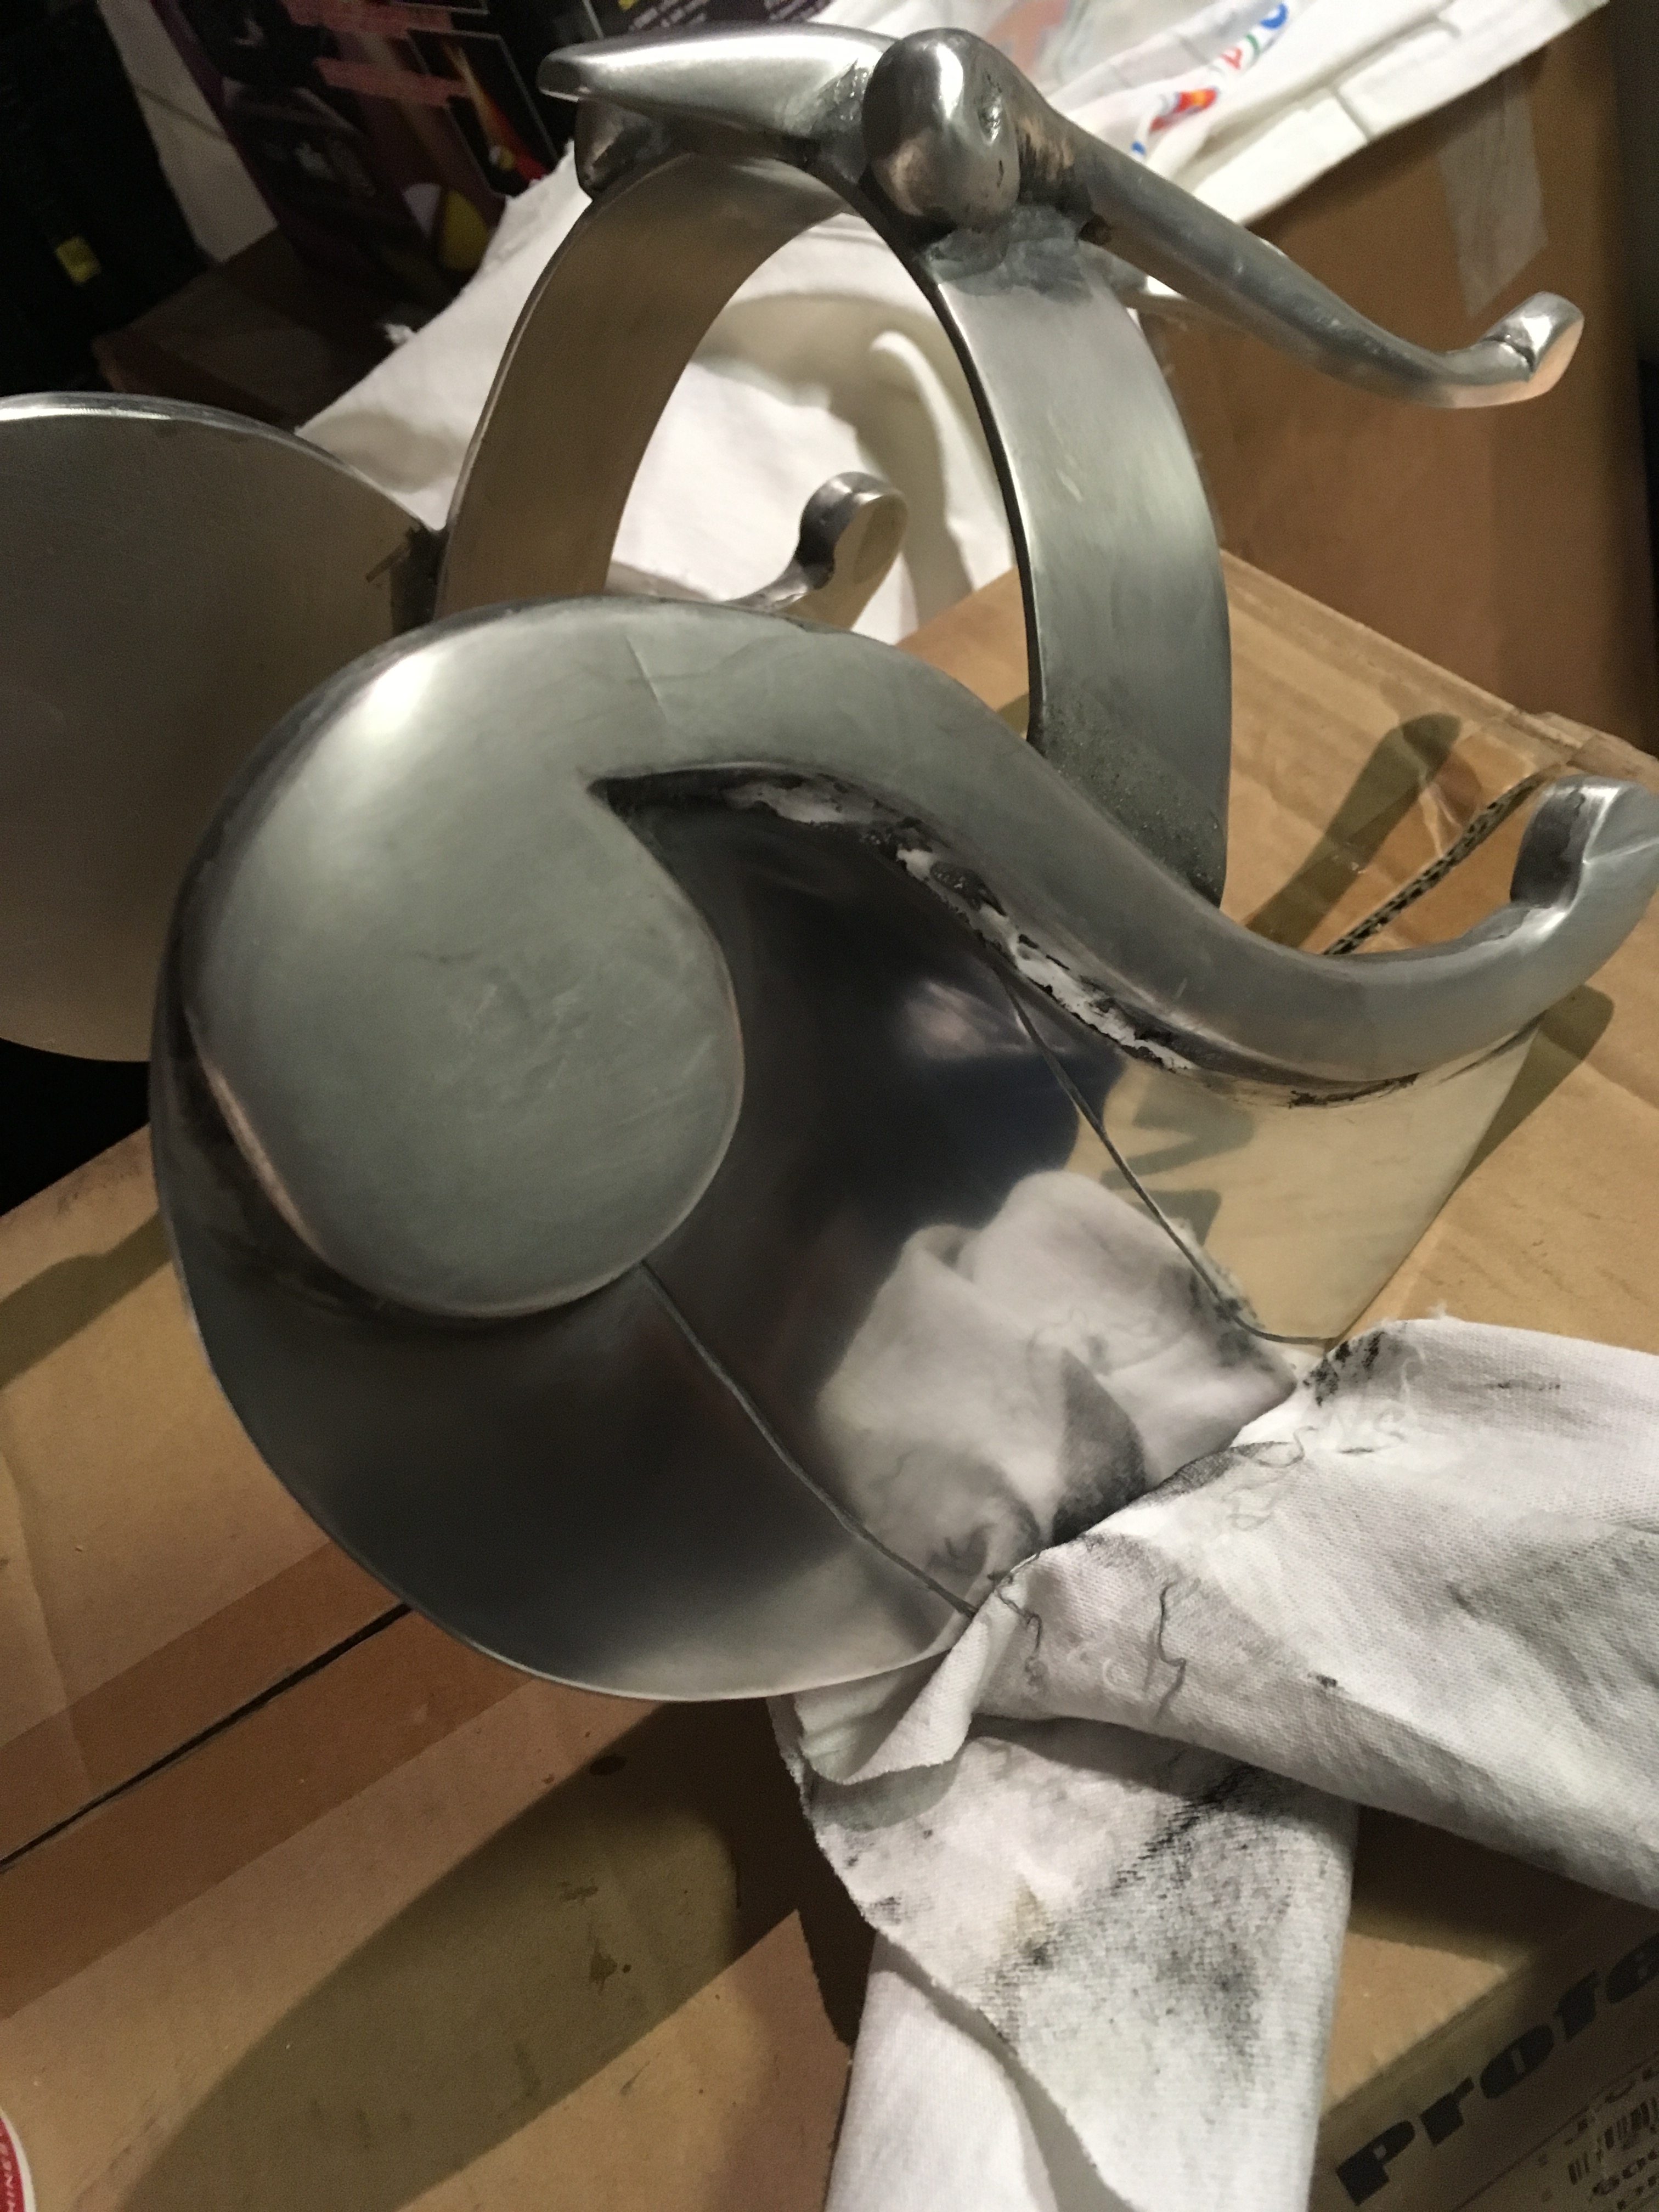
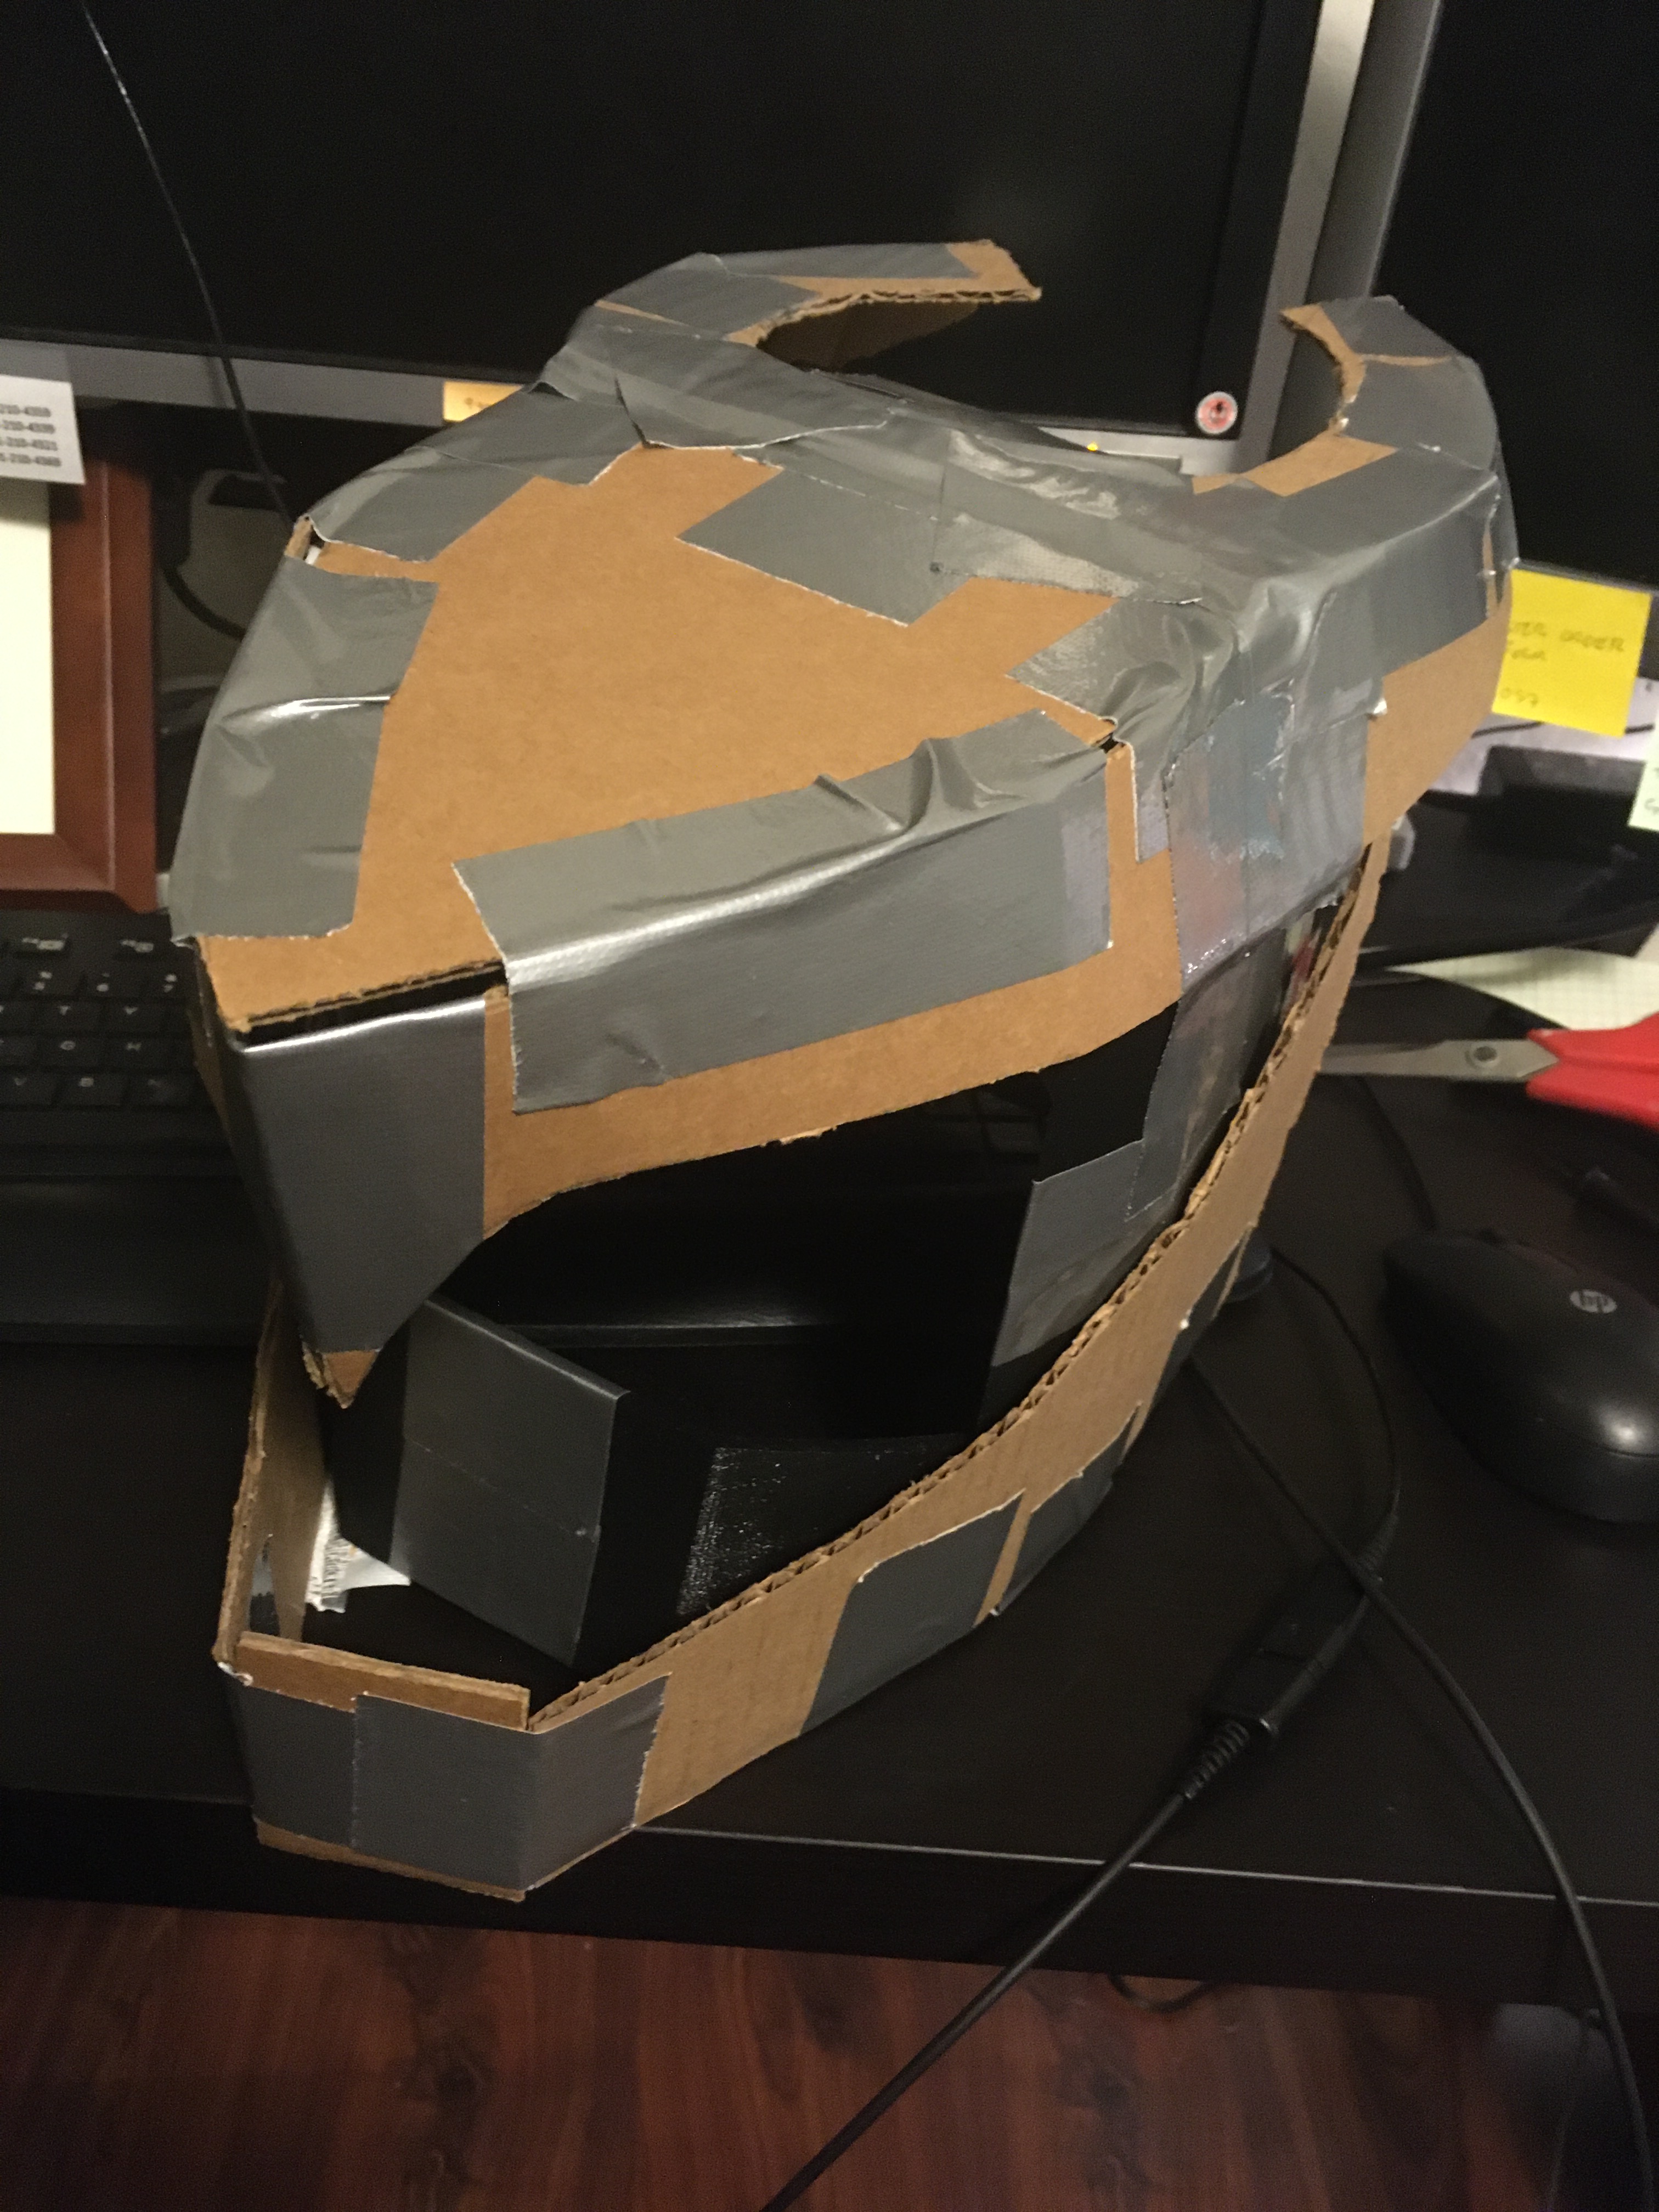
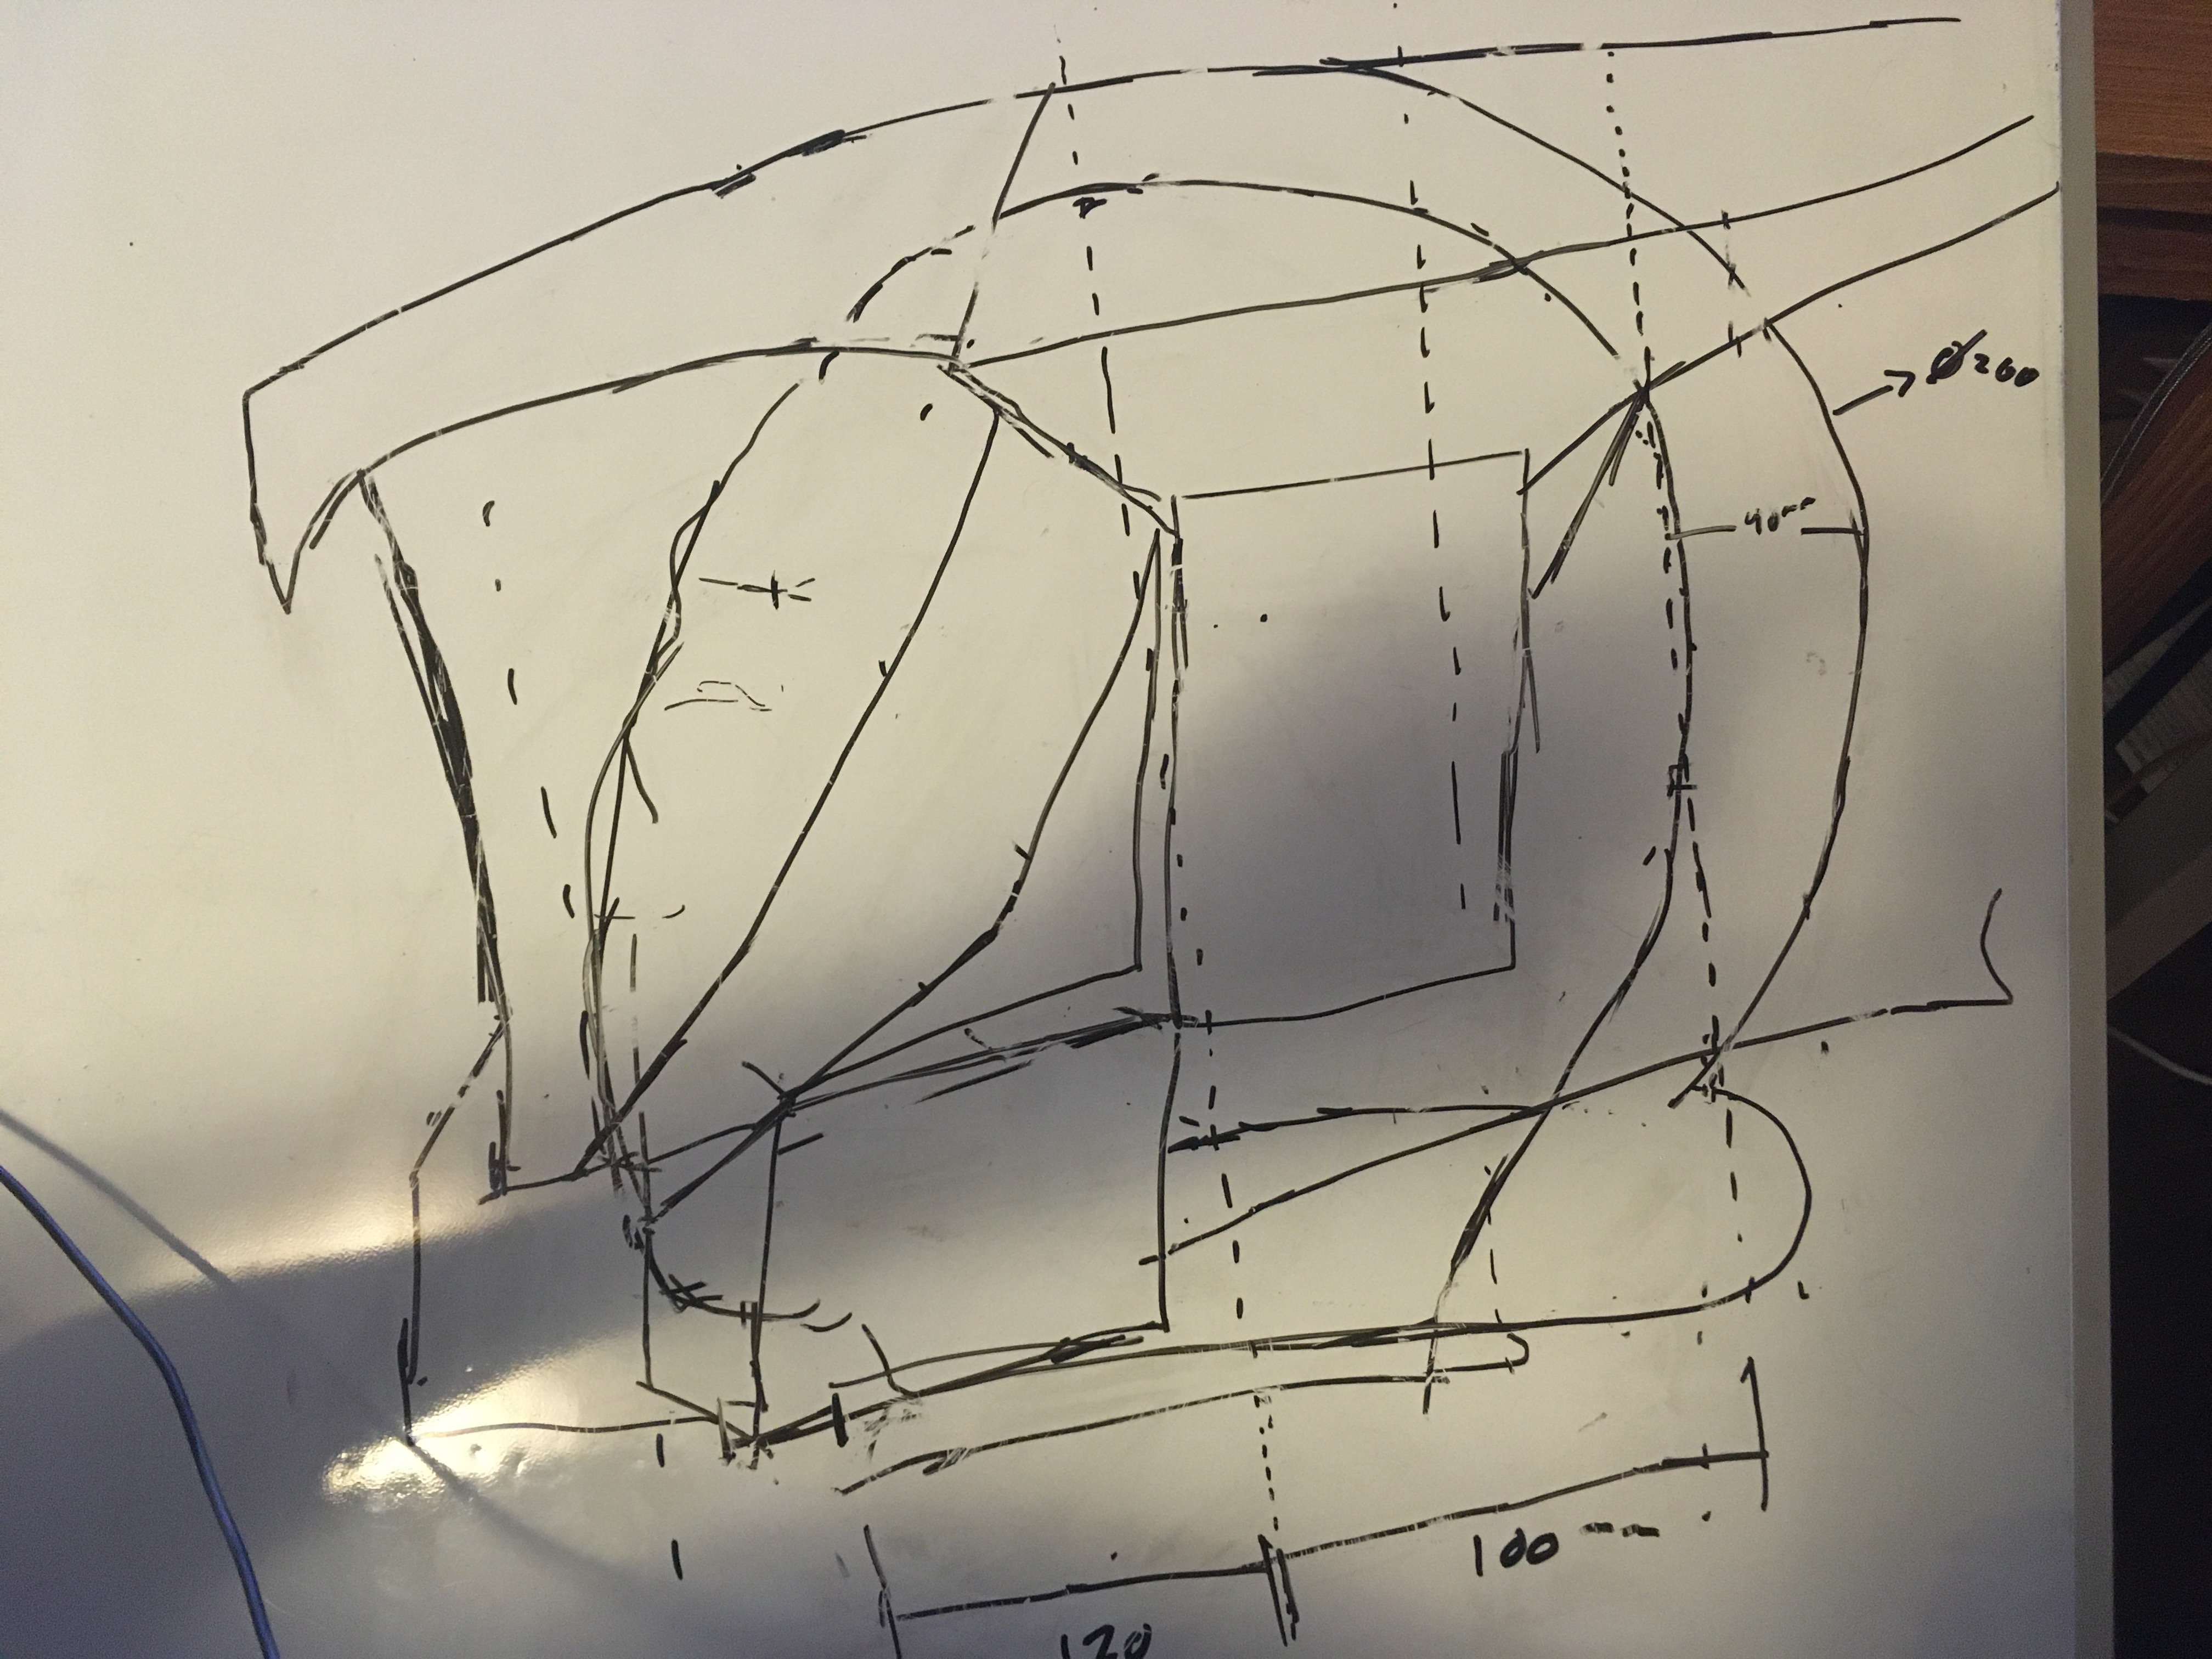
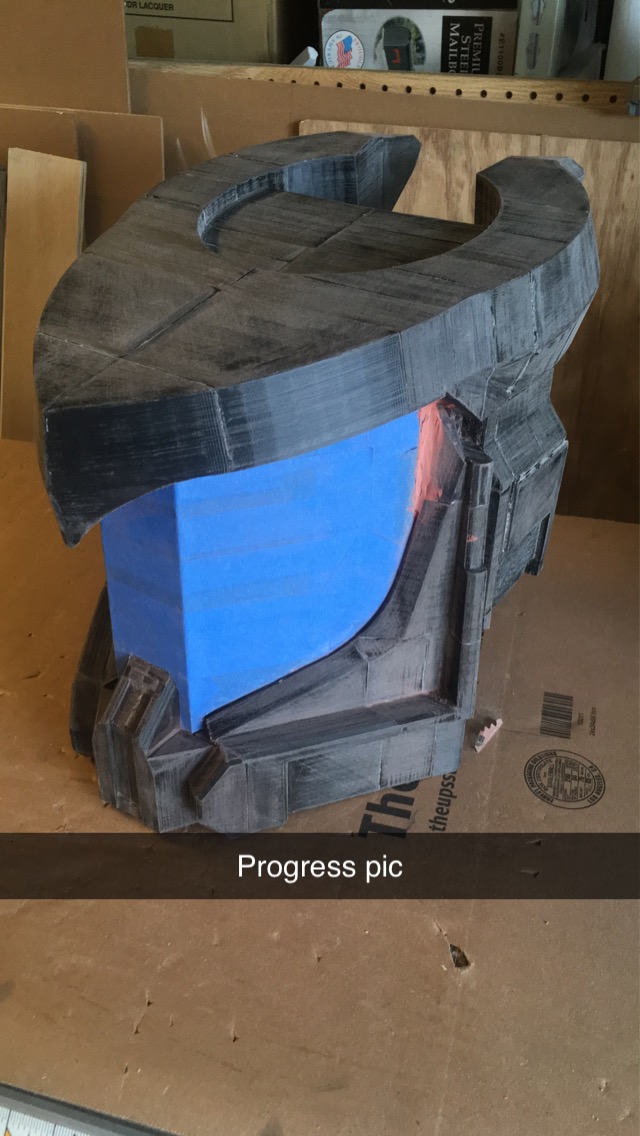
I wanted to get a feel for some manufacturing methods and was inspired by a Youtube video from The King of Random on how to build a homemade metal foundry to cast aluminum. I decided I wanted to make the helmet from 1980’s anime Saint Seiya.
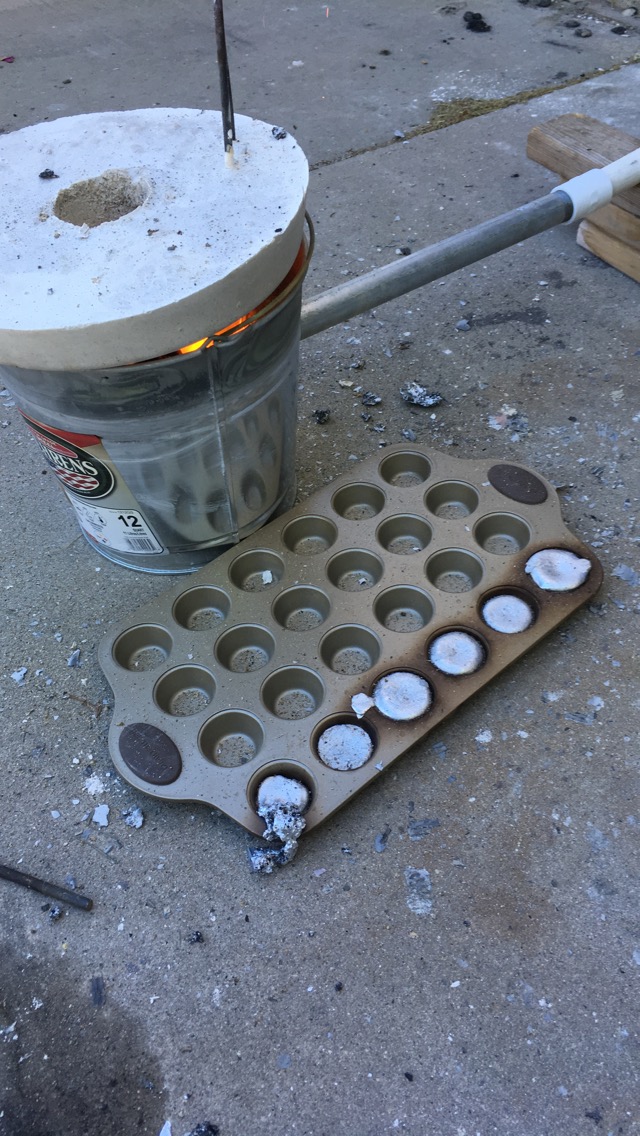
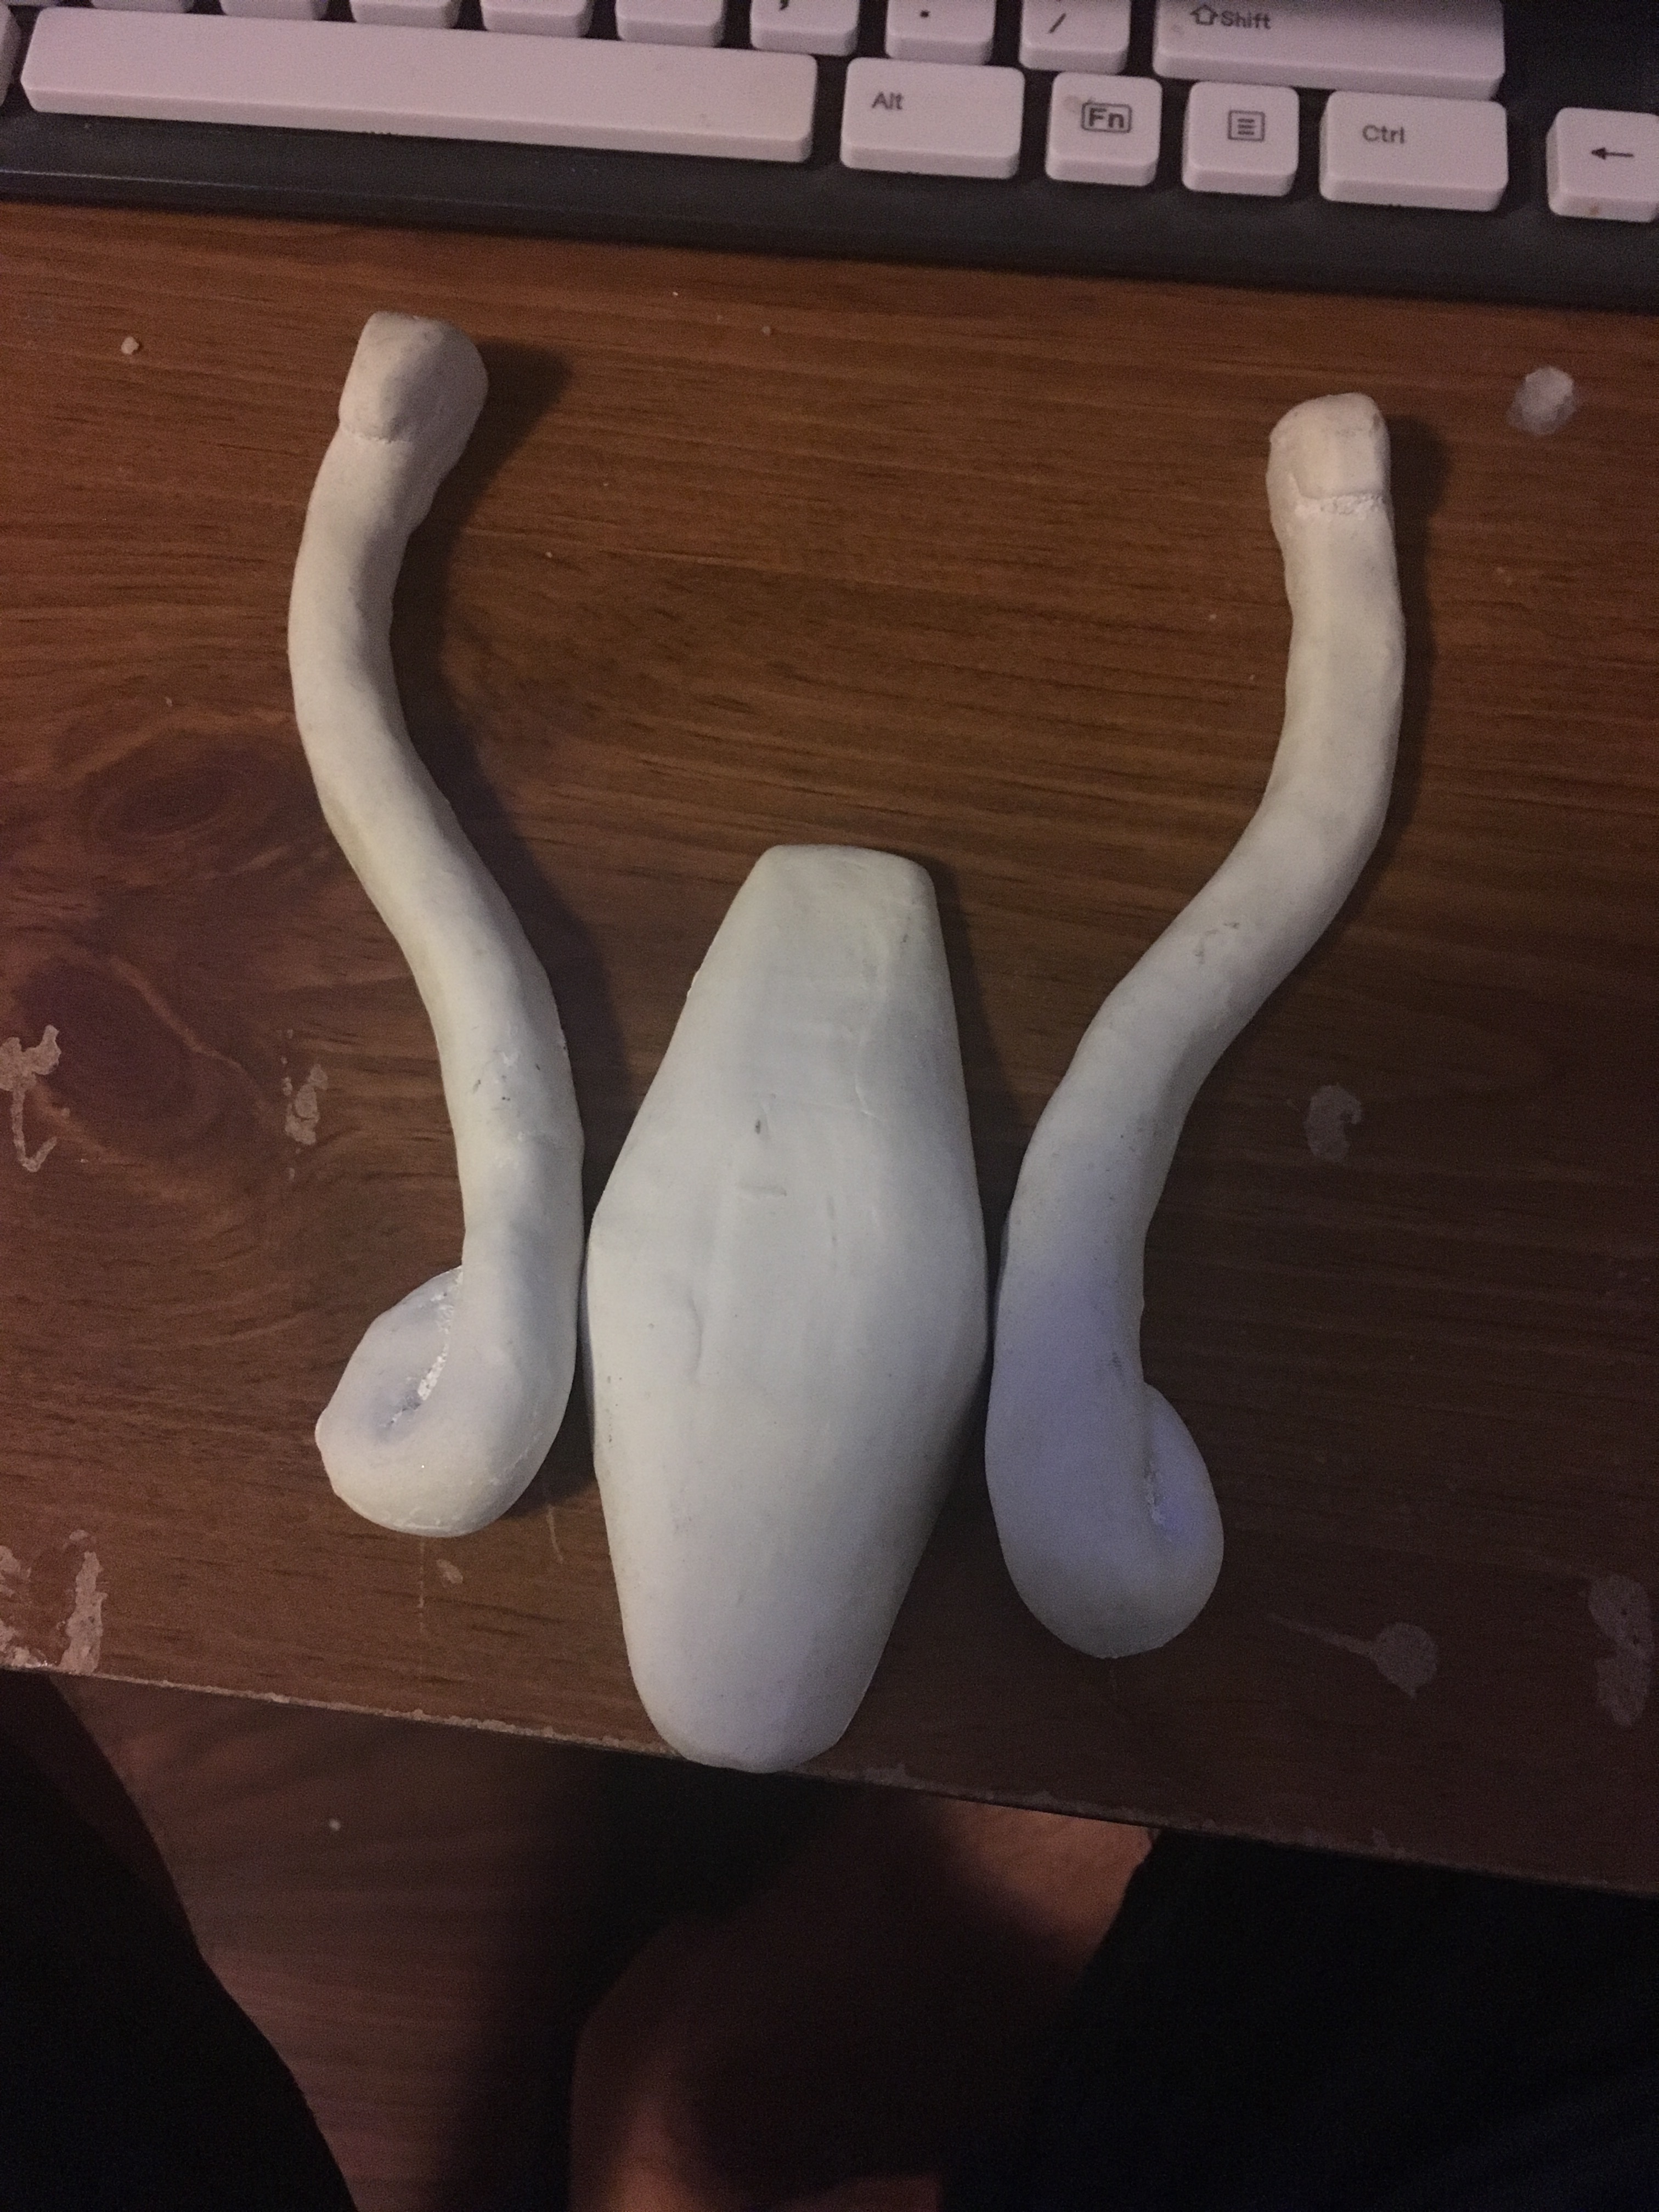
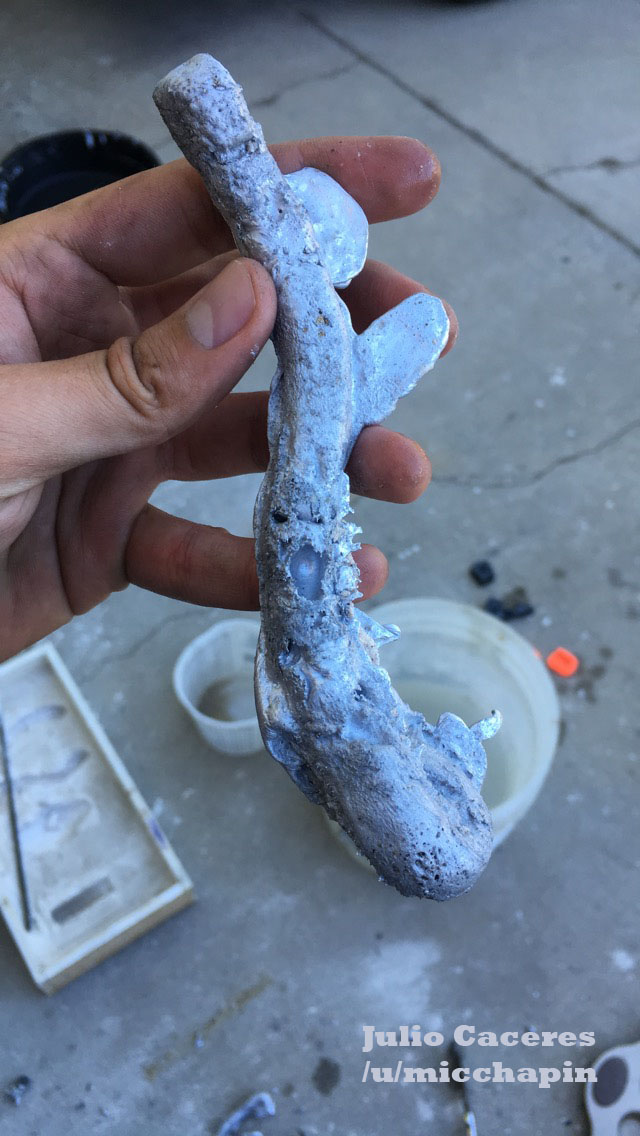
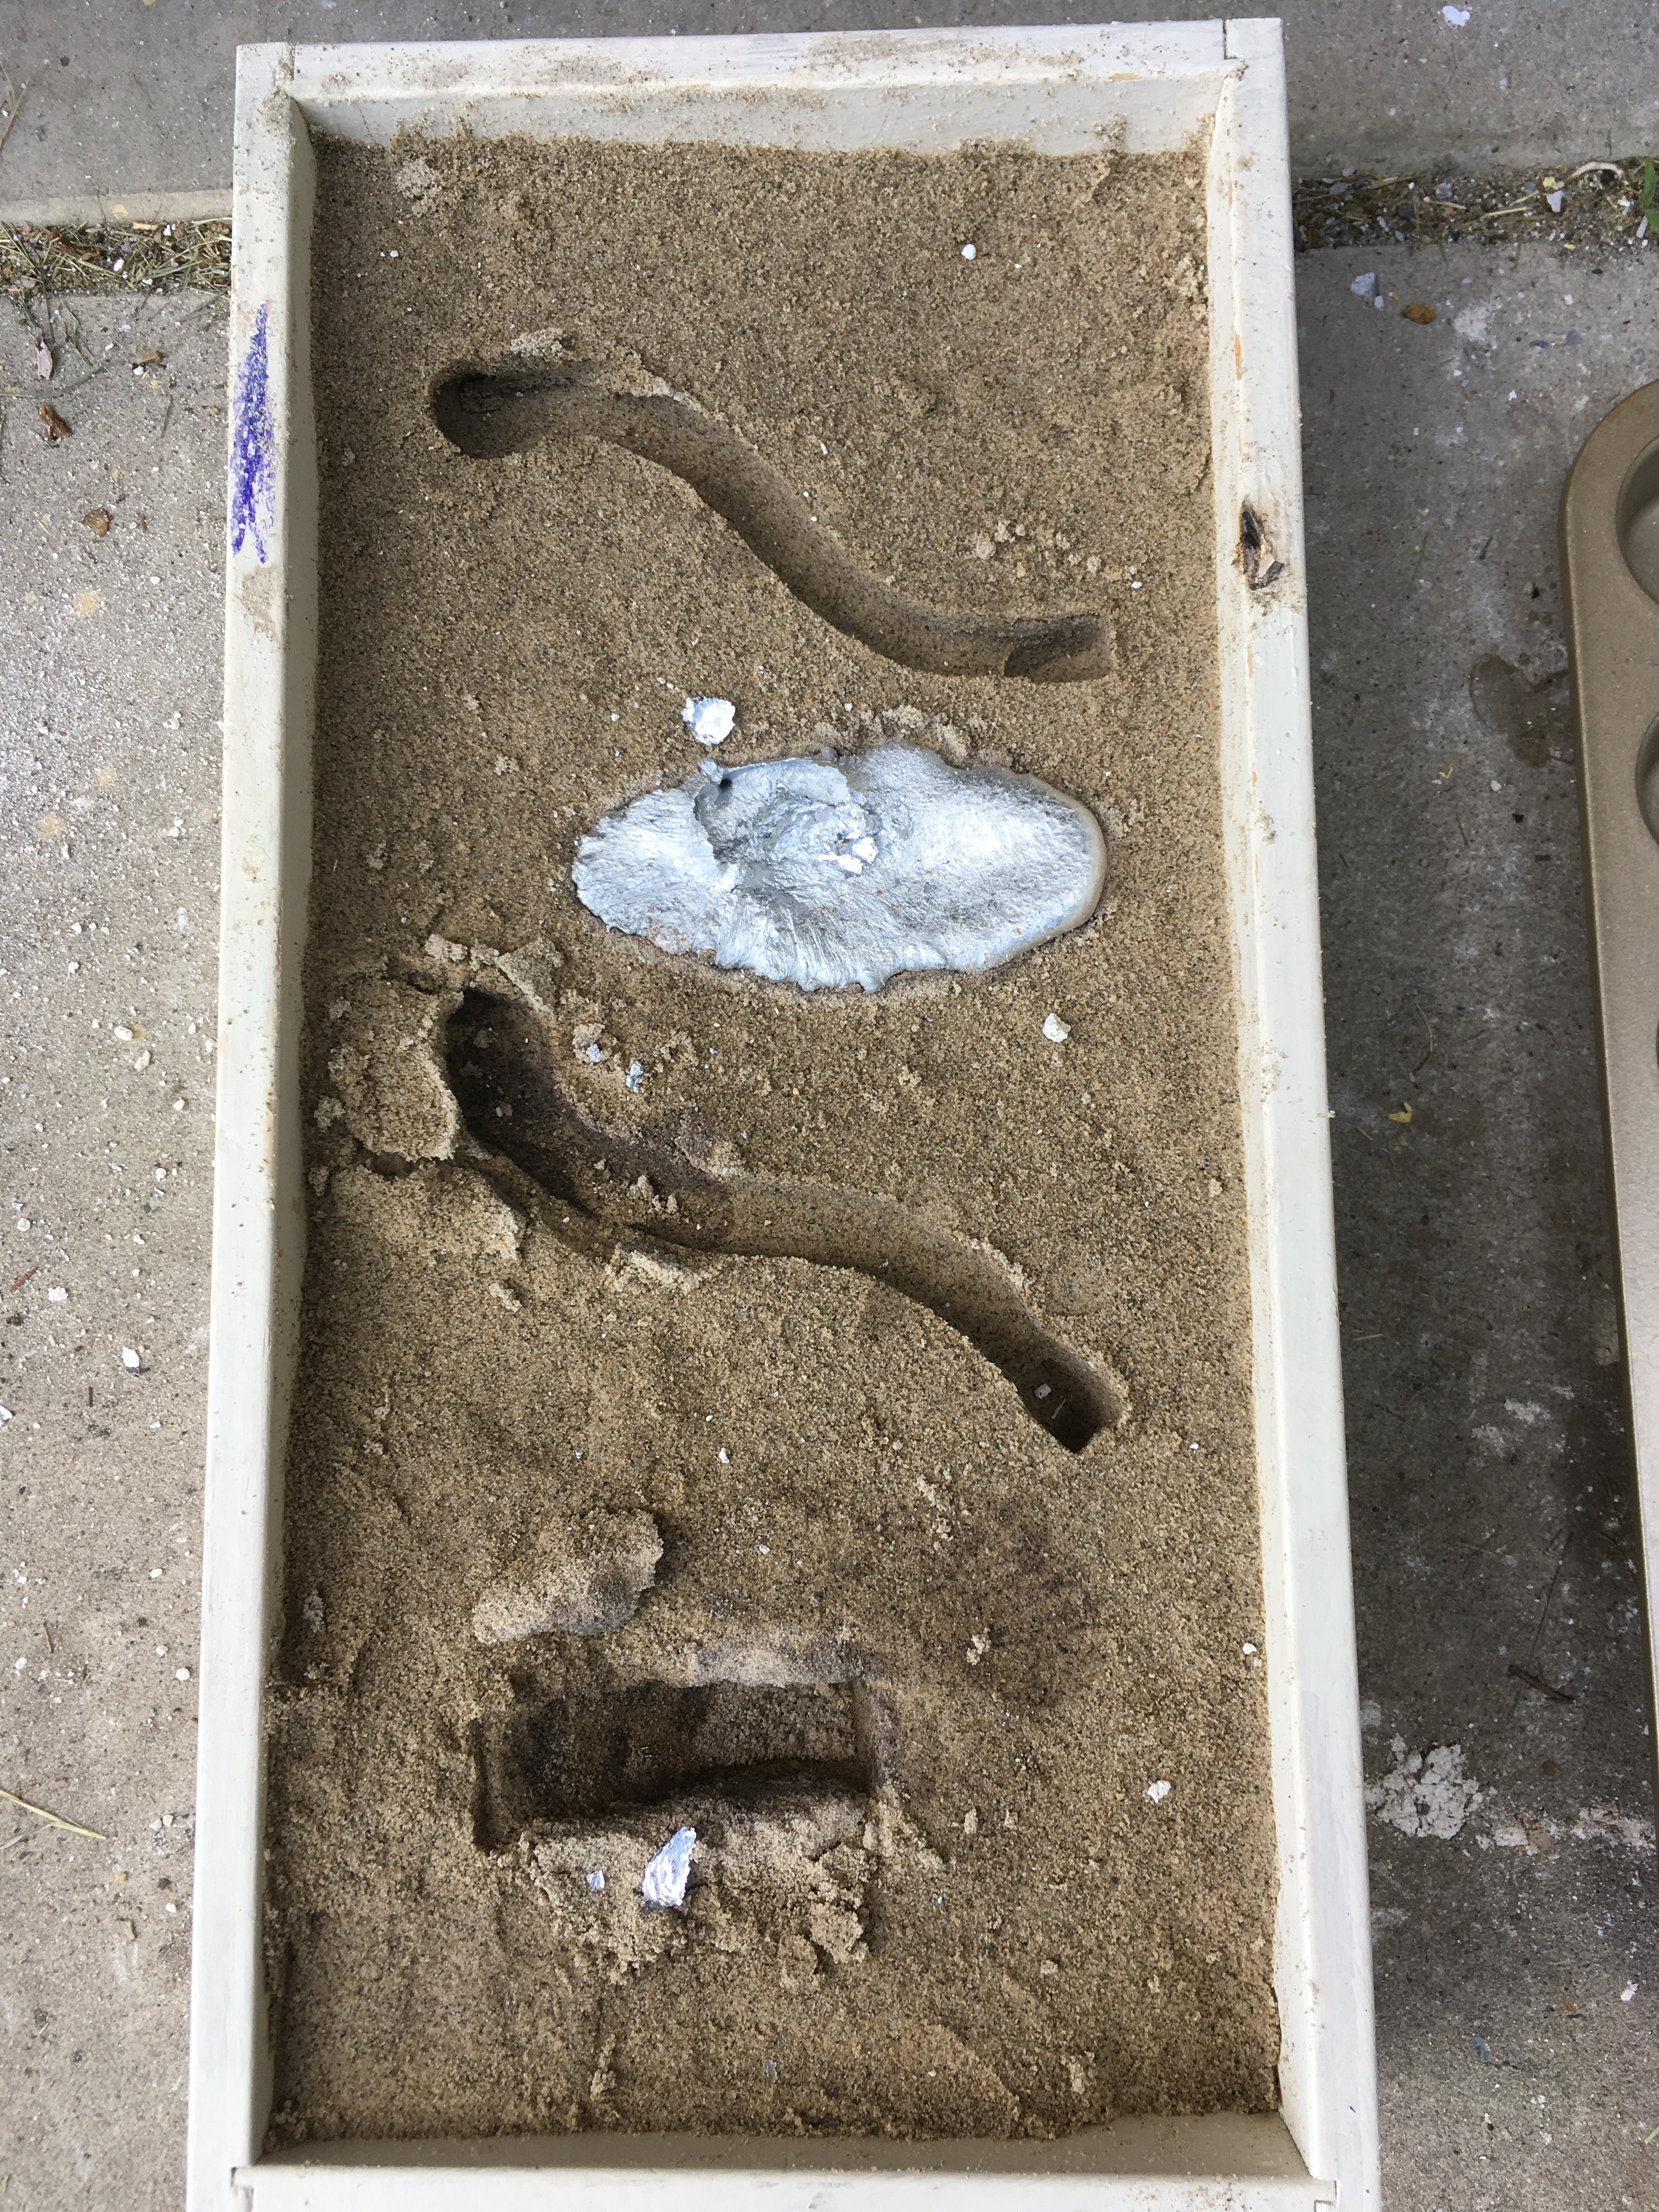
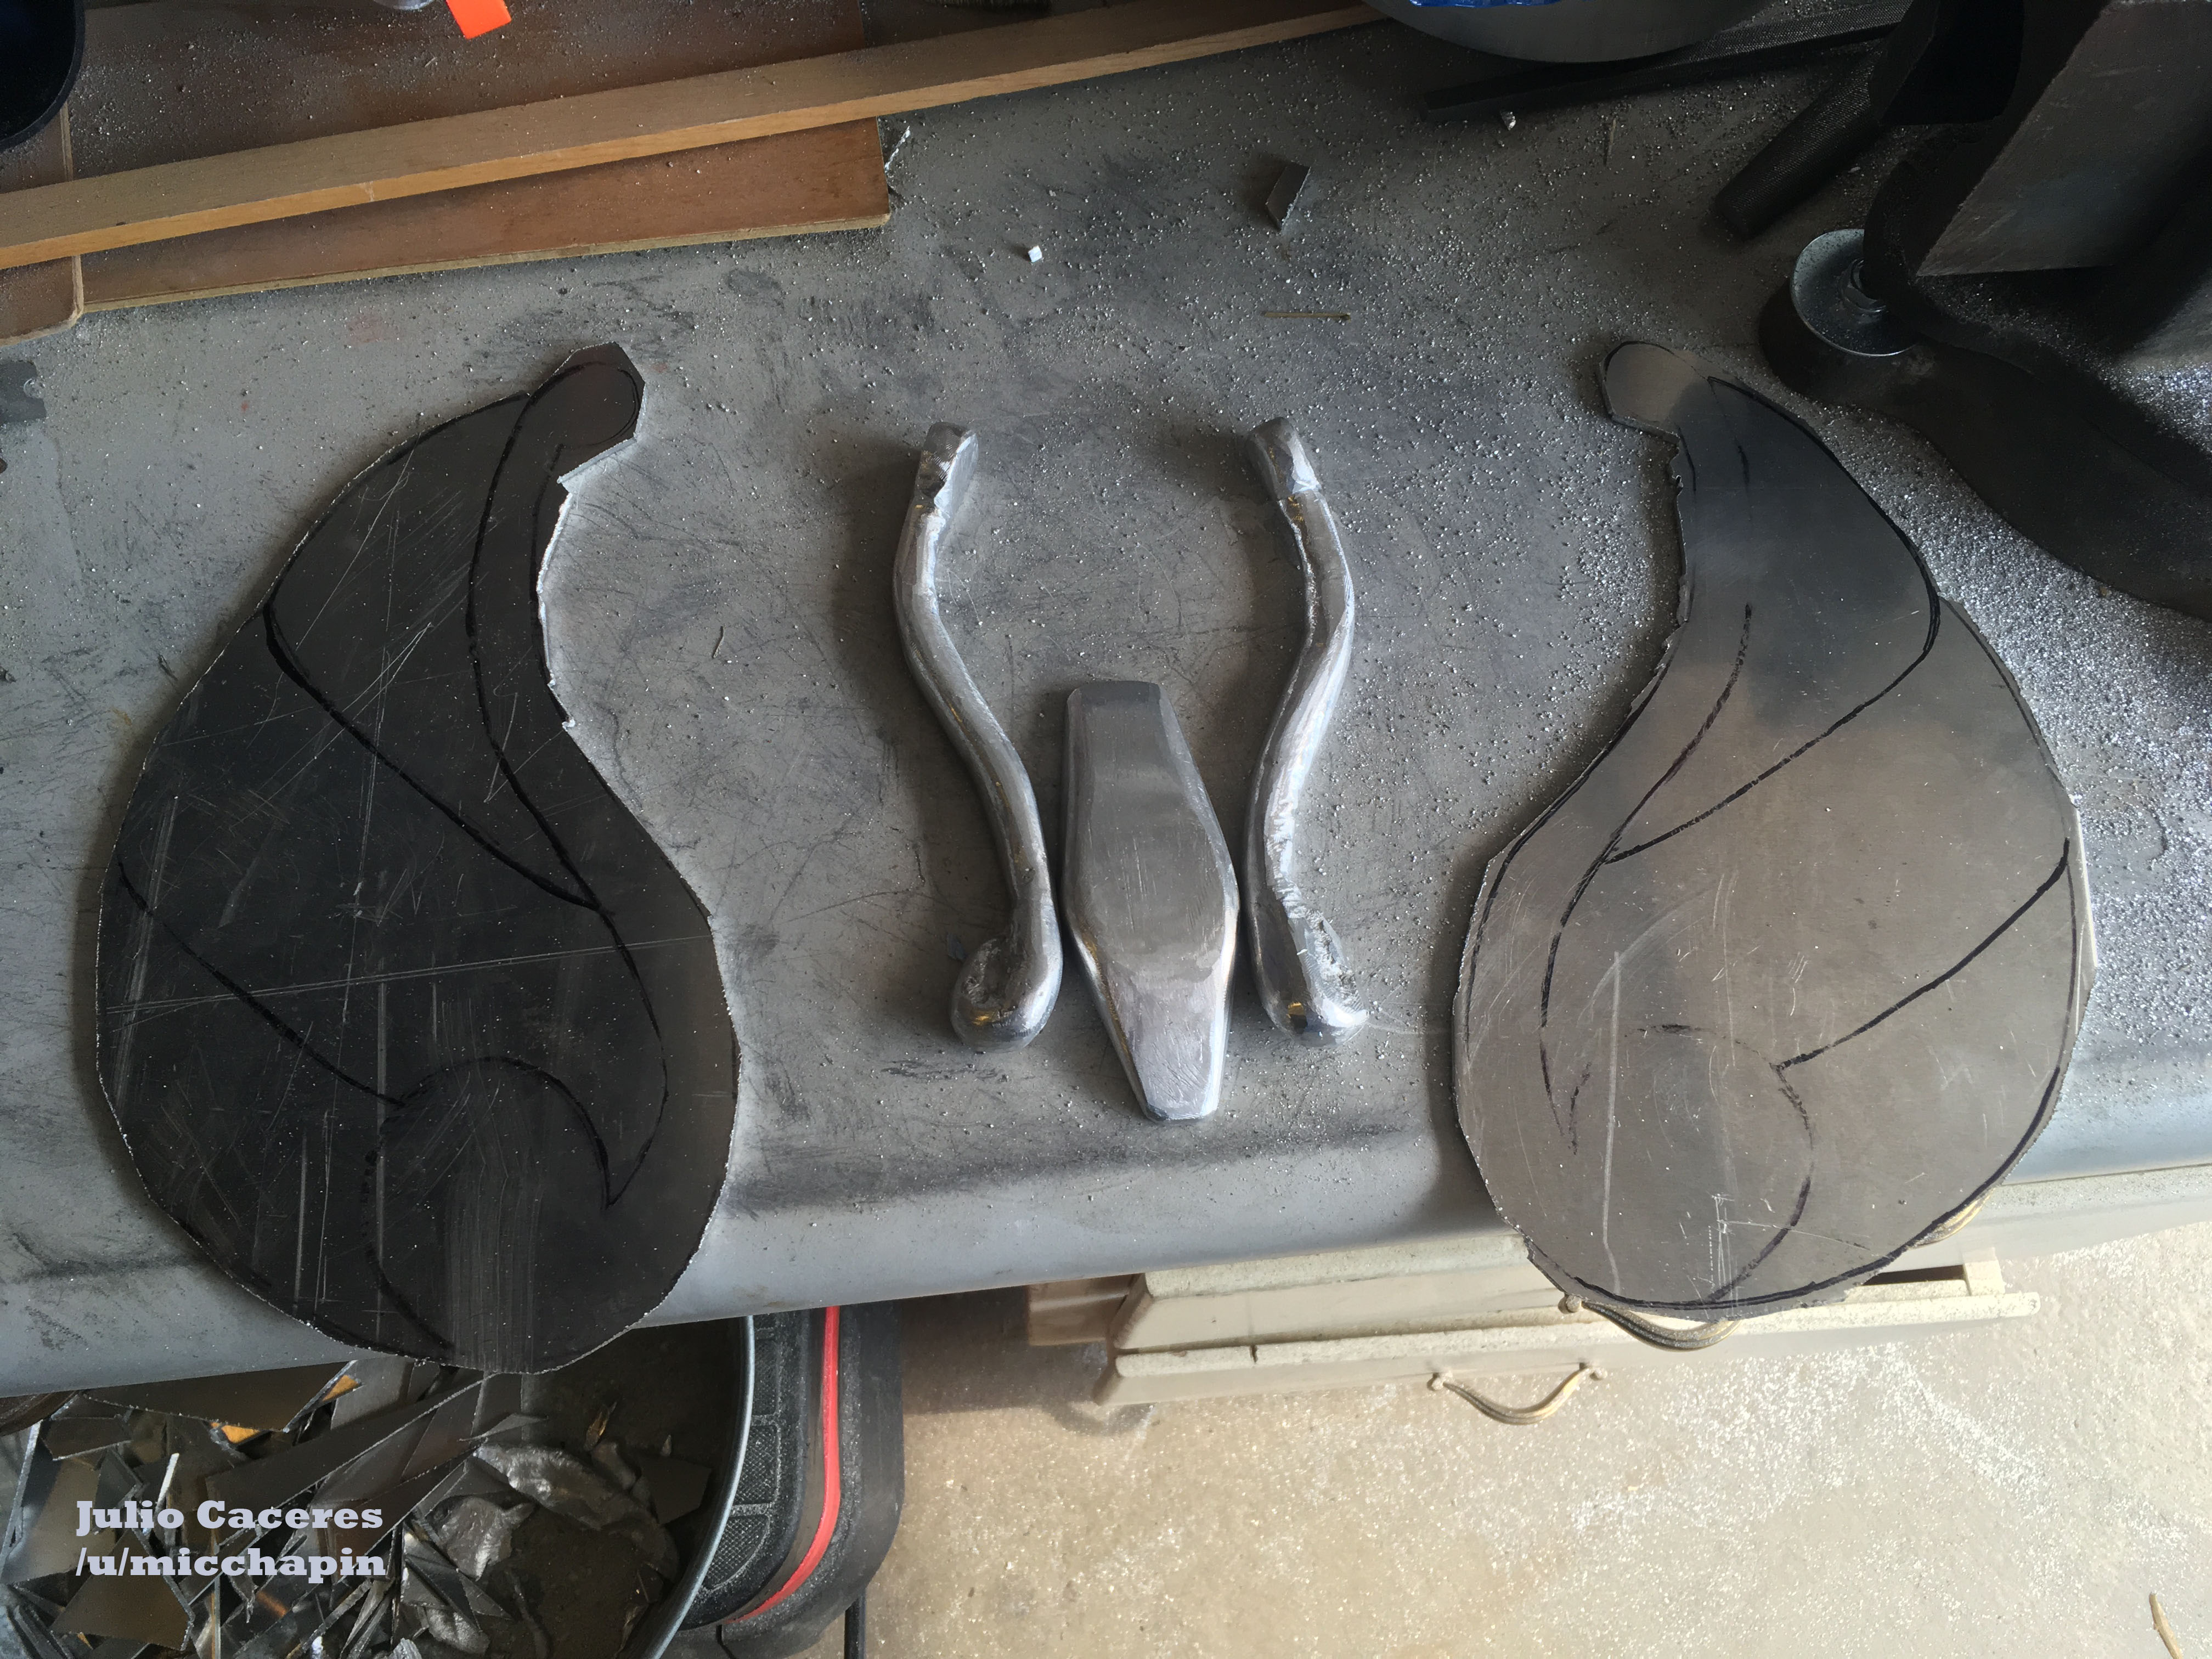
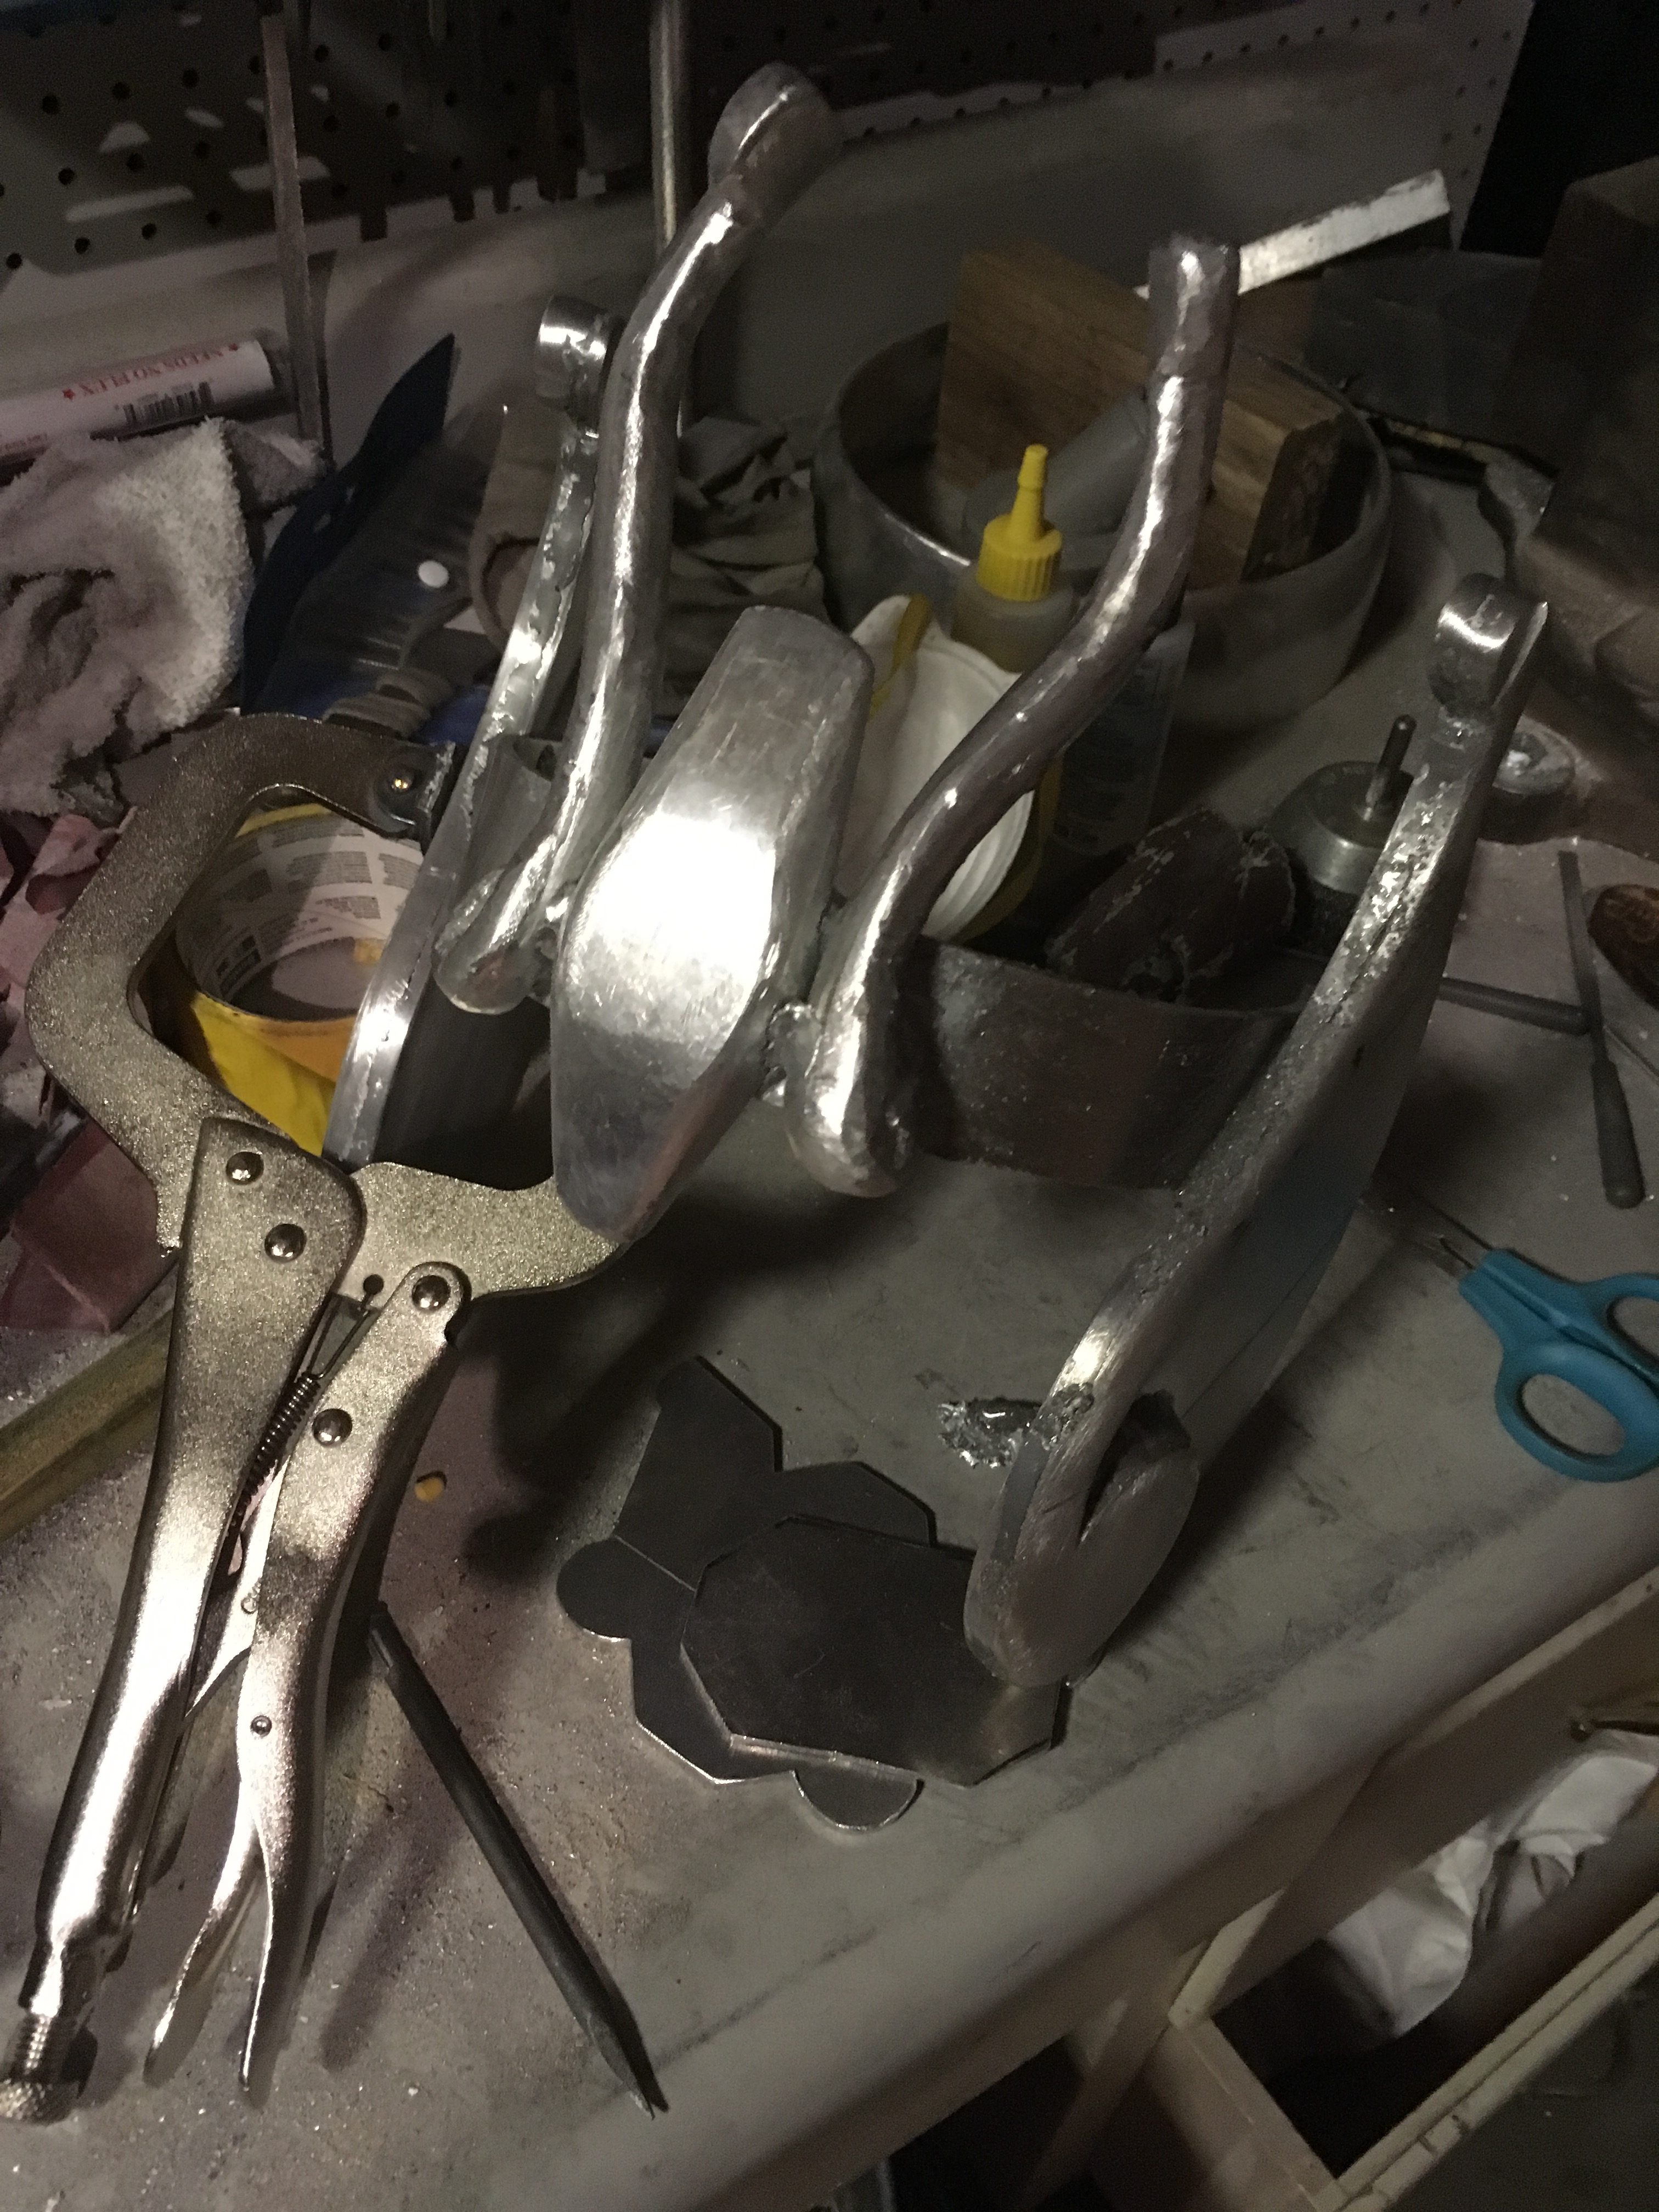
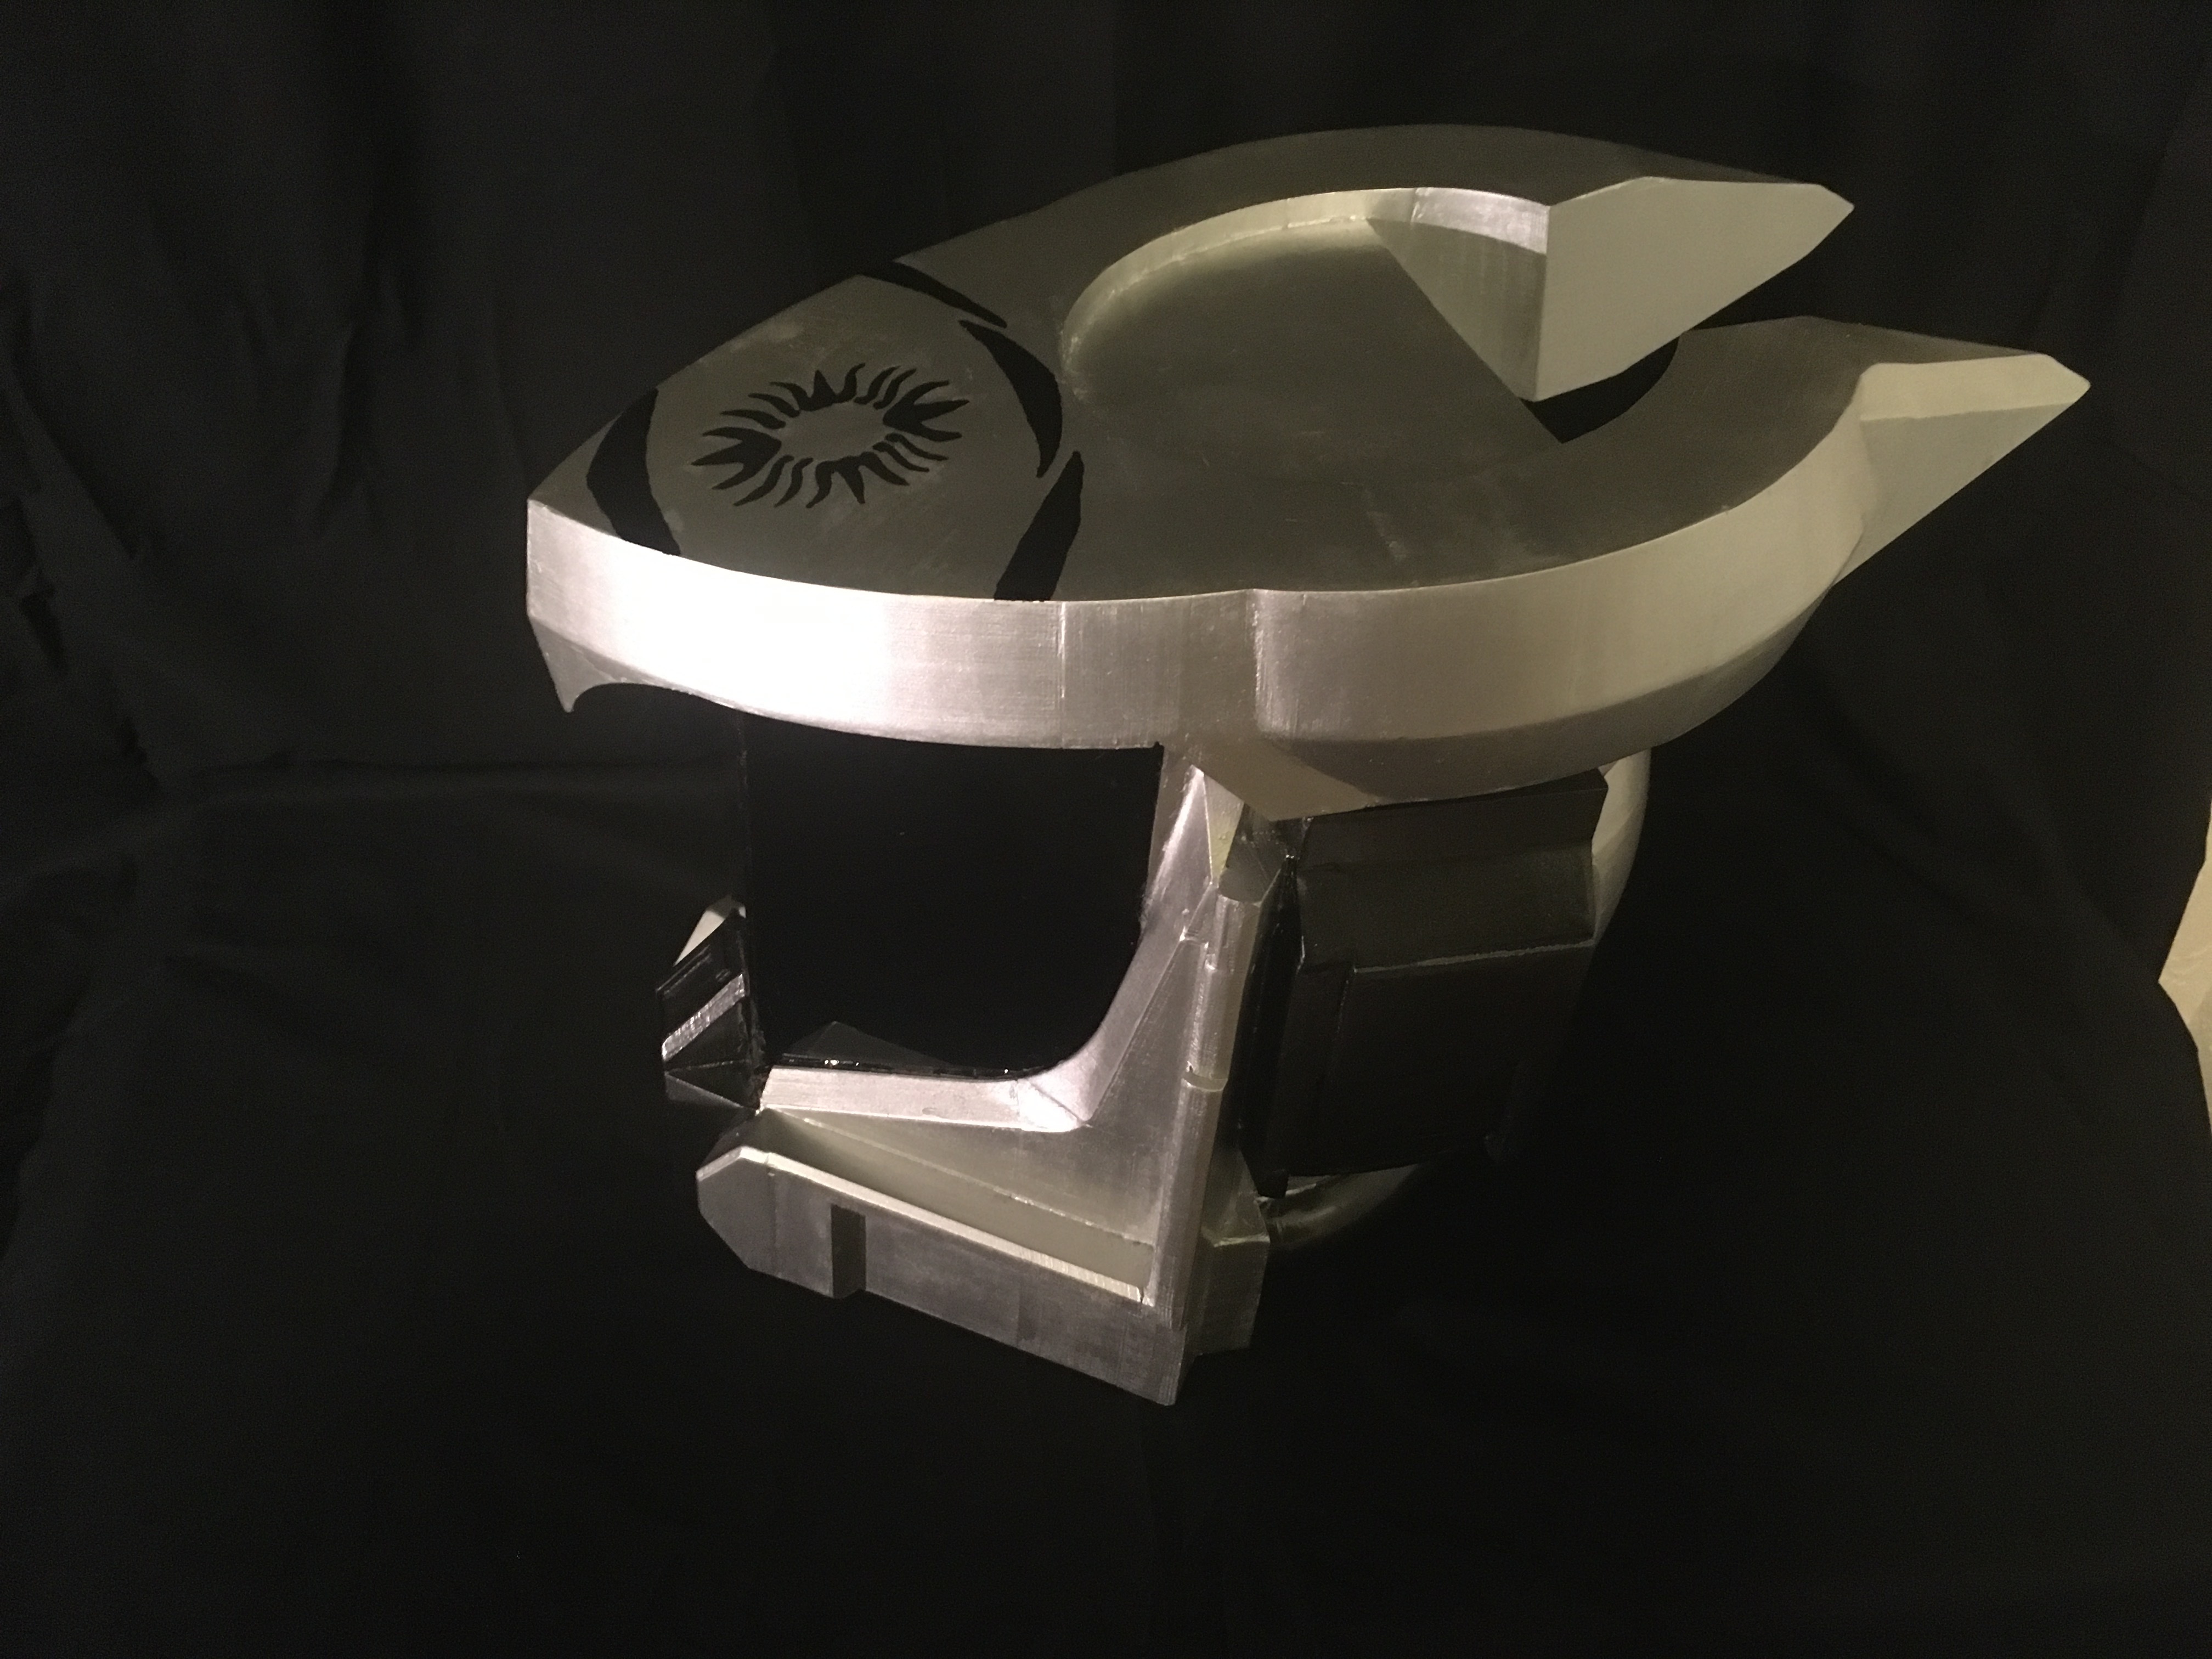
I built the foundry using a stainless-steel bucket and a mixture of sand with plaster of Paris. This mixture created a refractory material to keep the heat inside. I purchased a graphite crucible and used it to melt the aluminum. The heat was provided by charcoal along with a hair dryer providing air via a stainless-steel tube. I used Morton’s Lite salt as flux. The aluminum came from various sources including soda cans and was first put into ingots, then re-melted once the casting was ready. The mold was made from green sand. The first couple of cast pieces had some bubbling and had a very rough surface, but with some additional tries, I was able to get workable pieces. The pieces were joined by brazing. They still took quite a bit of post processing (filing, sanding, polishing), but I was satisfied with the end result.


Helm of the Exile (Destiny 2) –Solidworks/3D Printing
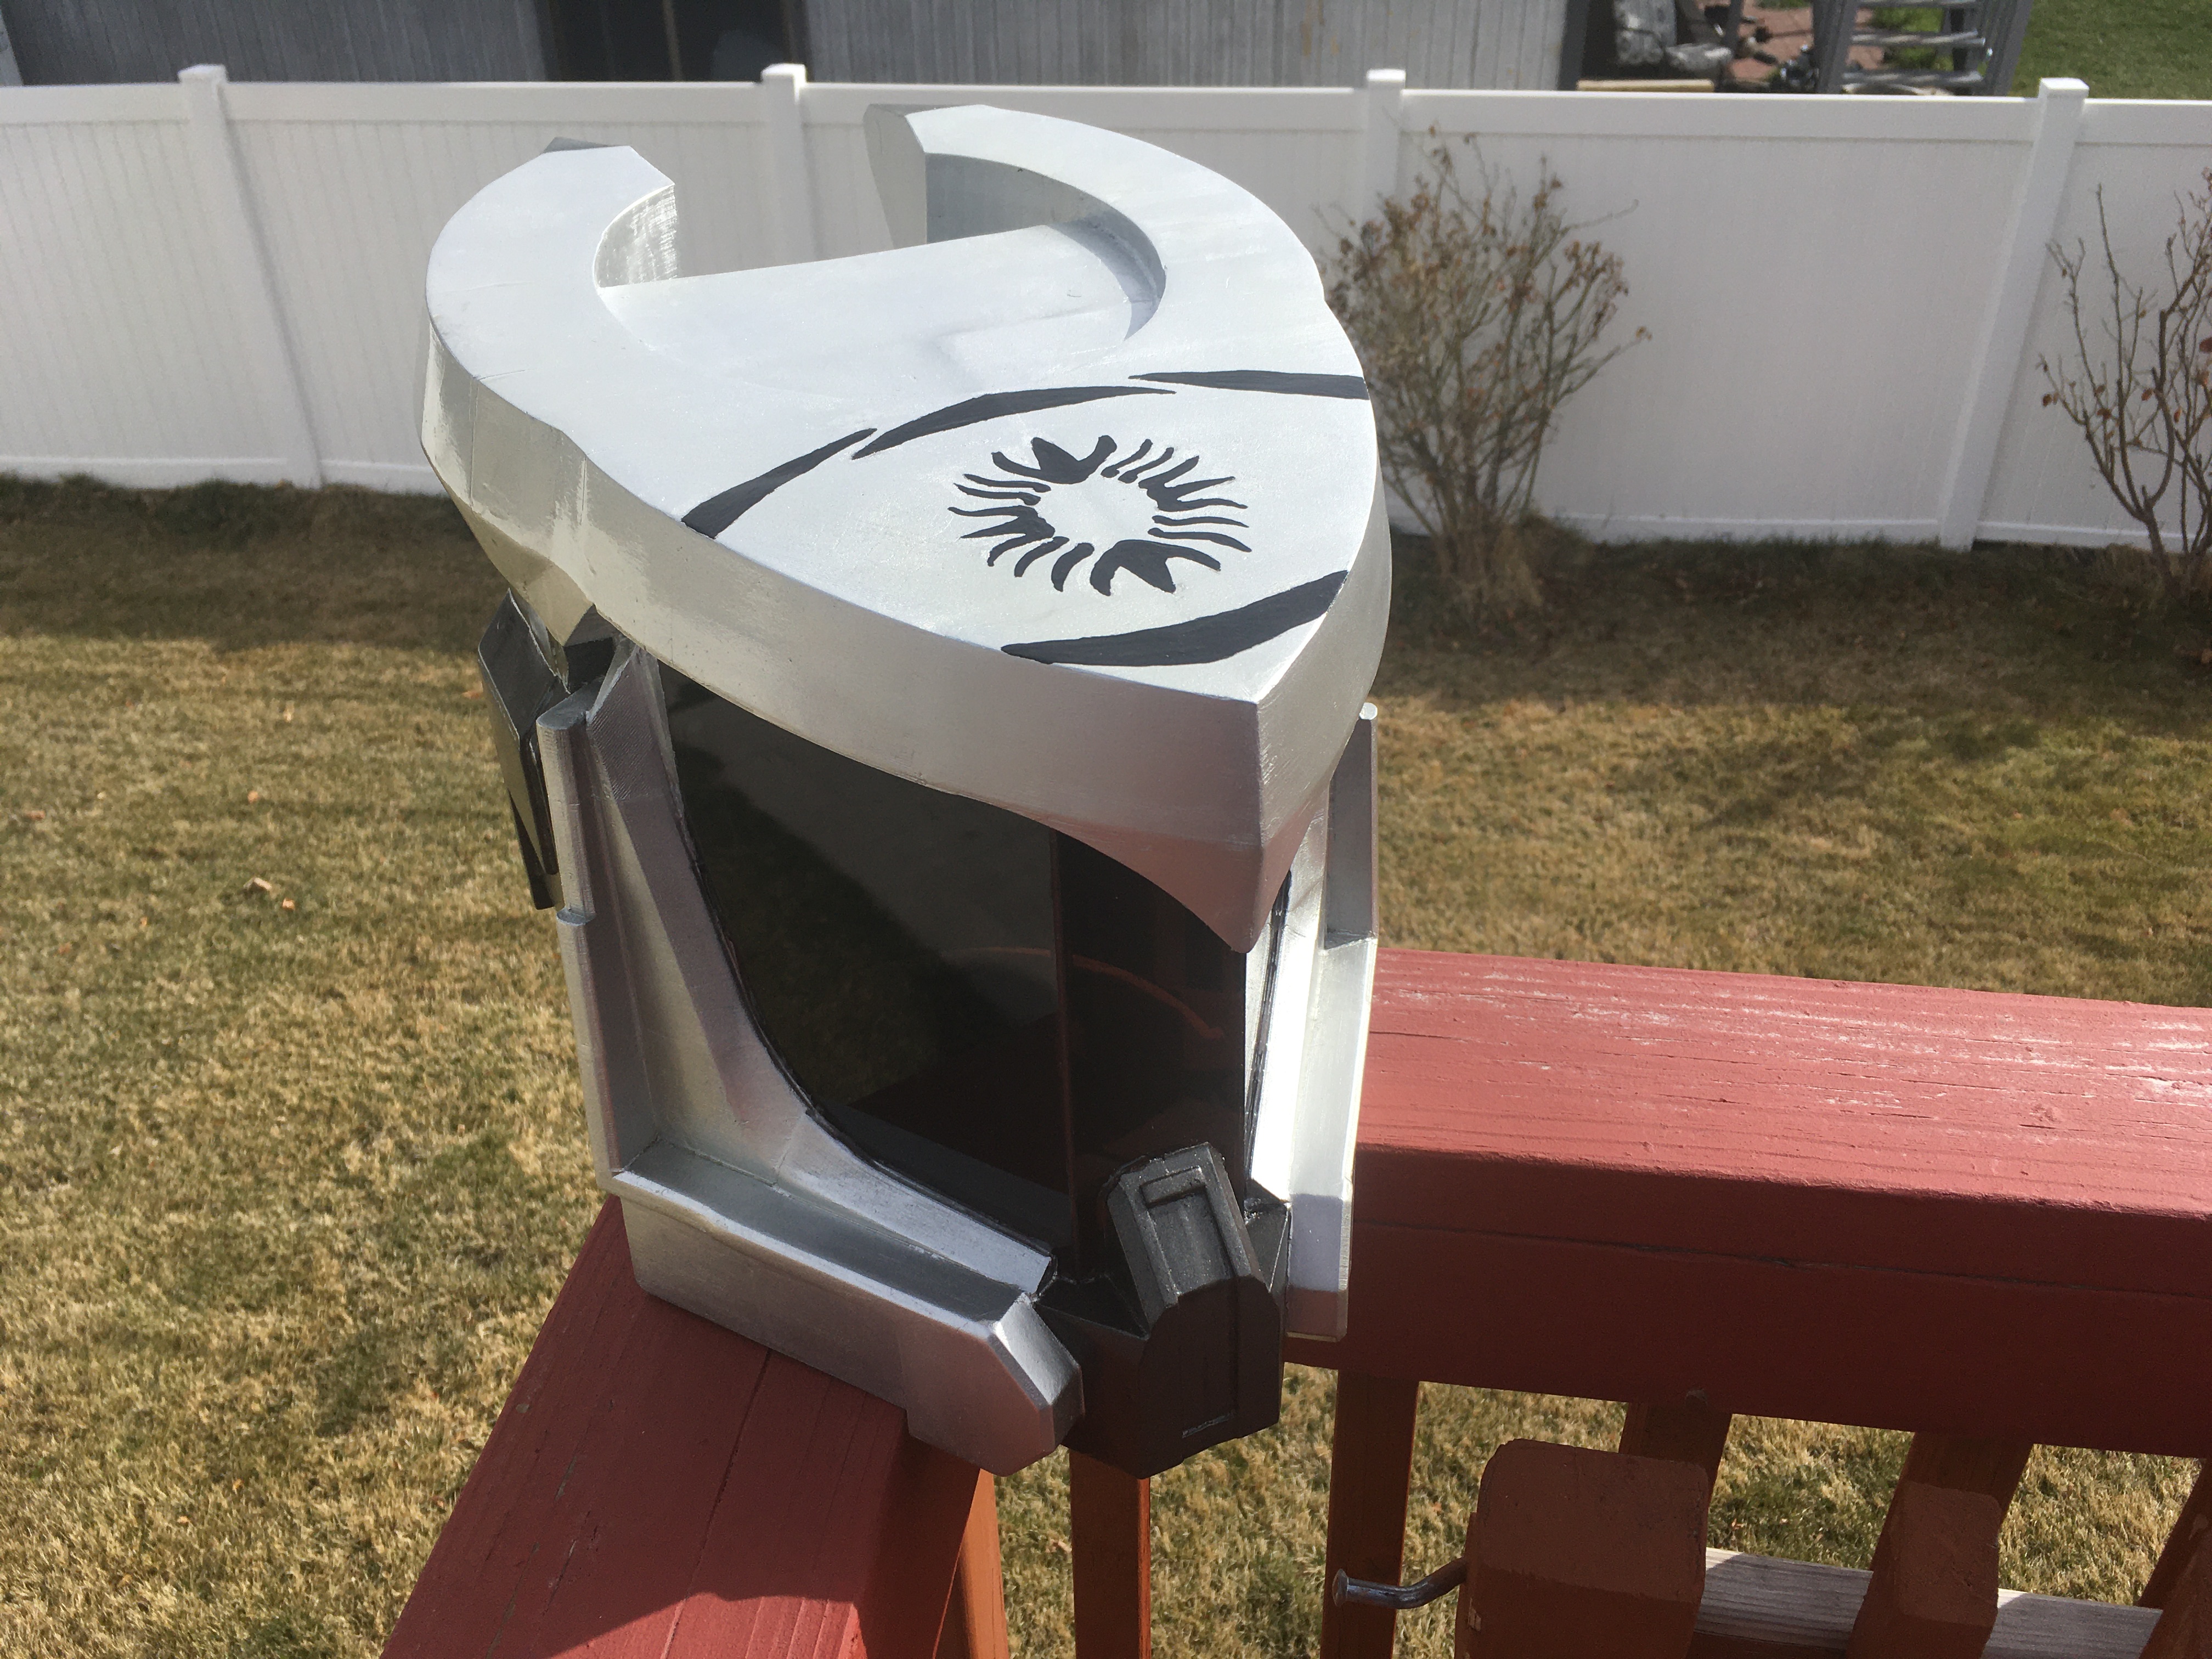
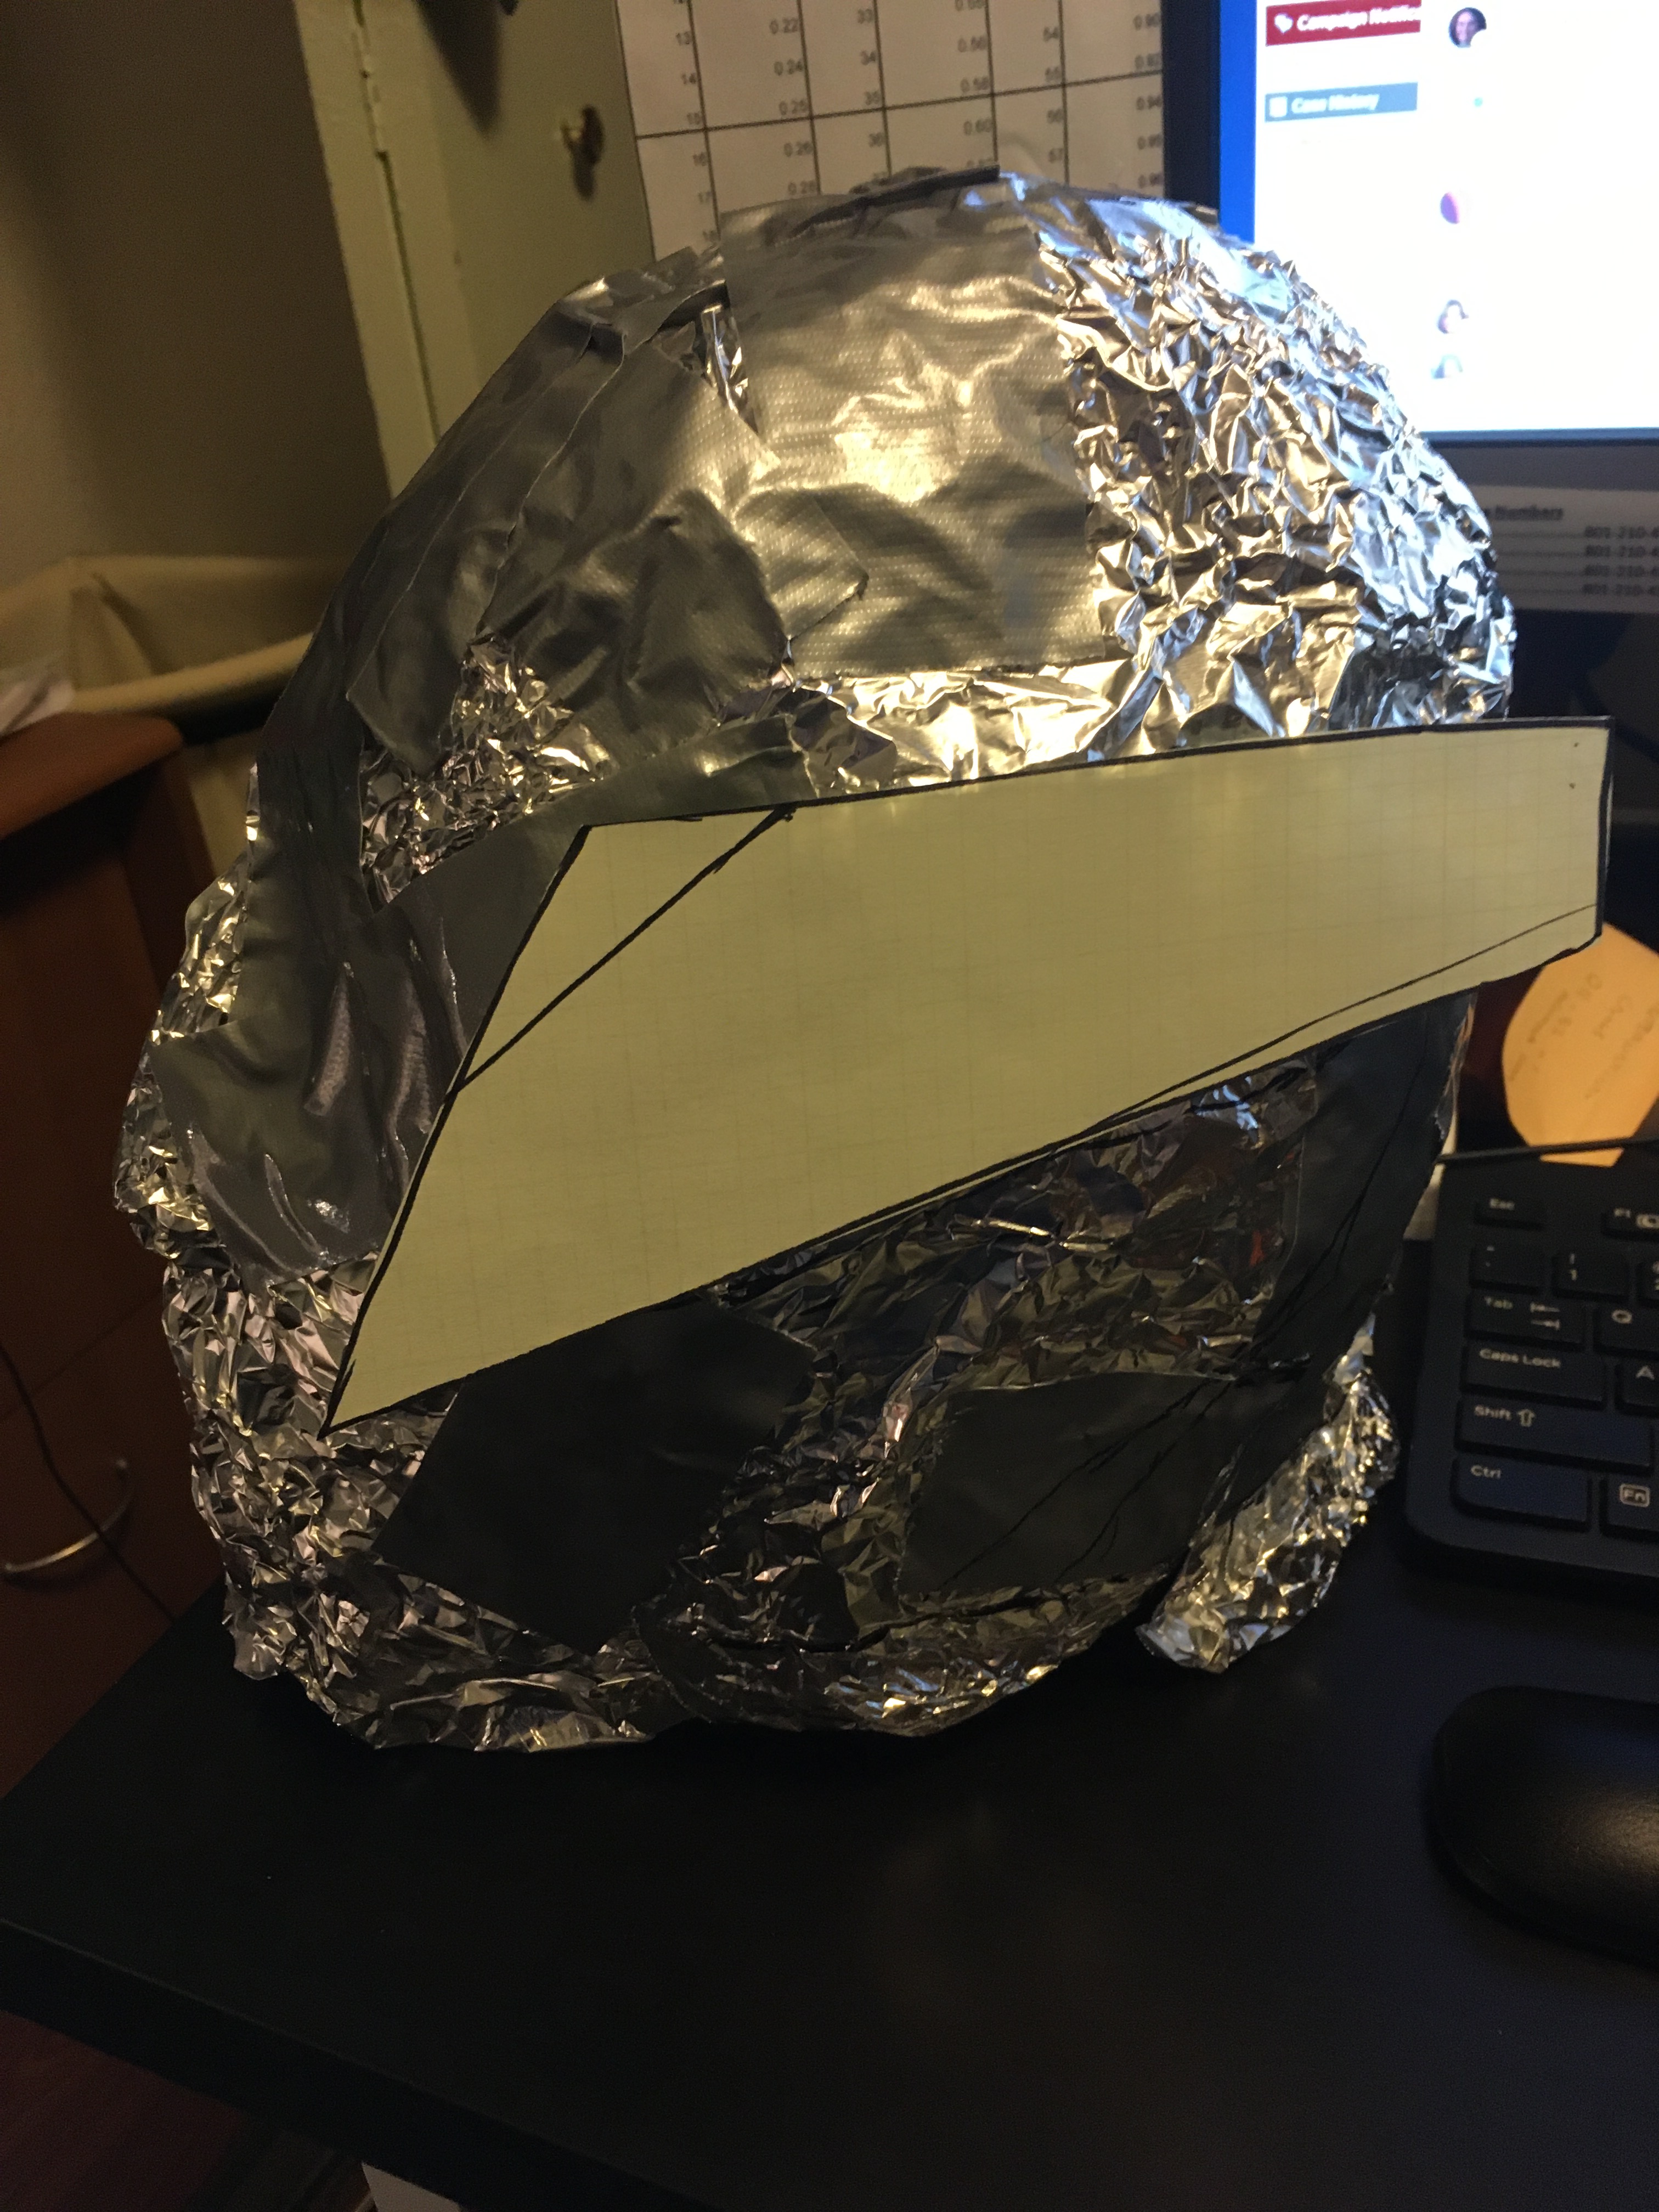
Since I am a big fan of the videogame Destiny, I wanted to make something iconic from the game. I decided on making my favorite helmet. I designed it all in one piece in Solidworks leaving space only for the tinted acrylic visor. The piece was then split into 30 pieces and each was 3D printed separately. It was printed in PLA using my Monoprice Maker Select V2 and joined with two-part epoxy. Once it was all joined, I sanded it and used Bondo Body filler to fill in any imperfections. I spray painted it, painted the design with a brush and coated with polyurethane. The main thing I sought to learn with this project was how different slicing settings affected the prints (infill, wall thickness, print speed, layer height, etc).
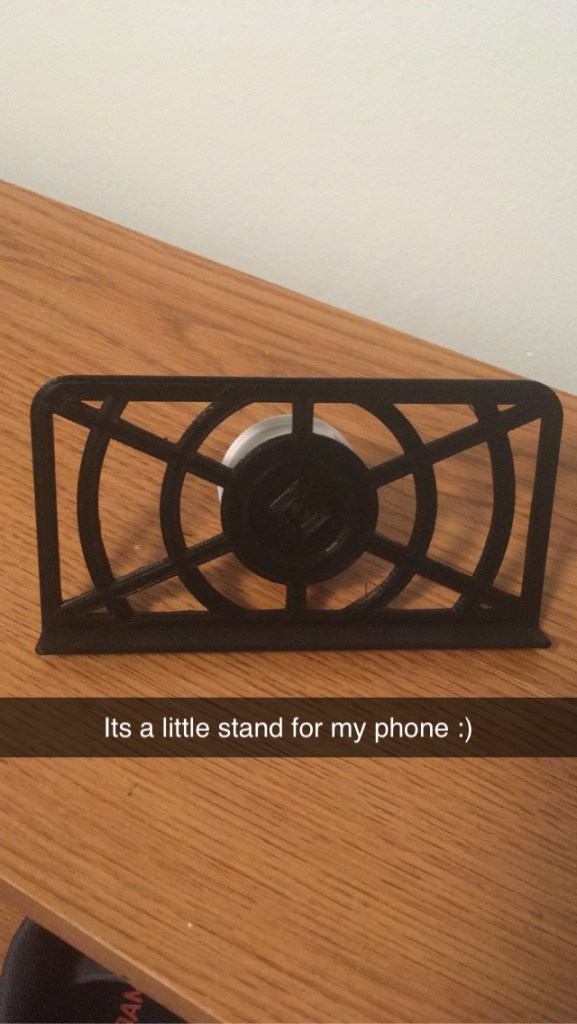
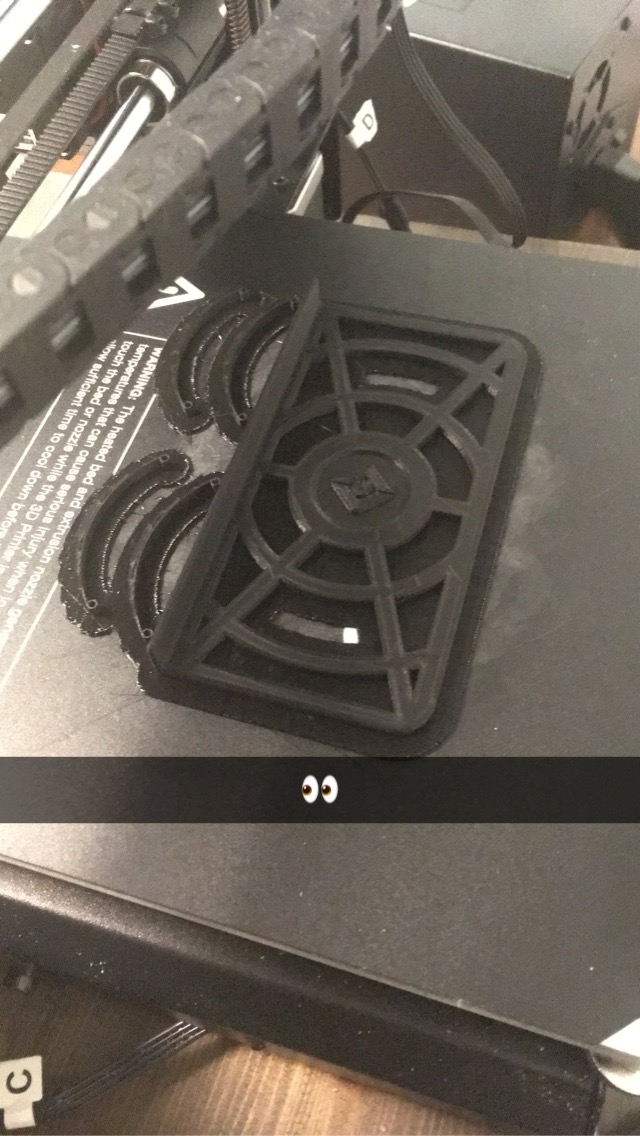
Phone Stand – Solidworks/3D printing
I often watch Youtube videos while eating or doing other things, but it was difficult to prop my phone up against things because the case is smooth and it would slide off. I created this holder so that I could stick a Popsocket in the back, and prop my phone on any flat surface.

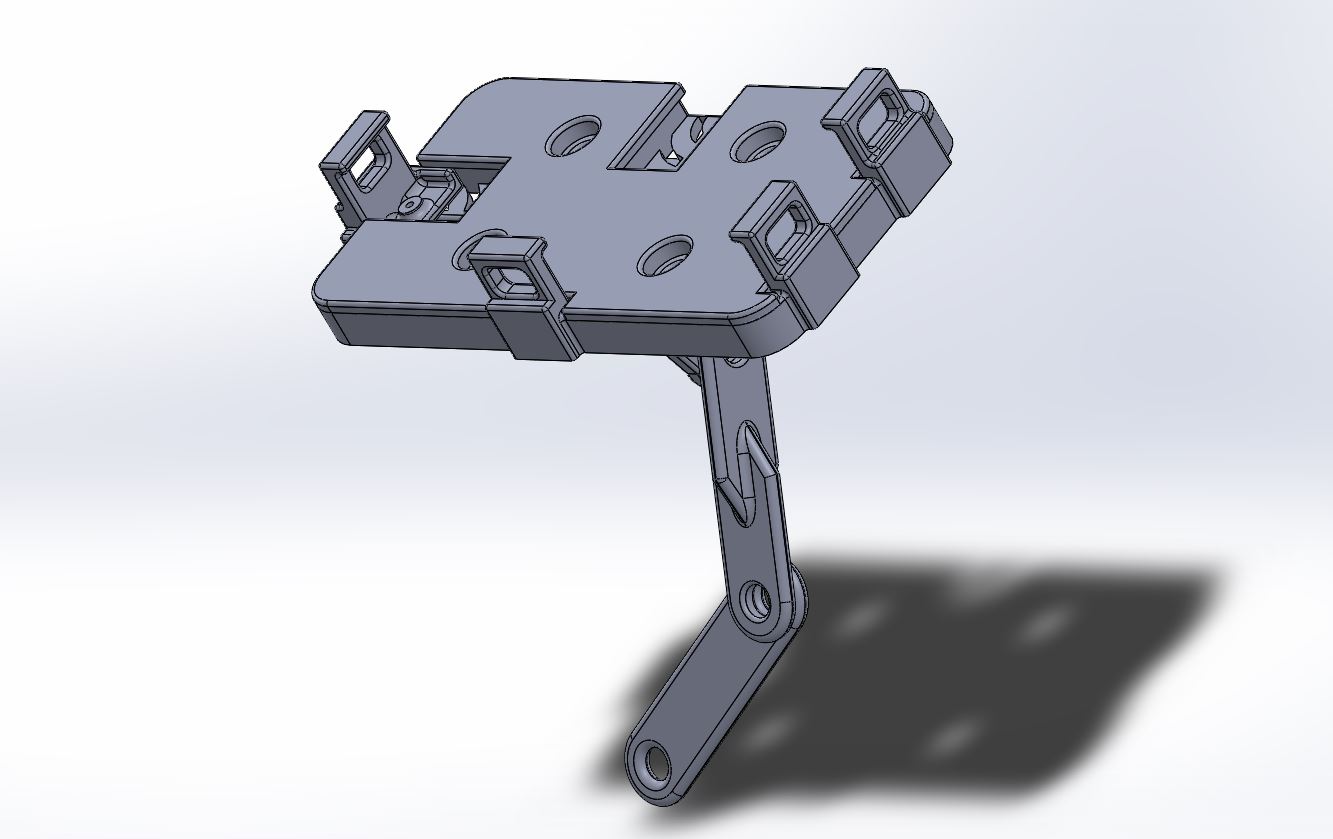
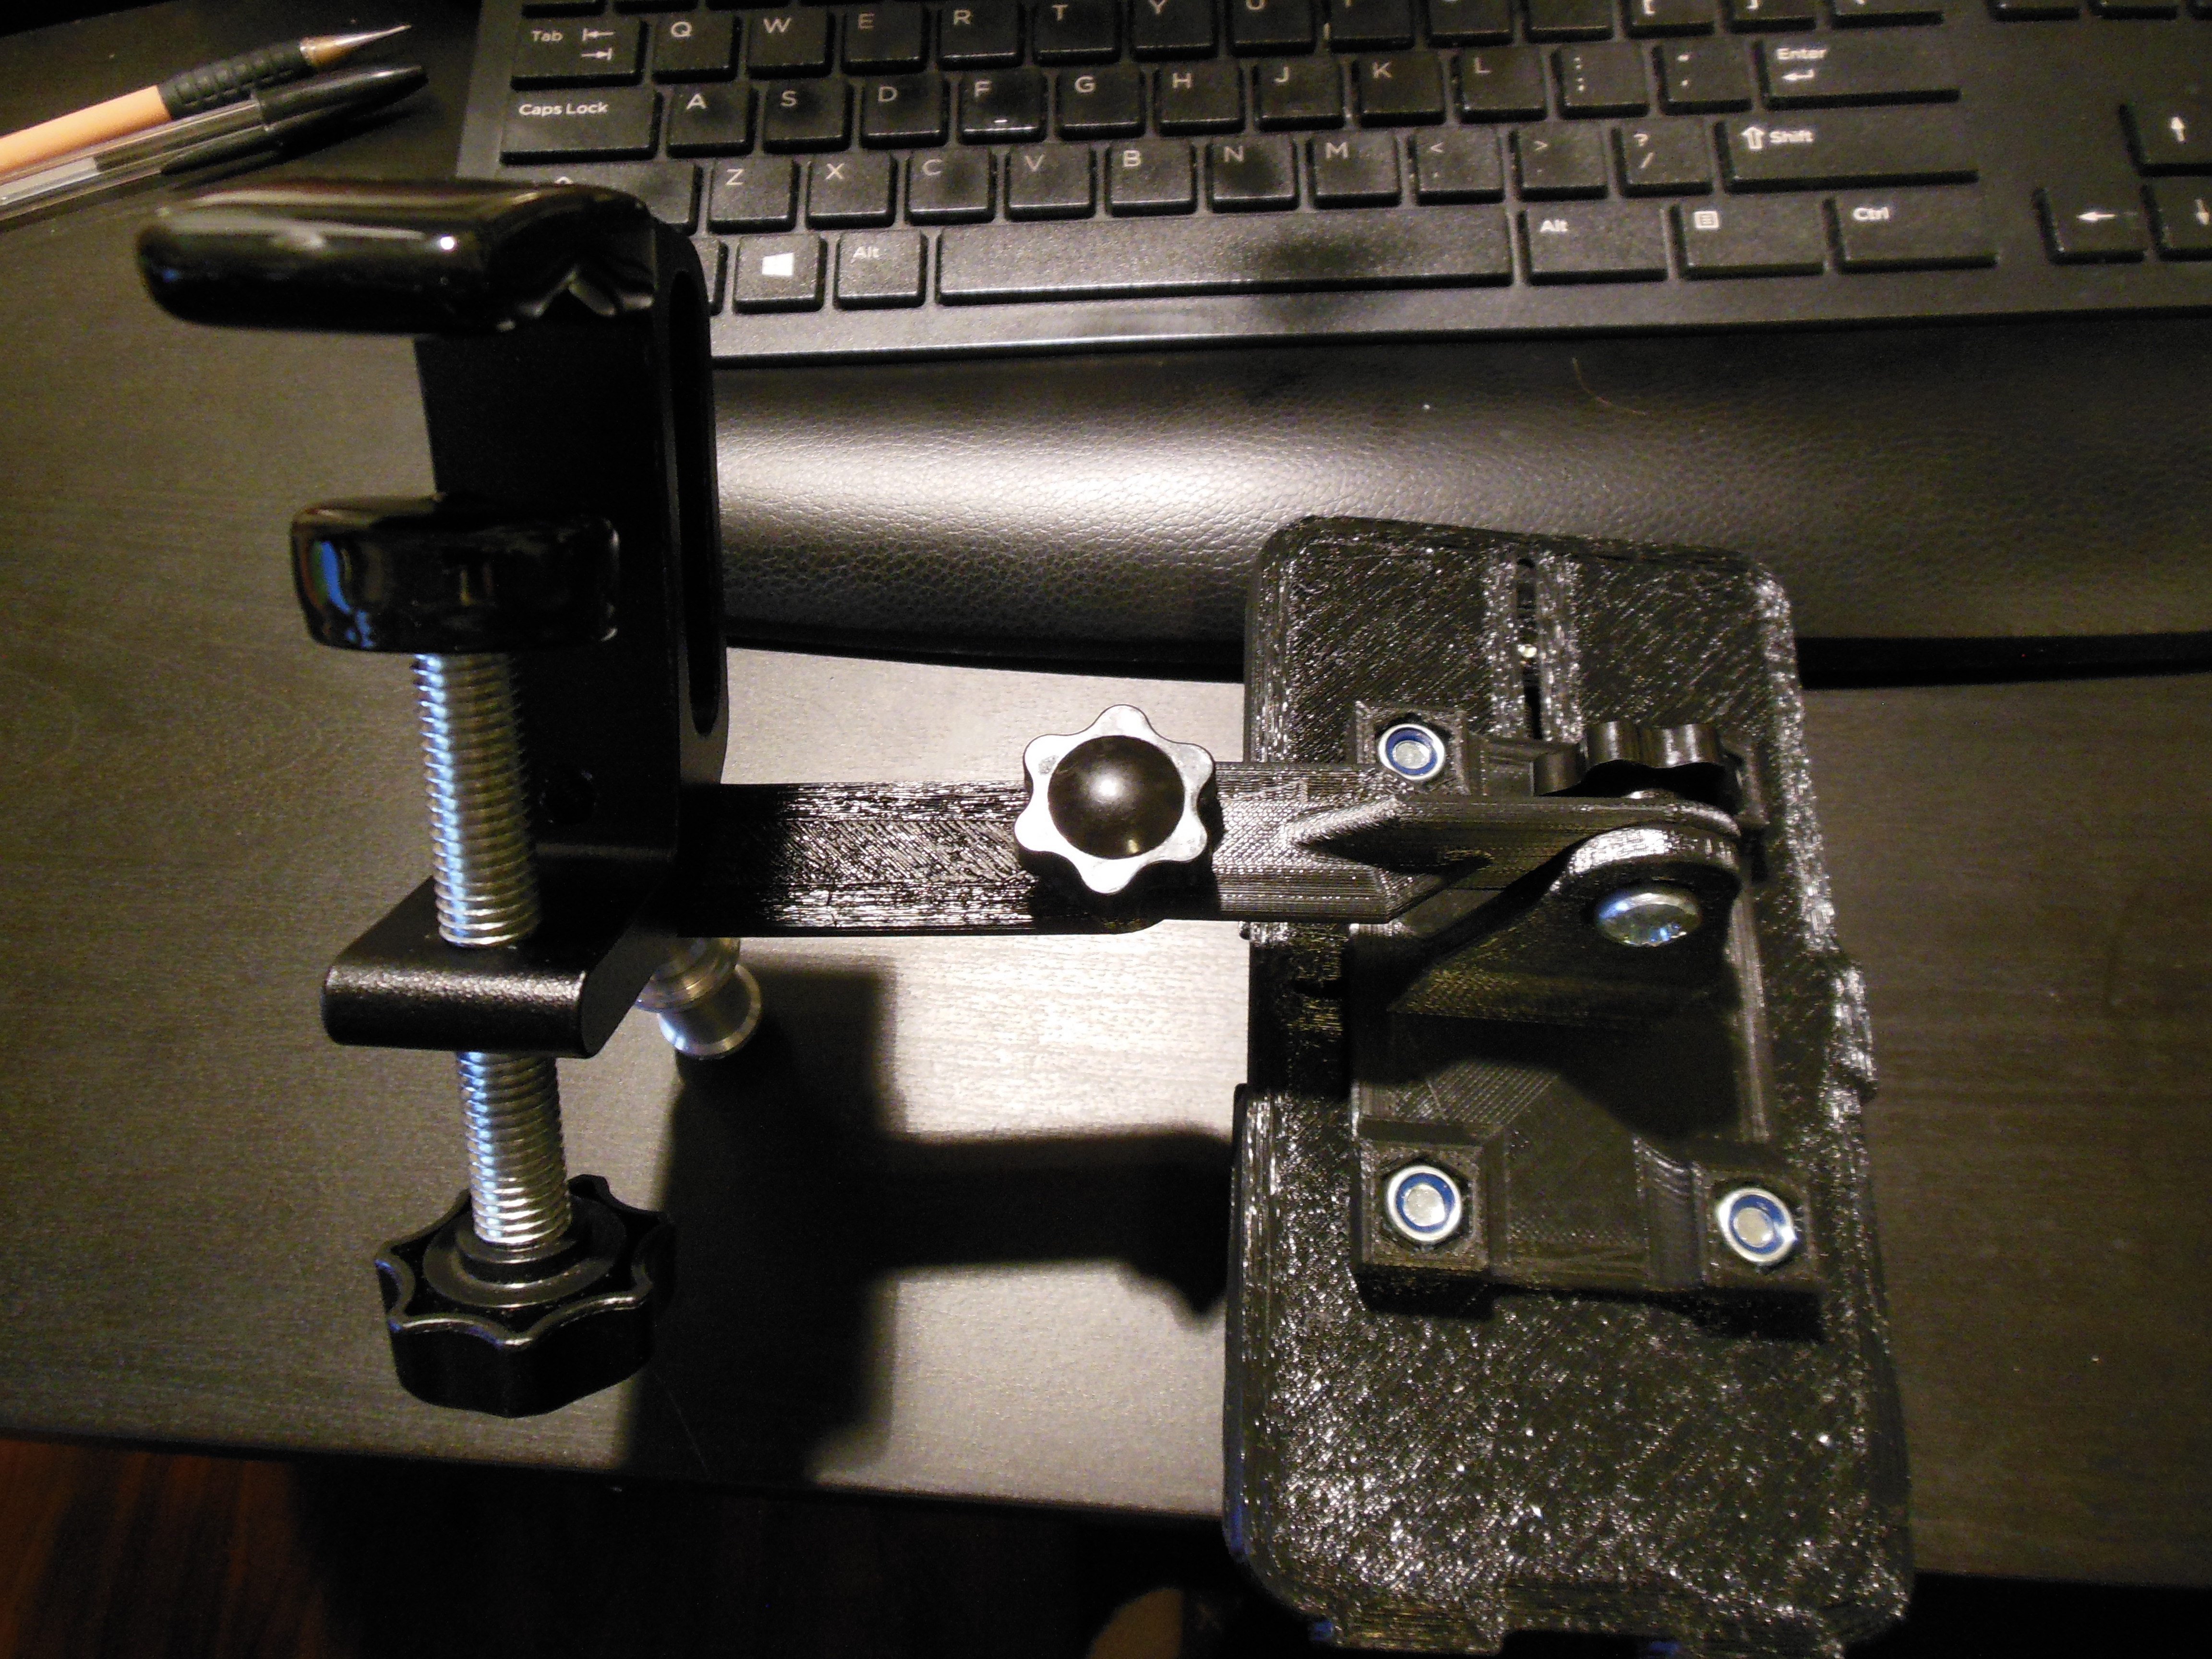
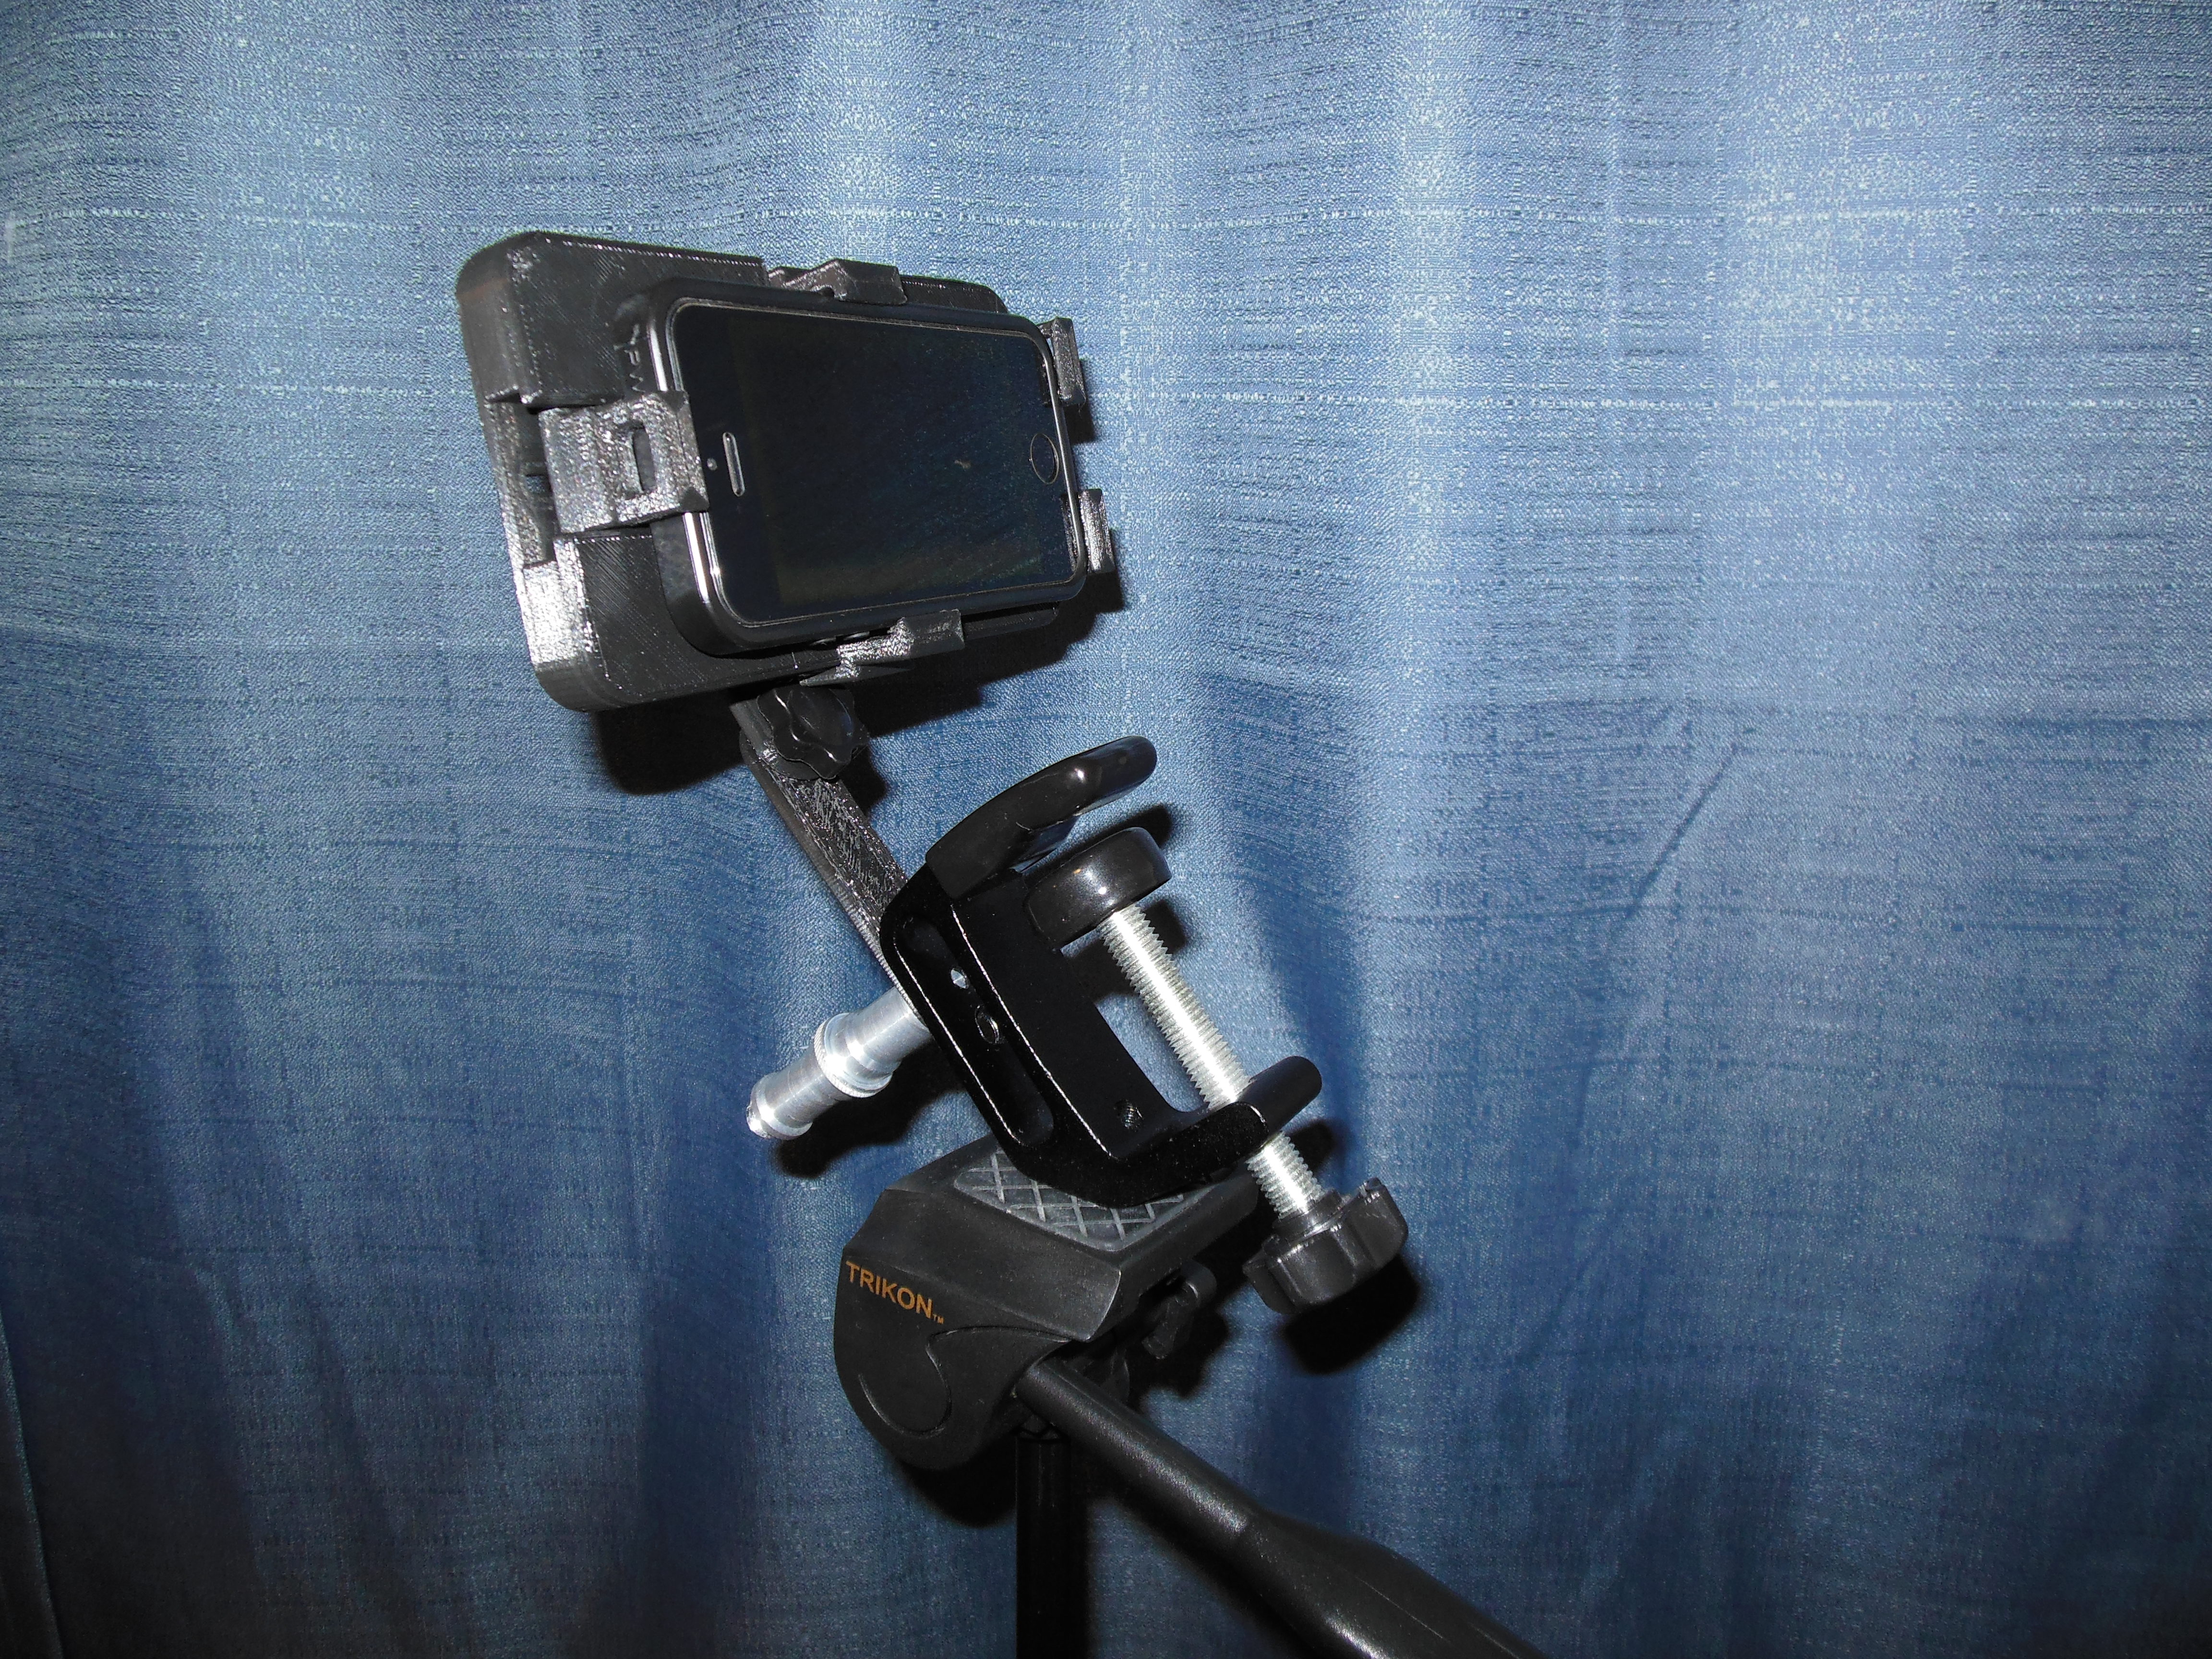
Phone Tripod Holder –Solidworks/3D Printing
In March 2020 when we stayed at home due to COVID, we had many zoom calls. I had a hard time positioning my phone to be at a comfortable angle so I decided to make a holder that I could hang up. I designed all the individual pieces in Solidworks and 3D printed in PLA. The clamp was purchased. I also designed it to attach to a tripod in case I wanted to position my phone in other places where I could not clamp it. Three of the arms are fixed, while two are attached with tension springs so that I can pull them back, put my phone in, and secure it to not fall.
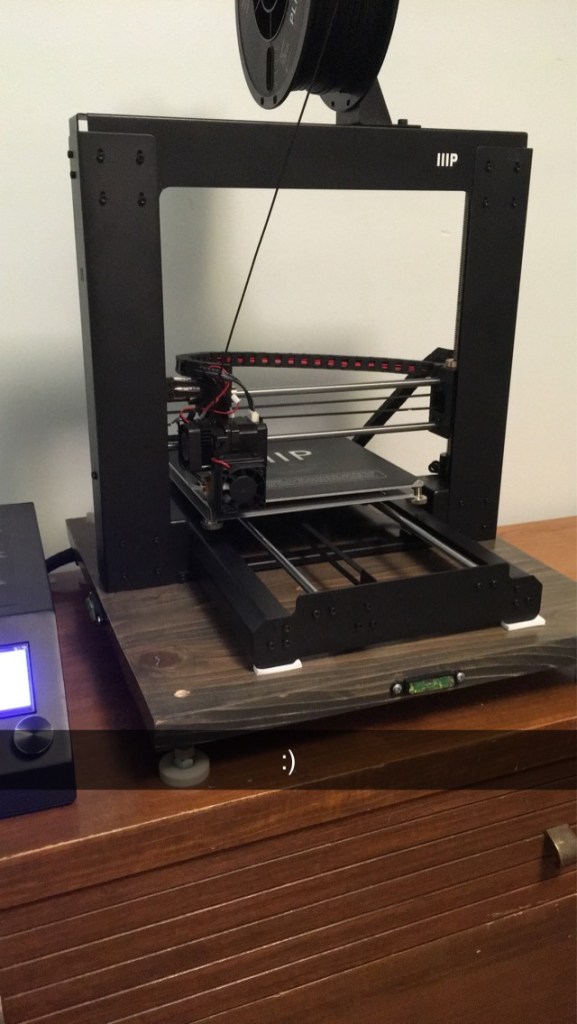
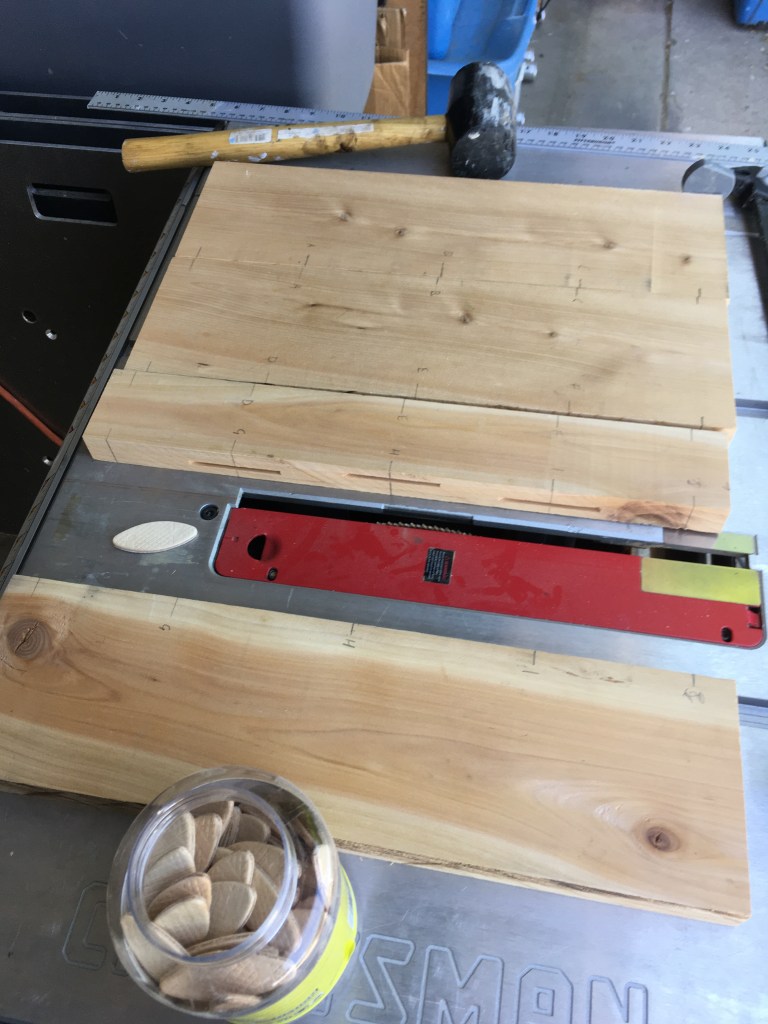
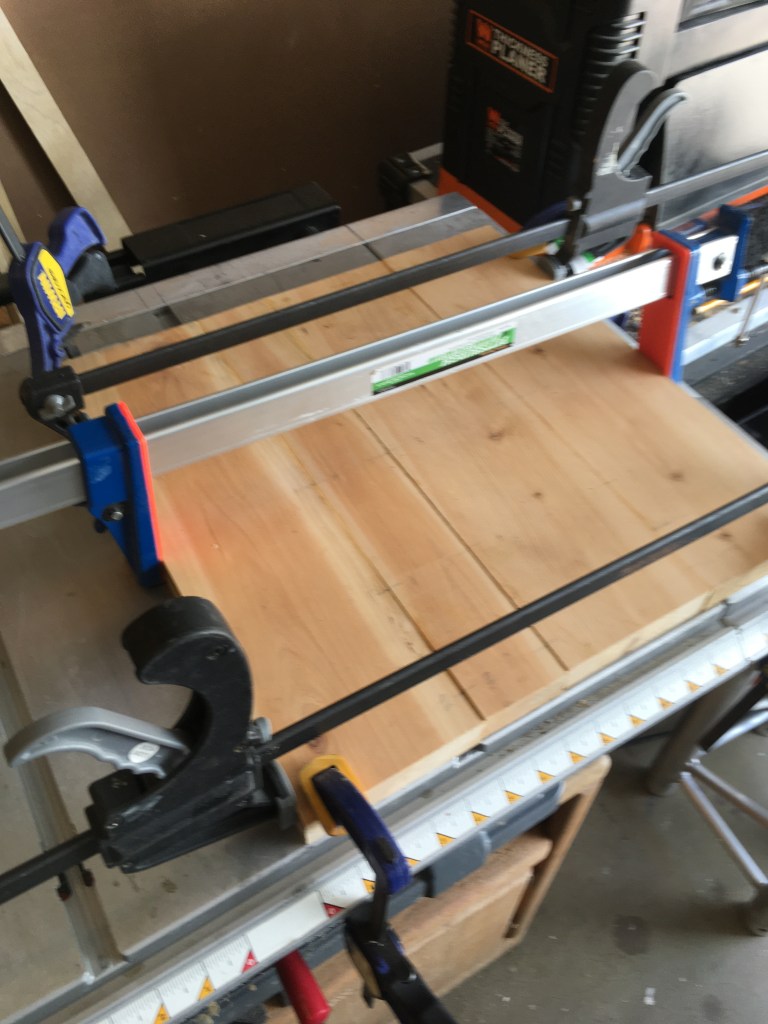
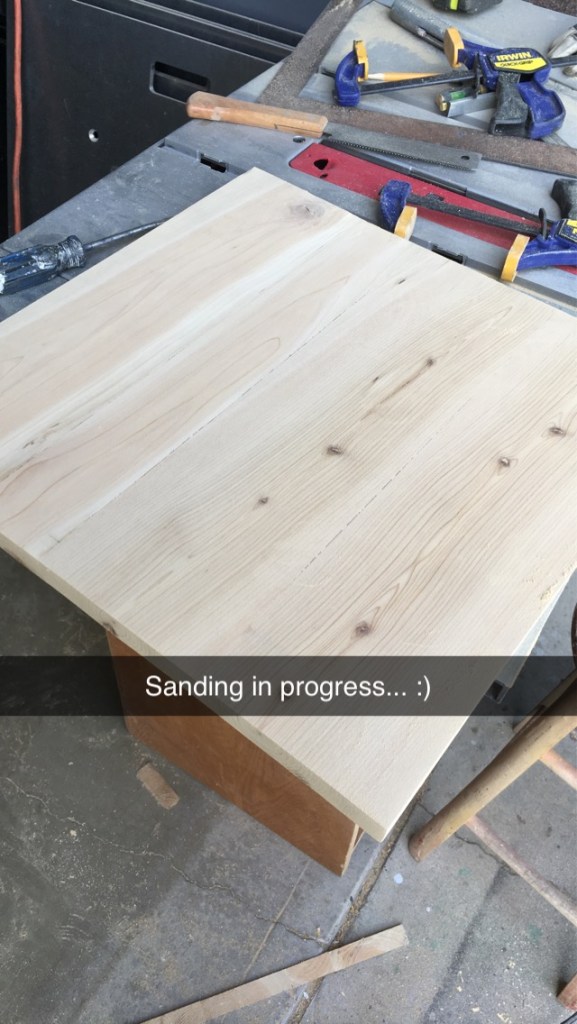
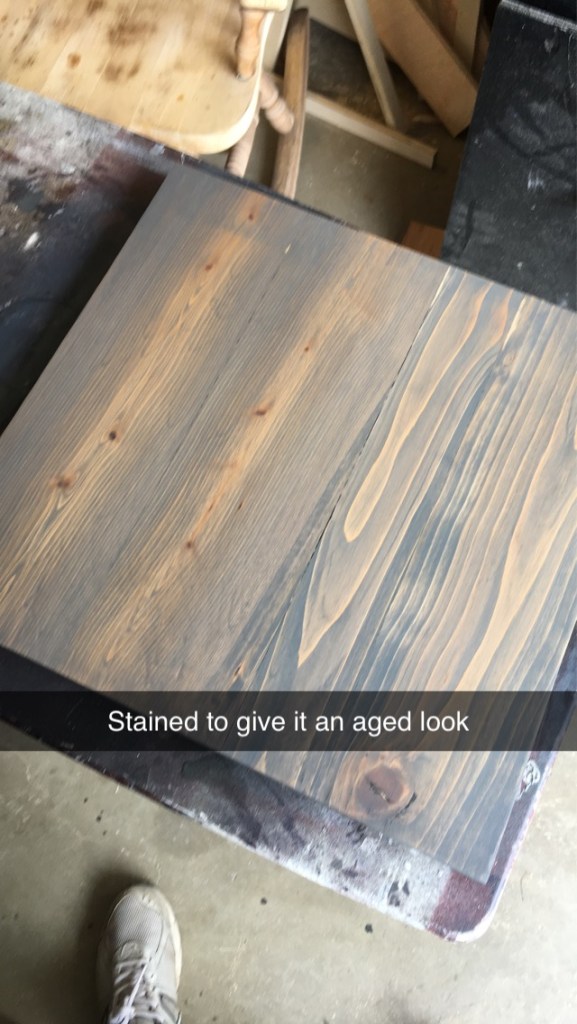

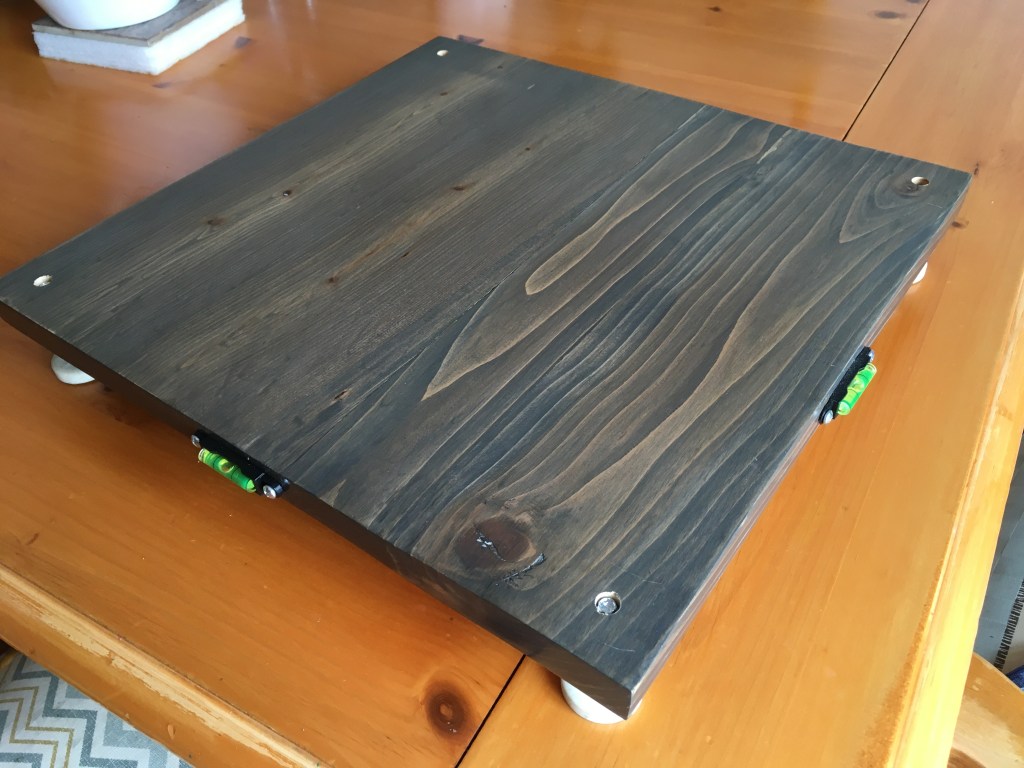
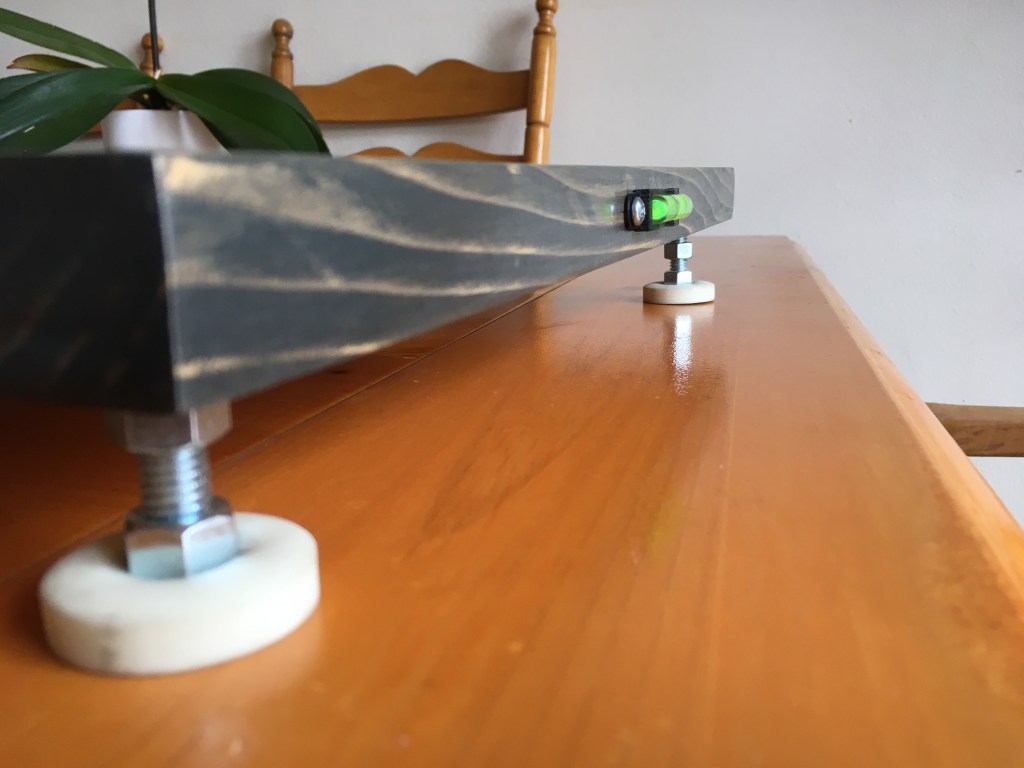
Table to Level 3D Printer – Woodworking
The floor where I had my 3D printer was not leveled at all and I wanted to have a surface where I could set my 3D printer on and not worry about it being level. I cut and planed 4 pieces, joined them, then stained and finished with a polyurethane coating. The legs are threaded so they are adjustable. I designed and printed a housing for the levels and attached them to each side.
